 Tooling Around
Chair Height Stop
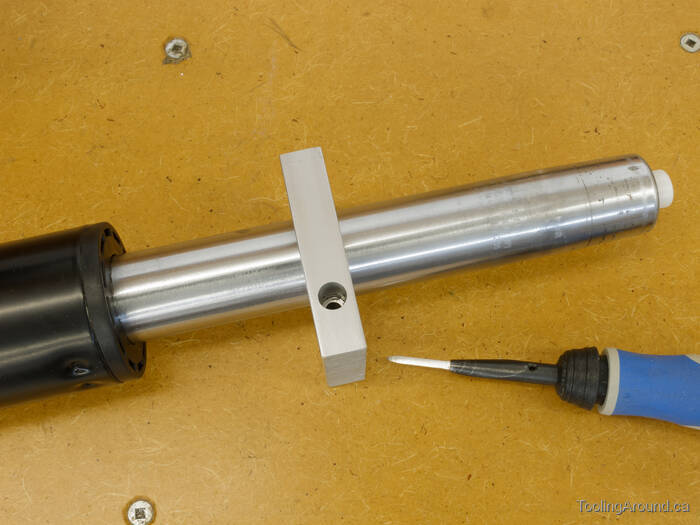
The chair my wife uses for her sewing has a gas-charged piston to adjust the seating height. The problem is that, after she's been sewing for a little while, she experiences a sinking sensation and has to pause to readjust the chair. Since she's the only one using the chair, we decided that a clamp that stopped the downward movement would be a suitable solution.
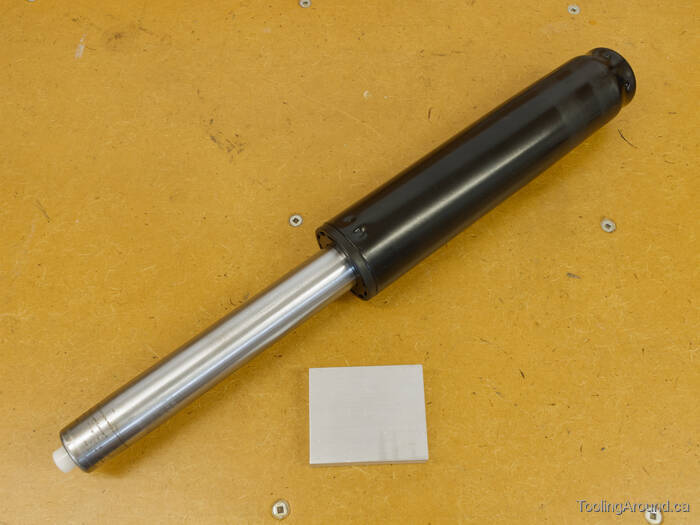
Inside that little piece of 1/2"-thick aluminum plate is the desired clamp. All I have to do is get it out.
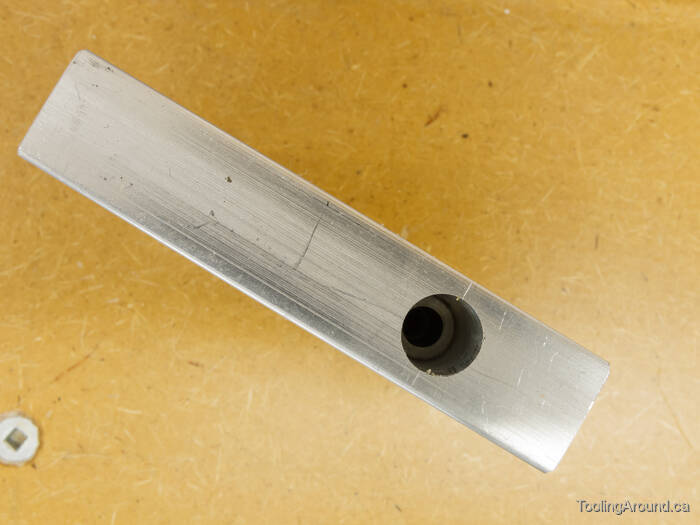
I drilled and counterbored a hole for a 10-32 SHCS, threading the other end.
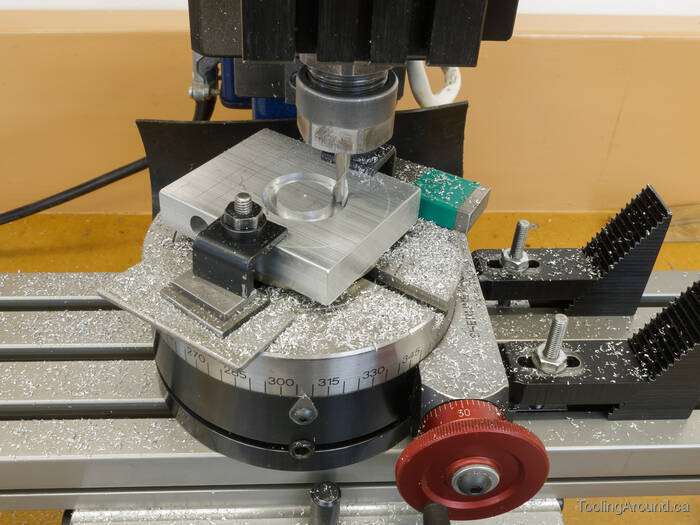
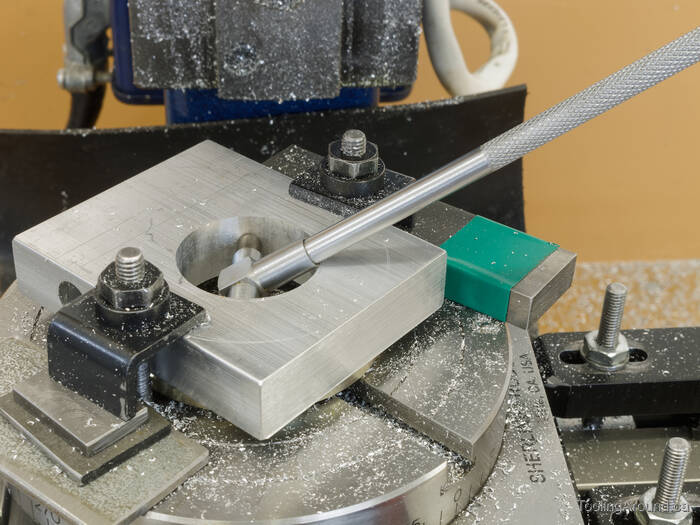
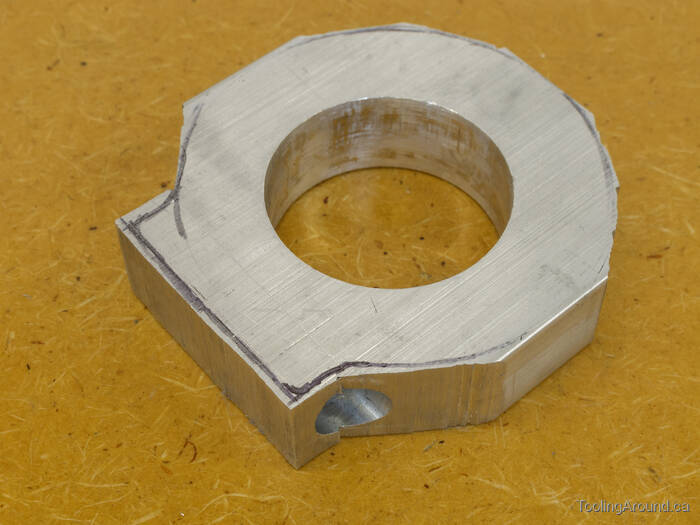
I made a trepanning cut by slowly lowering the cutter into the work at the same time as I rotated the workpiece, making a sort of "ramping cut". After reaching an appropriate depth, I completed the revolution and repeated the process until I was through.
The workpiece is supported on a ring, which is a spacer from an old 5-1/4" computer disk drive, so the scrap aluminum plug dropped to the table when the cut was complete.
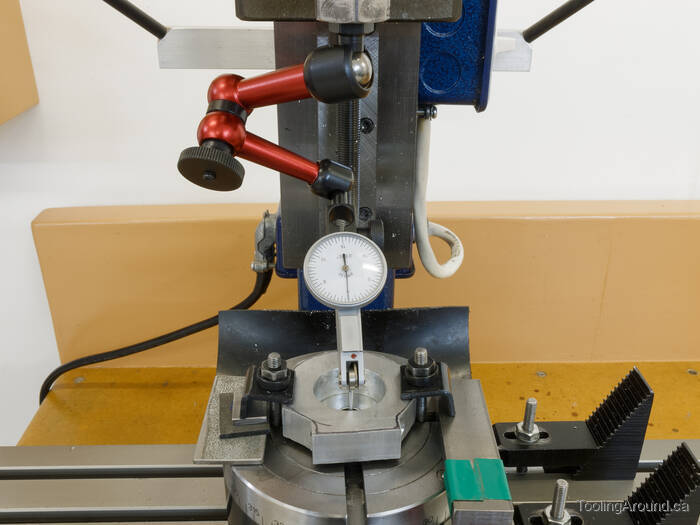
To start, I deliberately made an undersized hole. I measured its diameter using a telescoping gauge.
You may have seen telescoping gauges, commonly sold in an inexpensive set that covers a fairly wide range. The plungers at the ends of the gauge are spring-loaded, so they always want to push out to their full width. At the end of the handle (not visible in the photo) is a lock screw that holds the plungers in position. In use, squeeze the ends in and lock them there by tightening the screw. Place the gauge in the hole that you want to measure. Release the plungers and let them spring out against the inside of the hole. The ends are domed, so they'll fit nicely against the curved surface of the hole. Lock them in place, remove the gauge and measure the distance across the ends.
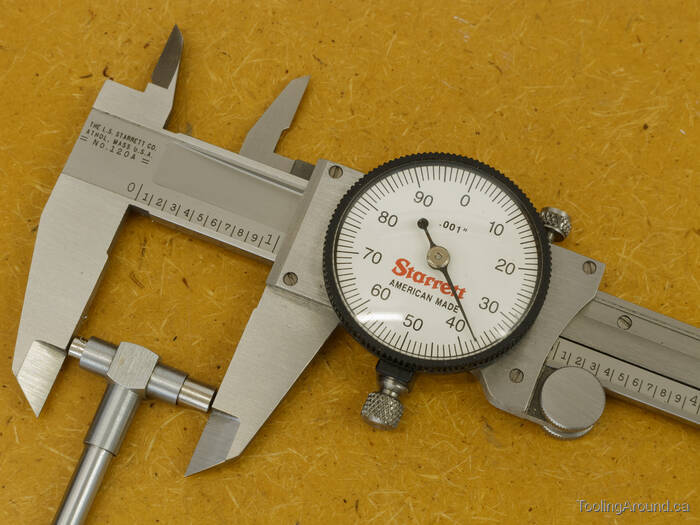
Measuring the hole diameter, now that it's been transferred out of the hole so I can get at it.
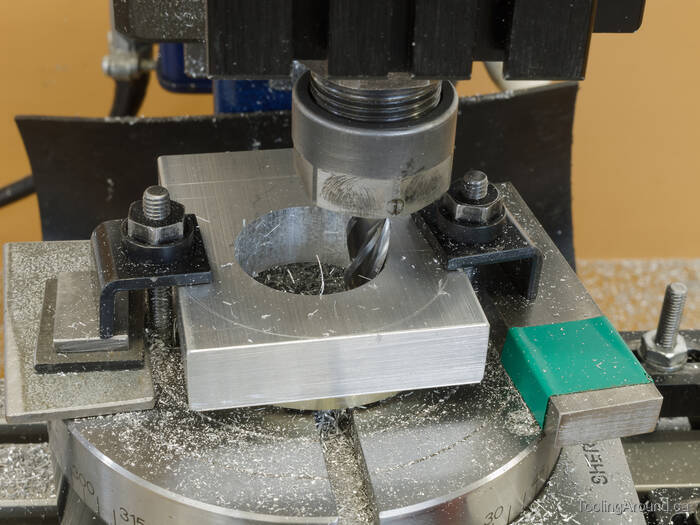
Then, I carefully enlarged the hole until the workpiece would be a very close fit to the sliding part of the height adjuster.
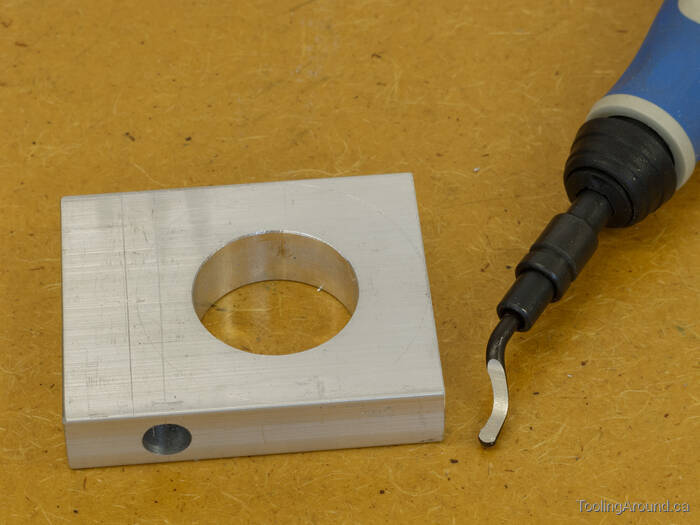
Next, a bit of deburring.
And a test fit.
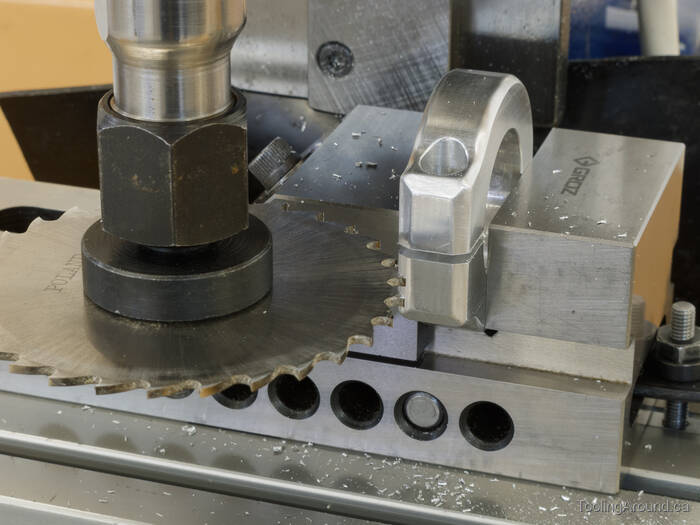
After tender ministrations from the bandsaw, it was ready to return to the mill.
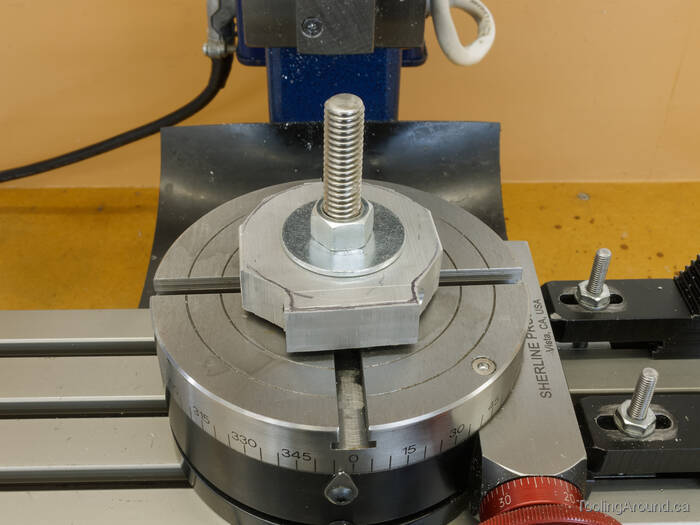
First, it had to be centred on the table. It's sitting on a washer, to keep it clear of the rotary table.
Yes, I know, it was already centred when I milled the hole. However, I didn't trust my own abilities enough to believe that the measured diameter was actually correct (it was), so I had to remove the part to do a test fit.
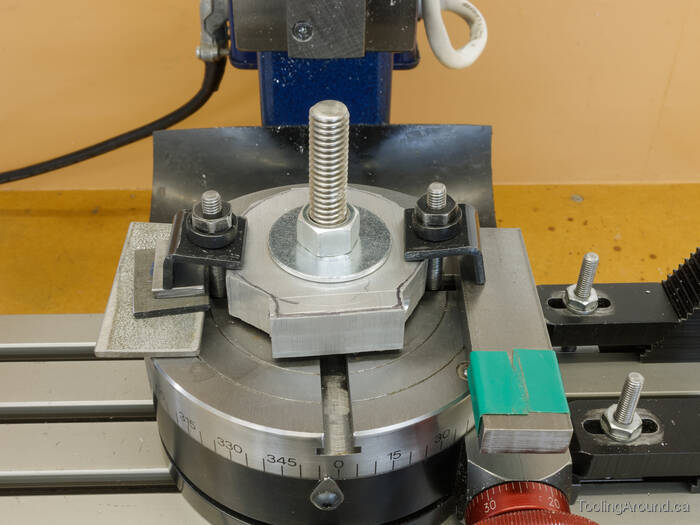
Then it was bolted down. That's a short length of threaded rod. The end you can't see is in the threaded hole in the centre of the rotary table.
With the hold-down clamps removed, it was ready to mill.
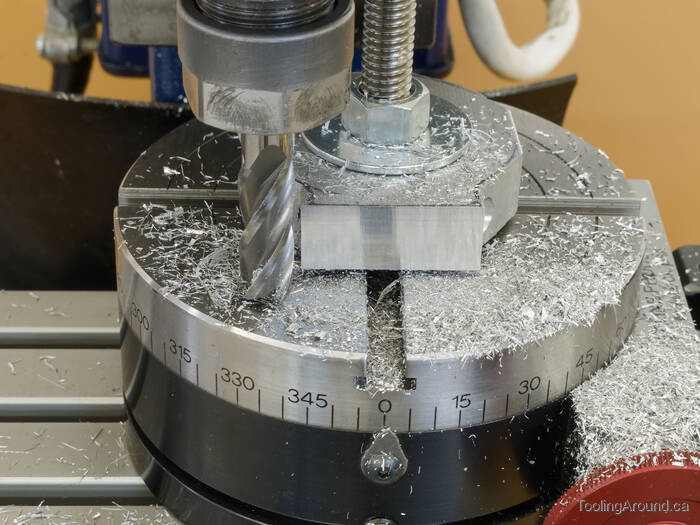
First, a facing cut next to the SHCS hole.

Then it was time to make it round, rotating the table back and forth, cutting off a bit each time.
Now it's looking more like it should.
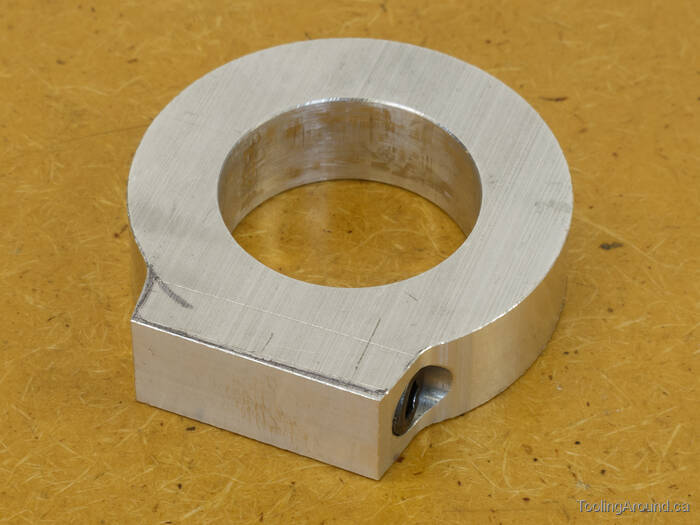
After some hand finishing with some files, I cut a slot.
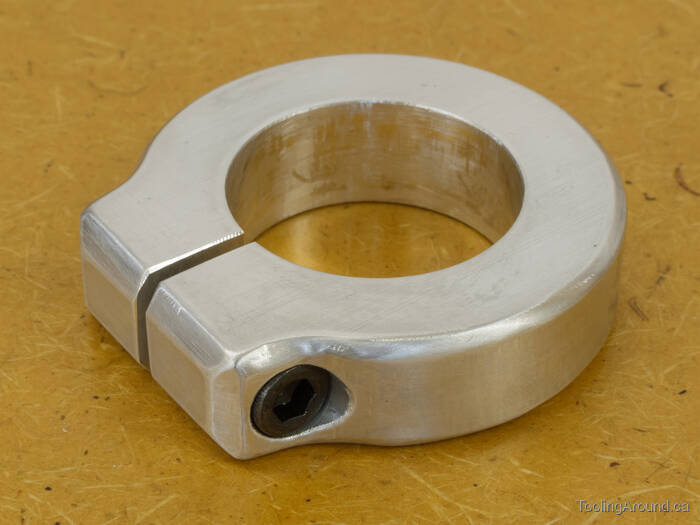
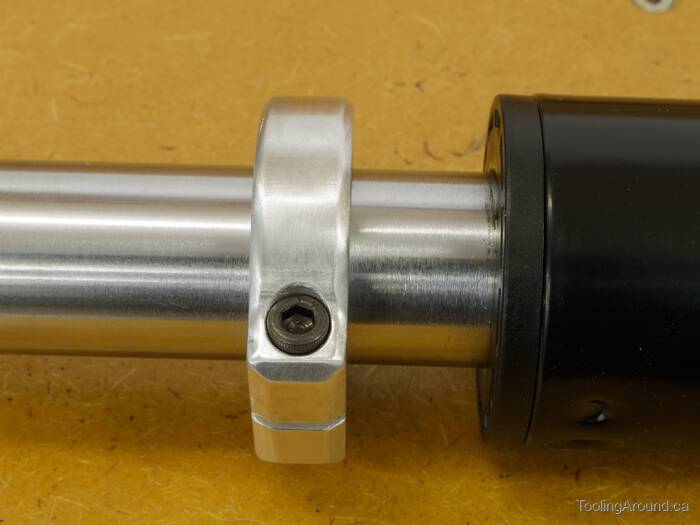
And it was done.
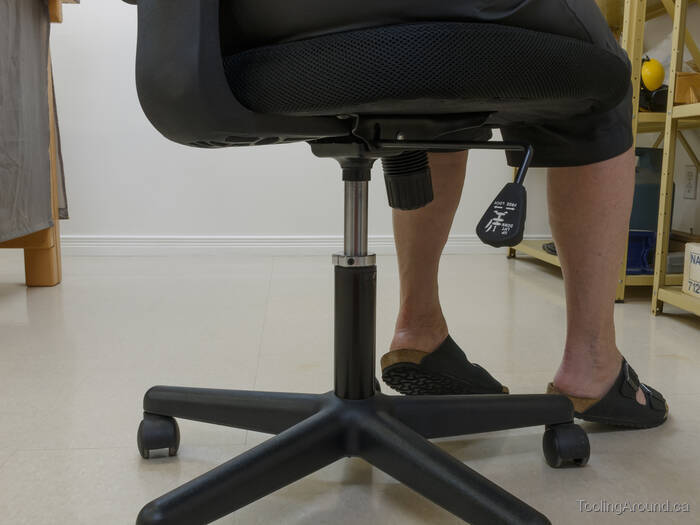
Donna set the height she preferred and I tightened the clamp.

With no weight on the chair, it rebounds a bit, as expected.
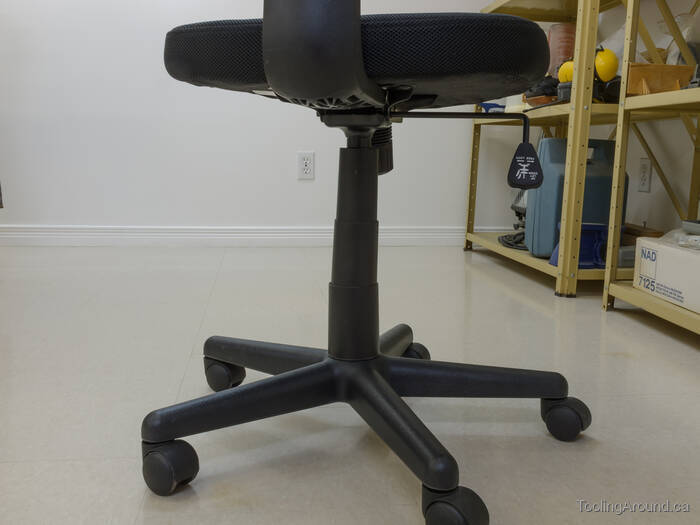
And the the plastic cover goes back on to hide all that work.