 Tooling Around
Screen Door Latch Keeper
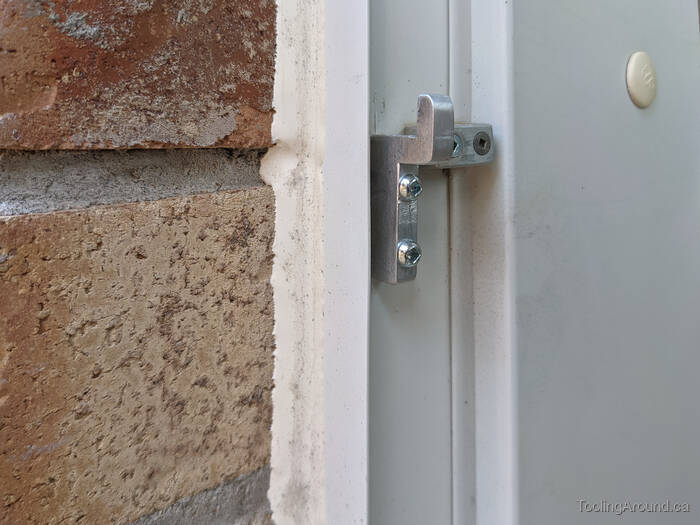
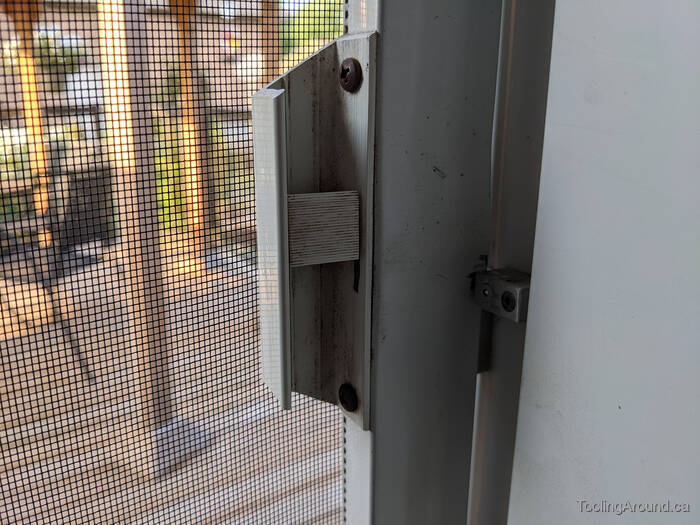
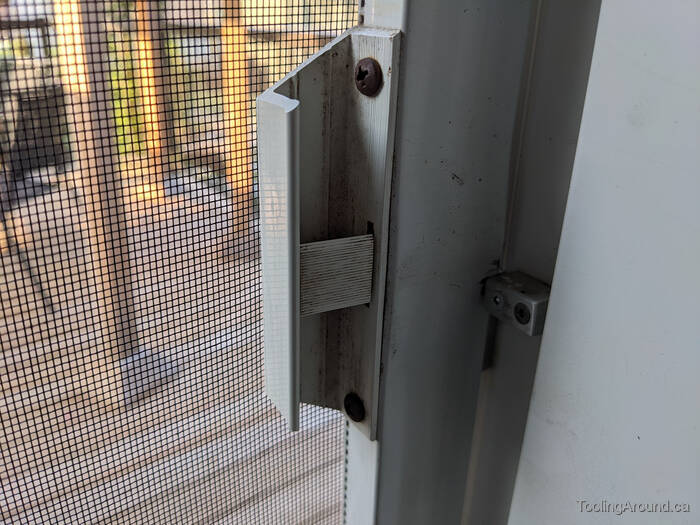
We have a deck on the back of our house, with a conventional, swinging door from the house to the deck. In comfortable weather, we leave this door open to provide easy air movement through the house. However, this being Canada, we like to keep assorted insects outside, so we have a simple screen door that slides on rails across the opening. It's very light weight, having a narrow, extruded aluminum perimeter frame, with screen stretched across the entire opening. Inside one edge of the frame is a simple latch to hold the door closed, providing laughable security, but preventing it being opened by toddlers or pets. As you can see in the photo, above, a keeper is attached to the jamb, providing something for the latch to engage when it's in the "locked" position. The original keeper was pretty flimsy and I replaced it not long after we moved into our house, making one that was very similar to this new one.
After only twenty-three years of service, the sides of the screen door have bowed inwards slightly, making it very difficult to latch, as the frame has to be pushed back out toward the jamb while latching or unlatching the door. So, I decided to make a new keeper, just like the old one, except projecting a bit further away from the jamb. This is a very small project that is possibly interesting only because it illustrates one simple principle in work holding.
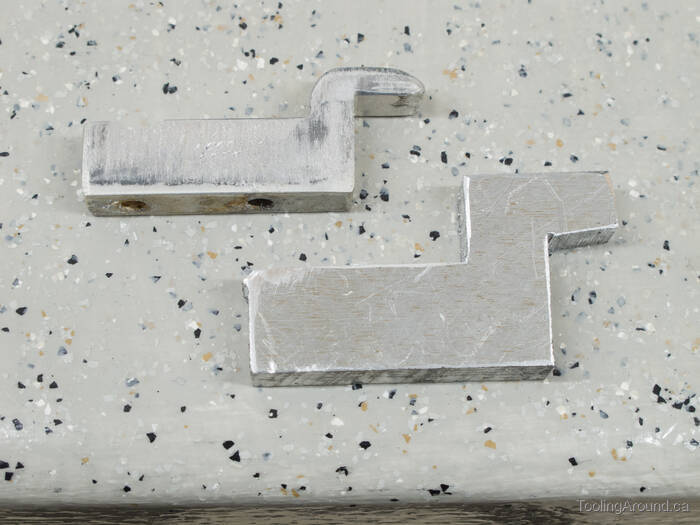
Here's the old keeper, with a rough-sawn piece of 1/4″ aluminum plate for the new one.
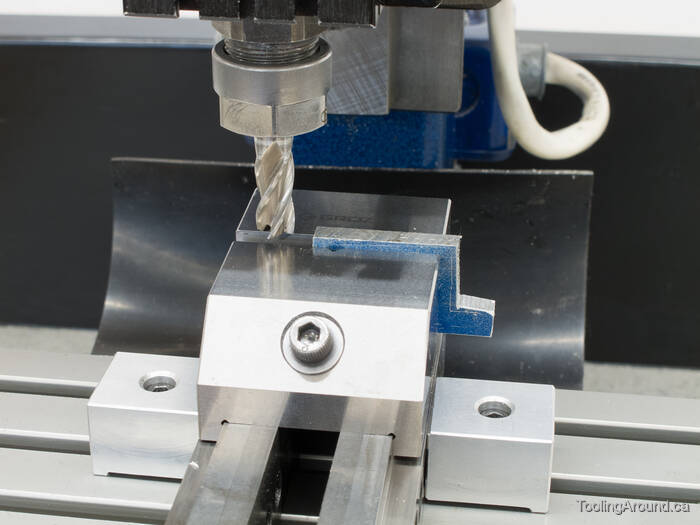
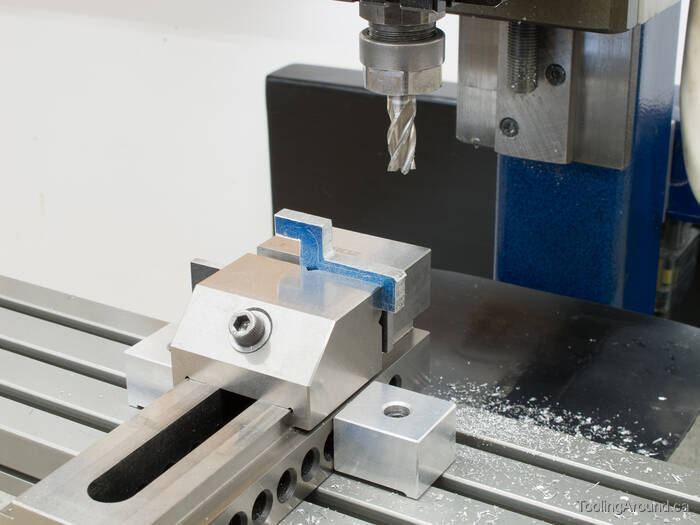
In this photo, the work piece is held with the base of the new keeper more or less horizontal. It's positioned so four surfaces can all be cut without the piece being moved.
As you can see, the base, latching surface and both vertical surfaces have all been milled, thus ensuring that they are at right angles relative to one another, with no additional setup being required.
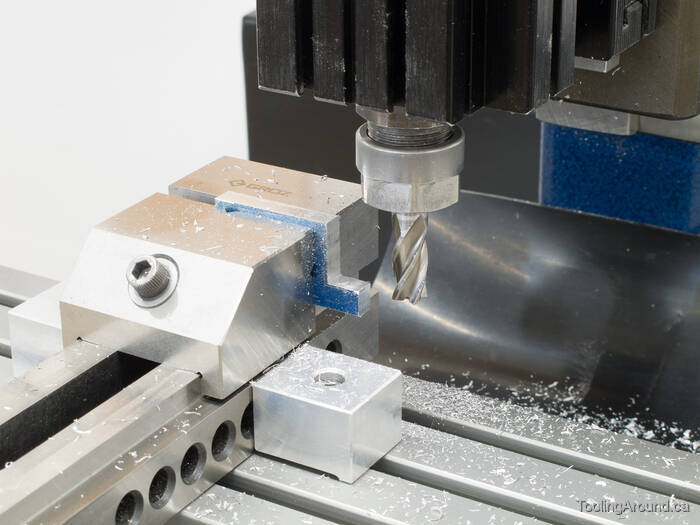
The work piece is now turned over and positioned on a parallel, ensuring that the next surfaces will be parallel to the others.
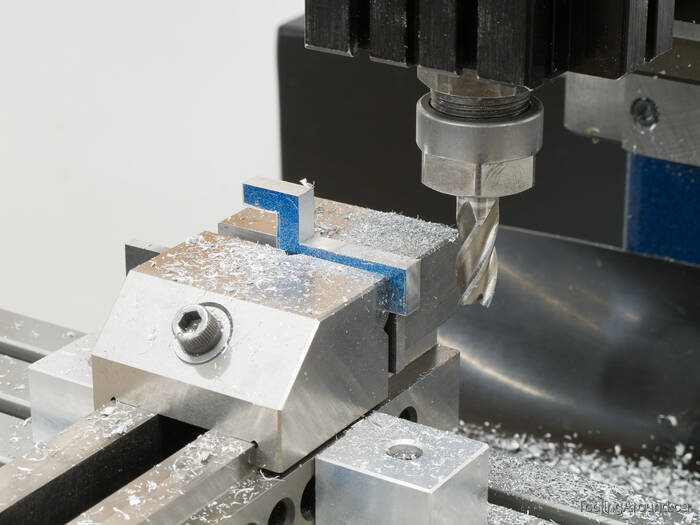
Once again, all four surfaces are milled, with no further work holding changes.
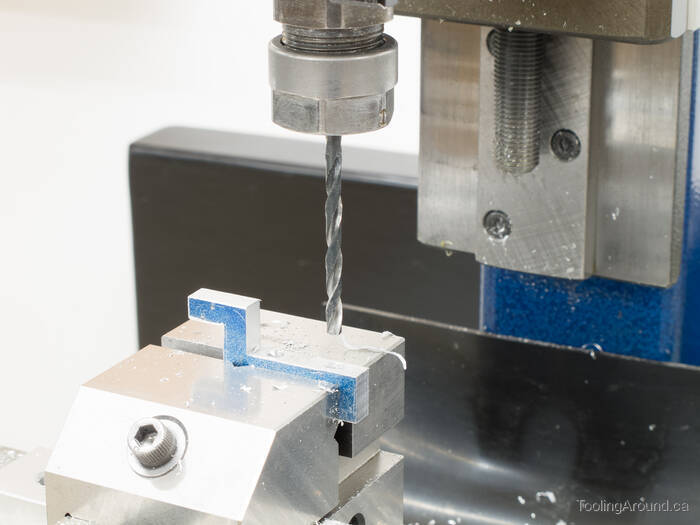
The only measurements that I made were for the screw holes, to make sure that I could use the existing holes in the jamb.
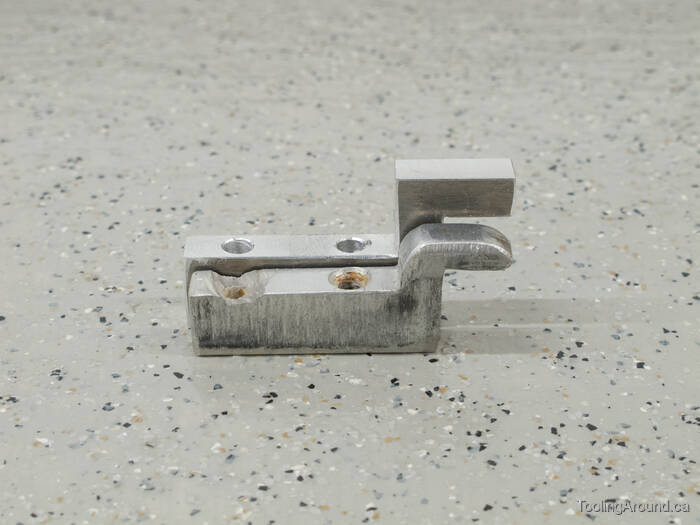
The new keeper is just that bit taller than the old one. Later, I used a file to round off the corners a bit, like the old one, so people won't brush against sharp edges in the doorway.
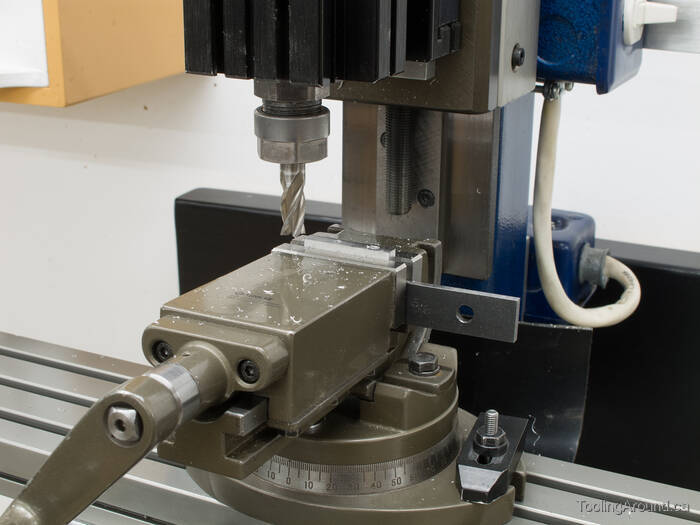
Unlike with the original keeper, this time I allowed for the three-degree angle of the door jamb. This vise is tilted 3° and I milled off just enough of the bottom of the keeper to let it sit solidly on the jamb.
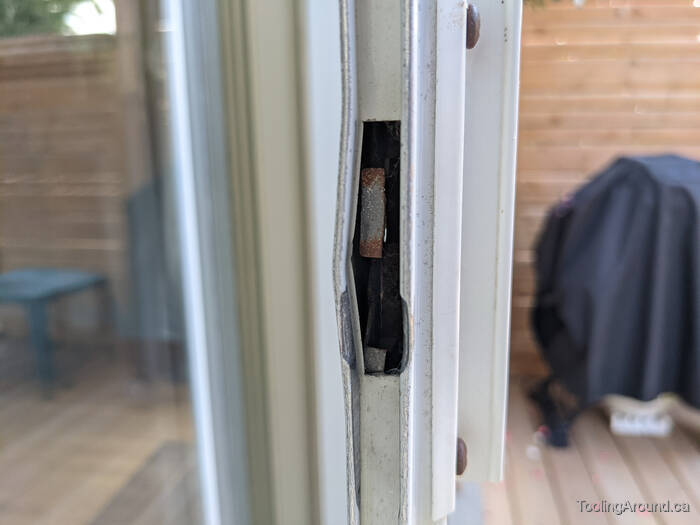
The frame is showing some wear and tear and there's the somewhat rusty latch, inside.
The simple latch handle is raised, in the "unlocked" position.
And here it's closed, despite the gap between the frame and the jamb, where you can see light coming through because of the gentle bend in the door frame.
As I wrote at the beginning, this is a trivial project, but it does illustrate the usefulness of taking care with setup to make the work easier. It probably doesn't hurt that, although simple, it's a Useful Thing that came out of my shop. Perhaps you can use this project as an example to help you justify spending something north of a thousand dollars for tooling to make a Useful Thing that you would otherwise have to buy for a dollar and change.