 Tooling Around
Assembling The Bandsaw
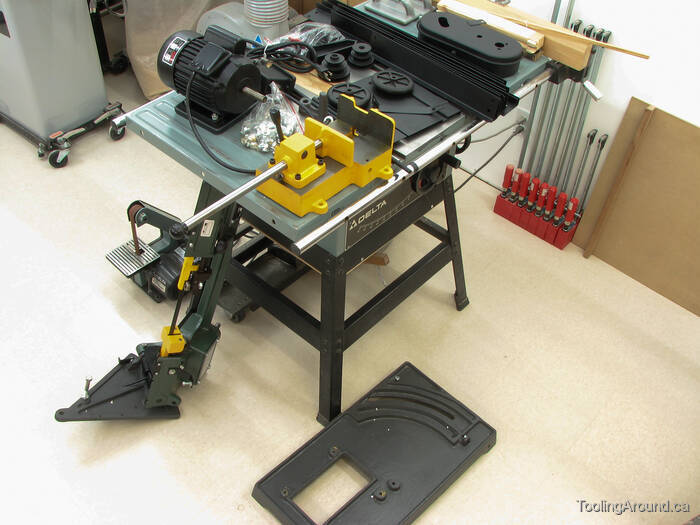
This photograph gives you an idea of the saw, as it arrived in my shop, arranged artfully on my tablesaw. It was just as well that it was in so many pieces, as no single piece was too heavy to carry down the stairs and into the basement.
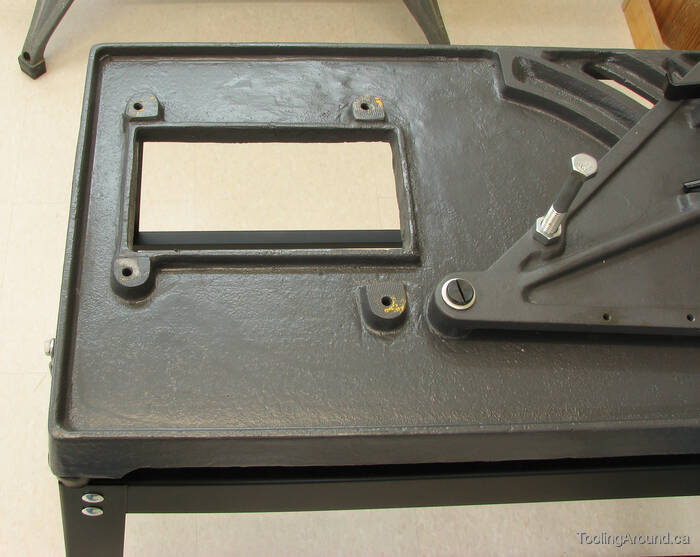
With the stand bolted together, I was able to get the main casting up off the floor. It's nice that it has raised edges around all the openings, not that I'll ever be using flood cooling. On the other hand, it does stiffen potentially weak spots. I suspect that's the real reason for the thick edges.
You can see the pivot screw that allows the pie-shaped casting to swivel, so cuts can be made at something other than 90°.
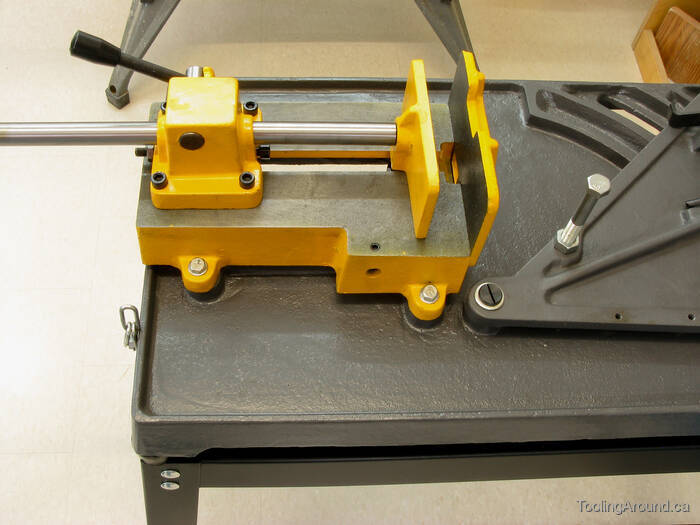
This is rather a neat vise. You push on the end of the shaft to move the jaw against the workpiece, then pull the lever to the position shown in the photo. This causes the movable jaw to tighten against the workpiece. It's all very simple and quick.
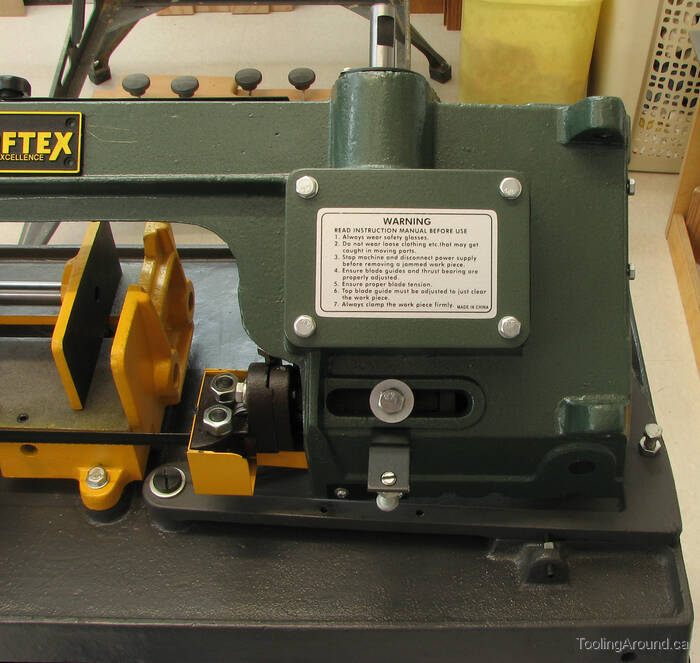
Here's the business end, prior to attaching the motor and drive pulleys. The plate covers a gearbox.
At the bottom-right of the photo, you can see a little nub containing a long grub screw and a locknut. This is a stop that can be adjusted to ensure a 90° angle when the saw assembly is moved back to its normal position, after cutting at some other angle.
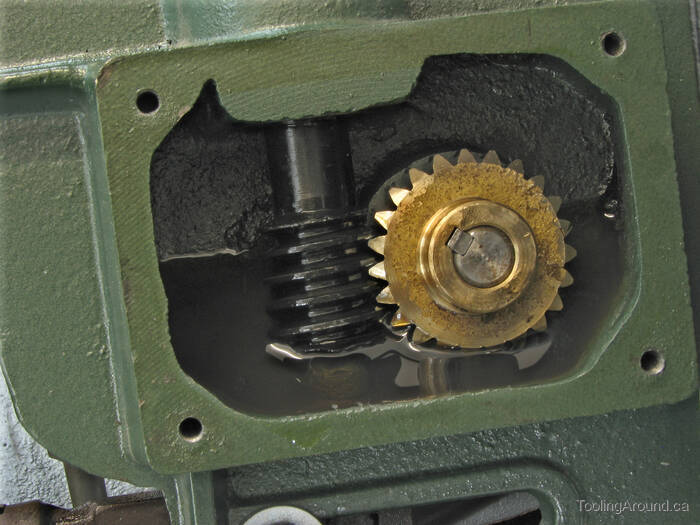
Under the cover is a cast-in-place gearbox, containing a reasonably substantial worm drive.
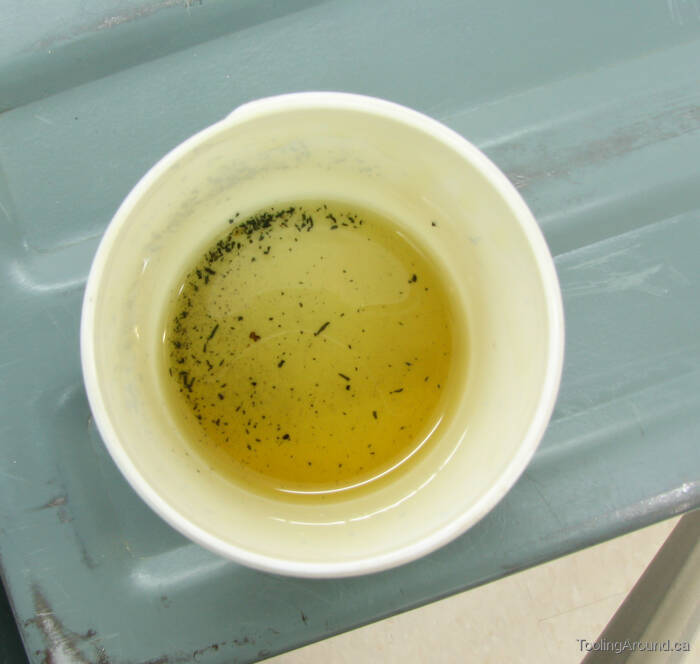
Here's what I found in the bottom of the gear box. Although this grit would probably have settled out, I wasn't confident that it would stay out of the way, so I was happy to have it cleaned out of there.

The motor and power switch are now in place. I was happy to see that the motor is attached to a separate mounting plate, which means that the motor can be replaced, if that's ever necessary. I prefer this arrangement to one in which a specialized motor frame is directly attached to a piece of equipment.
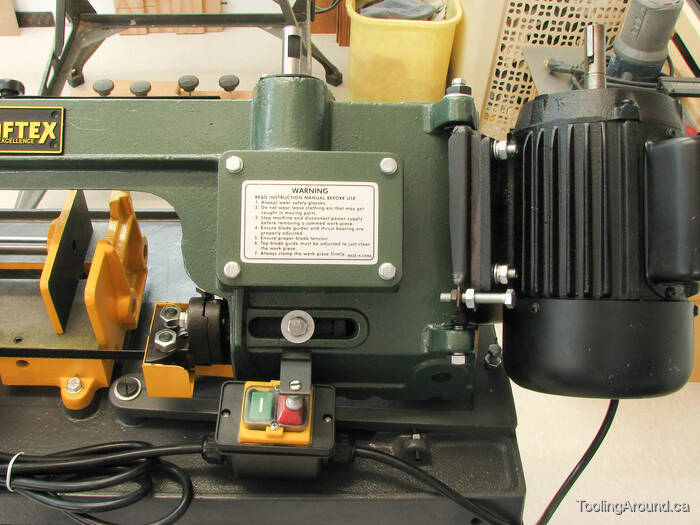
When the arm is lowered, an adjustable screw presses on the Off button, thereby shutting off the power.
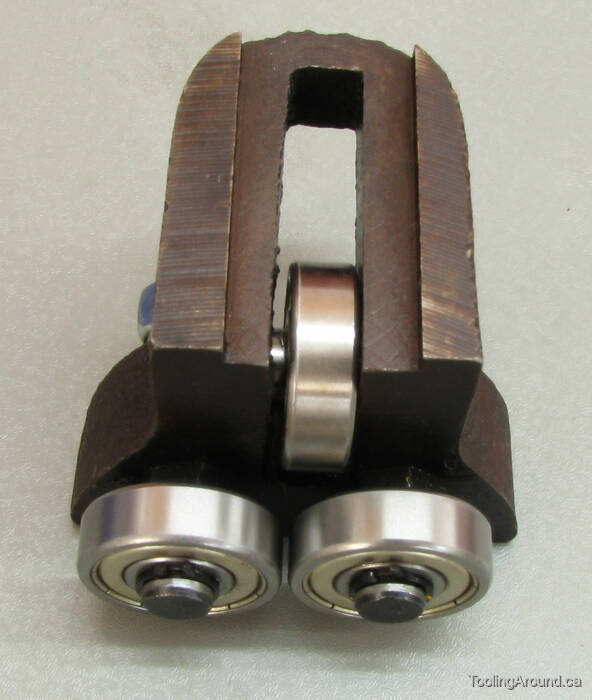
The saw blade guides use ball bearings. As you can see, one of them was off-centre and required adjustment.