Tooling Around
Bandsaw Dolly Socket
After making my dolly, I wanted to install a socket for it on my metal cutting bandsaw. Since it didn't already have casters on the other end of the stand, a simple project became a bit more complicated. That's normal, in my shop.
When deciding how to support one end of the stand on the dolly, or the other end on a pair of casters, I find it easier to think through the problem by “inverting my thinking”. Instead of thinking about how the weight of the stand will bear down on the dolly (or casters), I think of how they will “push up” on the stand. In other words, instead of thinking in general terms about the whole stand and how to bring its weight to bear on one (or two) points, I think about a specific point and work out from there. For what it's worth, that makes my thinking easier.
Foot Pads (Skip to "Casters".)
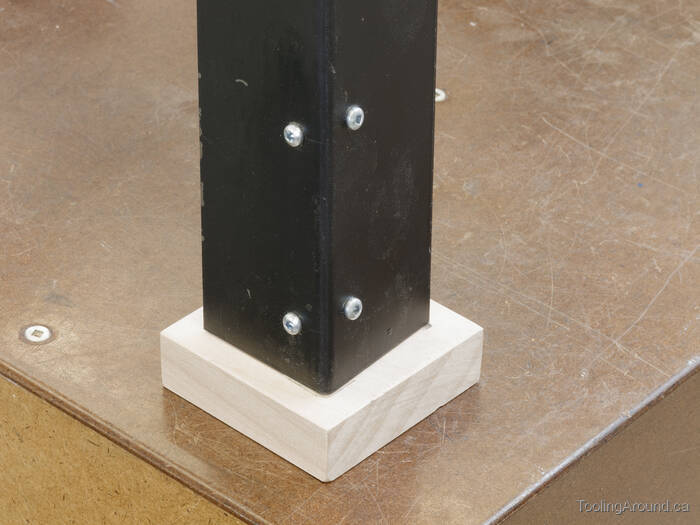
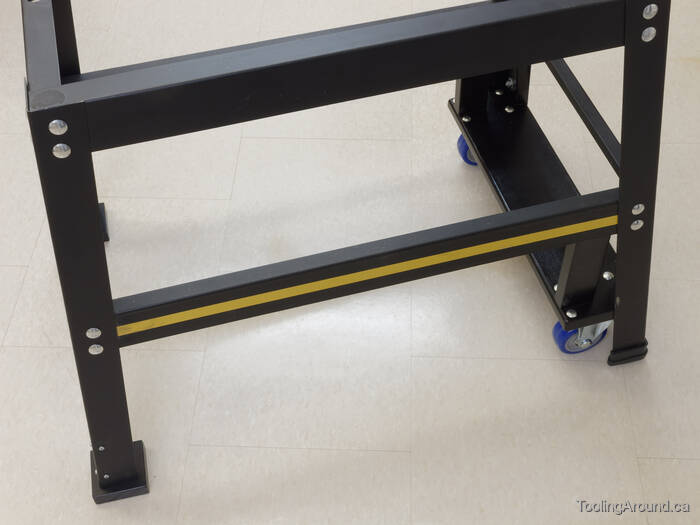
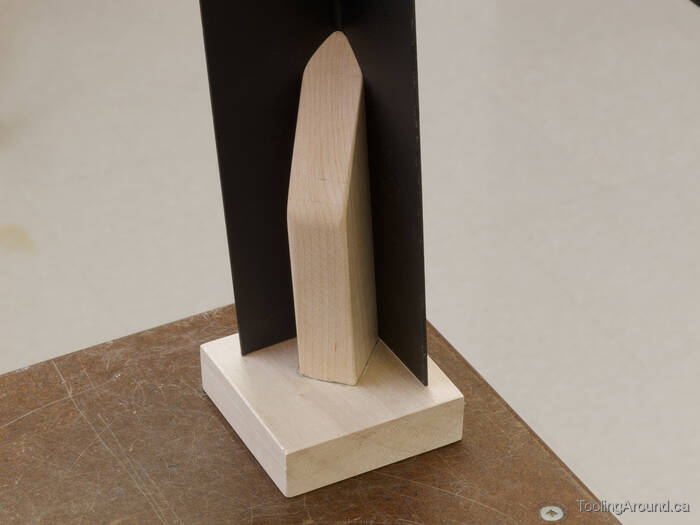
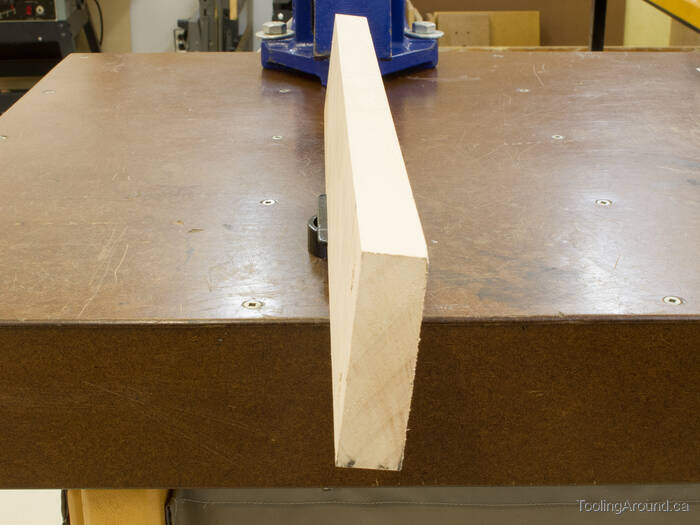
The casters lift one end of the stand a bit, so it won't drag on the floor. To keep the stand level, it follows that the other end should be lifted the same amount. I used a piece of maple, 22 mm thick.
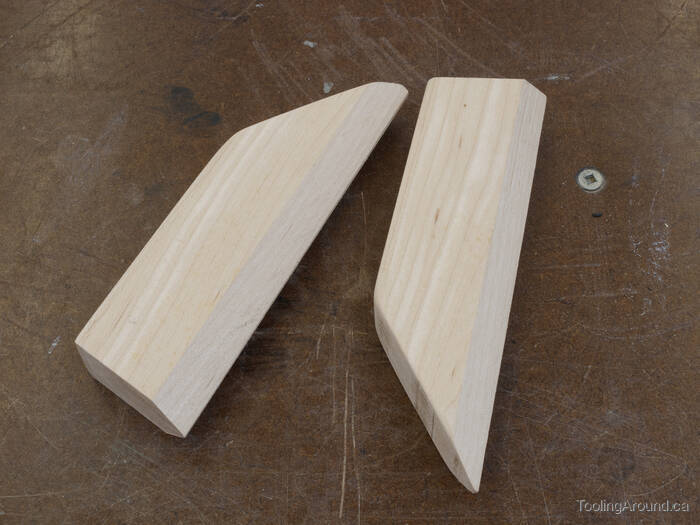
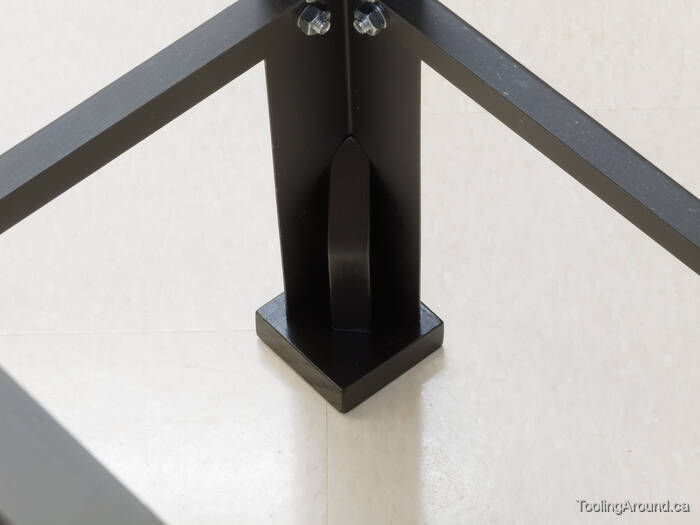
The foot pads are supported by the legs, but also need support on the inner corners, so they won't tend to tip up.
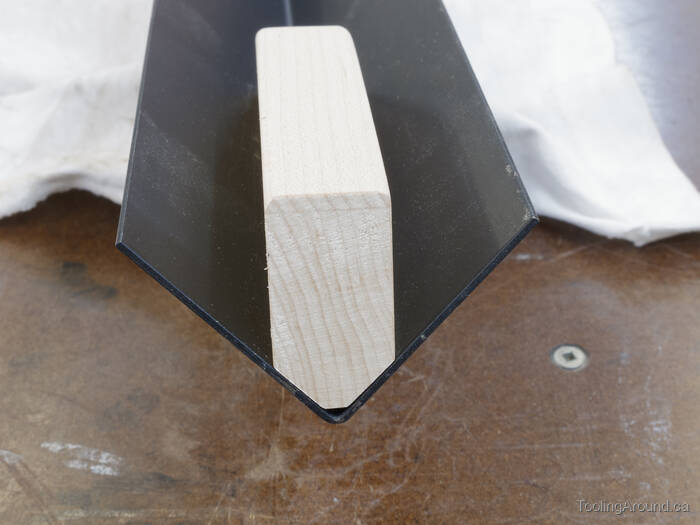
Here's how the brace nestles into the inside of the leg.
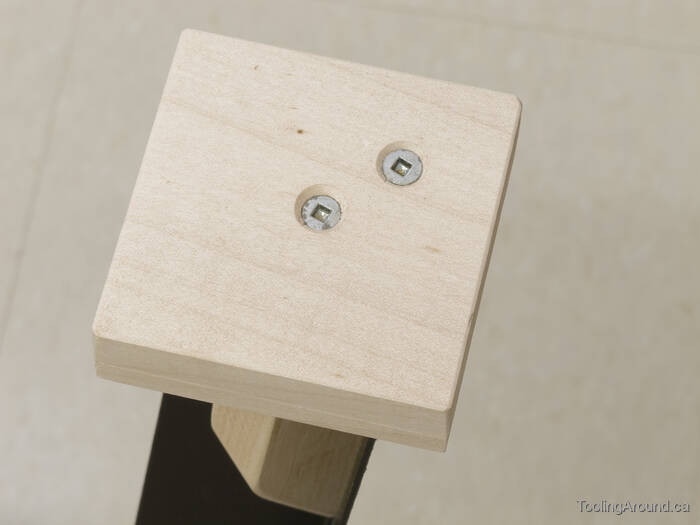
Some glue plus two screws hold each pad in place.
The brace is trimmed so waste landing on top will slide off.
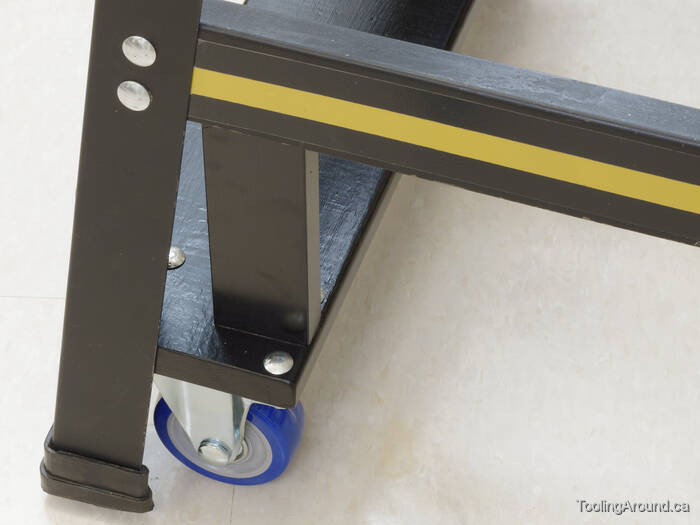
Casters (Skip to "Dolly Socket".)
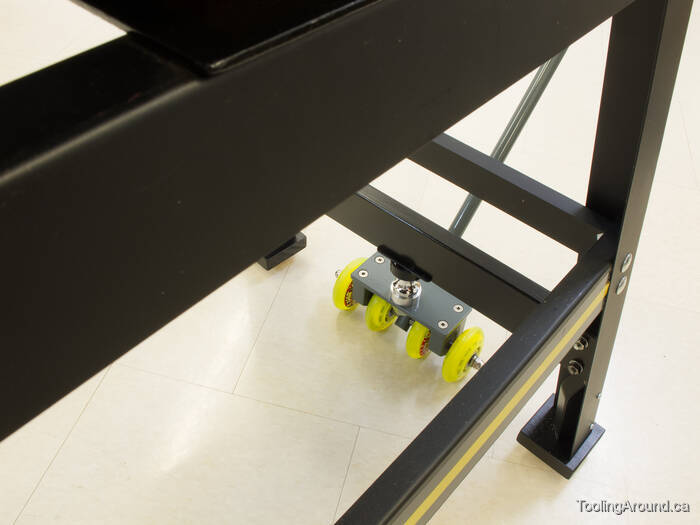
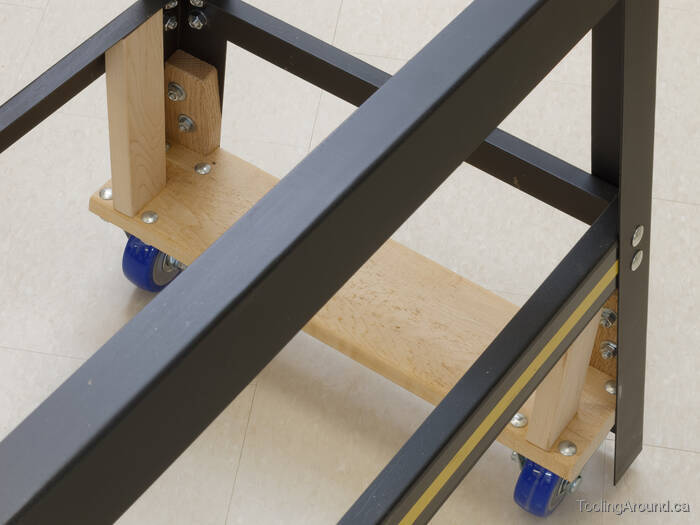
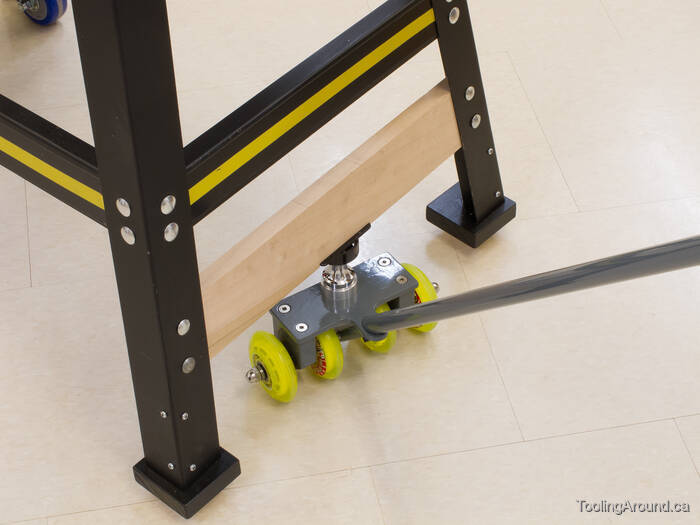
The casters are mounted on a nice piece of birch. This is, in effect, a subassembly that will keep the casters aligned with each other.

Two short pieces of oak, trimmed to match the angle of the legs, support the subassembly inside the legs.
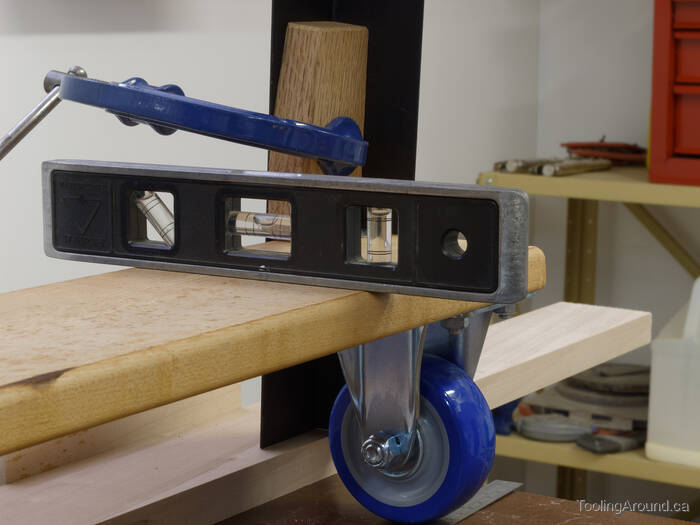
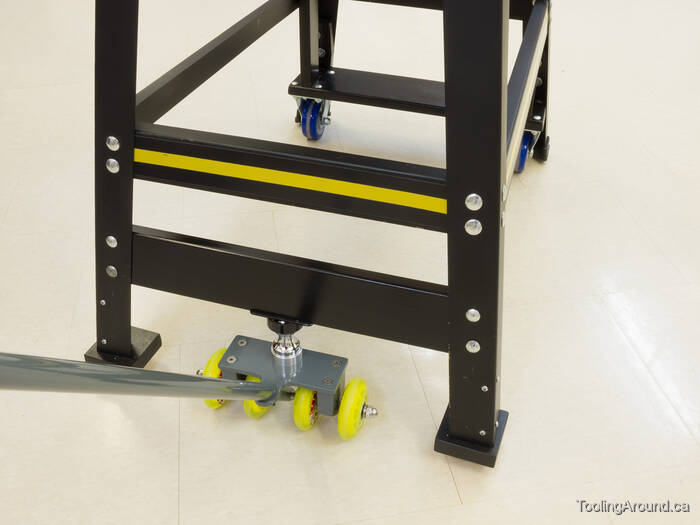
I set the legs on a board the same thickness as the foot pads. Then, I held the subassembly in position, making sure that the top was level. Finally, I clamped the supports to the inside of the legs. While the clamps were in place, I drilled holes for carriage bolts, thus assuring correct positioning of the supports.
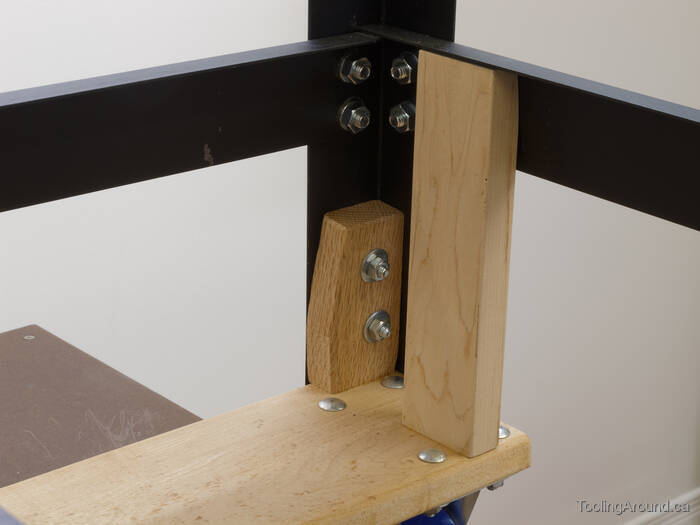
Finally, I cut two more support pieces to fit between the other side of the subassembly and cross pieces on the frame. All four supports were “screwed and glued” in place. There's nothing holding the top of the supports to the cross pieces, except gravity.
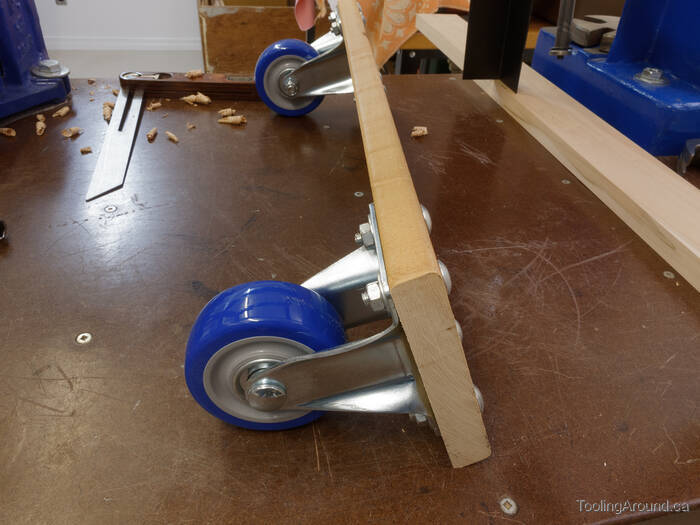
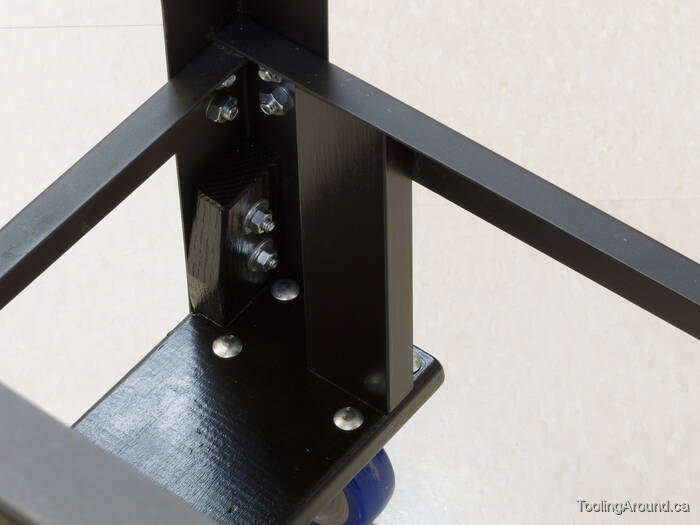
Dolly Socket (Skip to "Painted".)
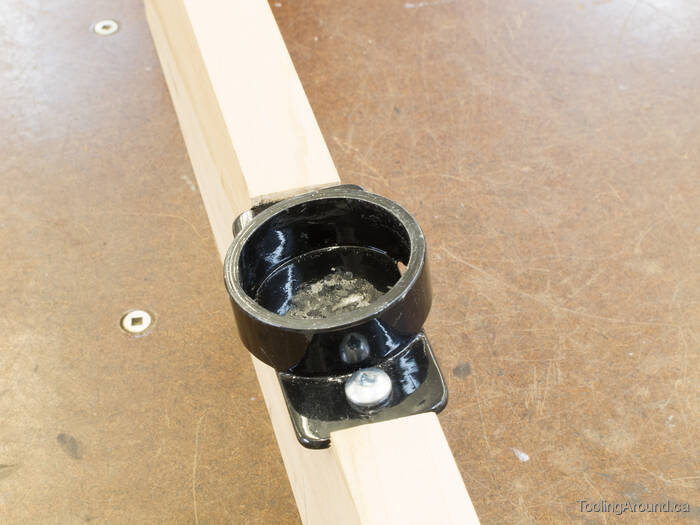
The socket is mounted at a slight angle, matching that of the legs.
Right side up, you can see the way the board is tilted to match the legs.
Finally, the board was clamped in position and holes were drilled for carriage bolts. The height is such that the dolly's ball will just barely slide past the rim of the socket when the dolly's handle is vertical. When the handle is lowered, the dolly lifts the end of the saw.
Painted
With everything working as desired, I disassembled it and gave all of the wooden pieces a nice coat of melamine paint.
I slid the original rubber feet over the ends of the legs to cover the the sharp corners. They're clear of the floor, which is just as well, as they used to stain the vinyl floor tiles.