 Tooling Around
Hummingbird Feeder Perch
One day, my wife bought a new hummingbird feeder. Unlike our previous one, it lacked a perch. A friend of ours said that hummingbirds don't need perches. They hover when they feed from flowers. She was absolutely right. Nevertheless, I'll bet that if flowers came with perches, hummingbirds would use them. So, I decided to make a perch for the new feeder.
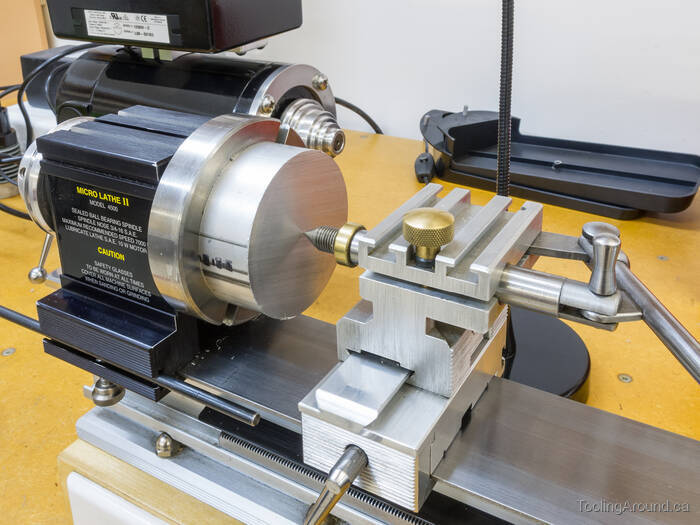
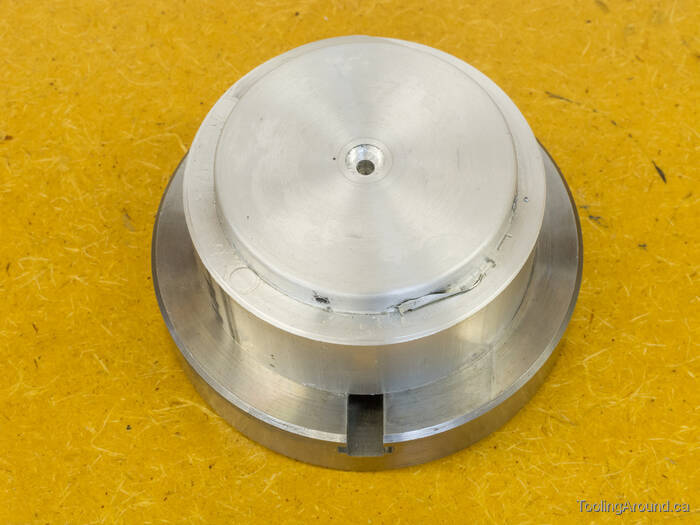
This project started with something that's a little different, for me. I cut a short length of a largish aluminum bar, faced one side and used cyanoacrylate adhesive (abbrev. CA) to glue it to a faceplate, making a “super-glue chuck”. I used the tailstock ram to hold it in place until the glue set.
After the glue set, I faced the surface to prepare it for attaching a workpiece. I should have turned some concentric grooves, so the CA could cure more readily. I may choose to modify the faceplate so I can bolt the backing piece of aluminum to it. Alternatively, I could decide on some other way to attach it to the spindle nose. Regardless, I will complete the job by turning the grooves. This time, I admit that I just wanted to get the job done.

Next, I glued a scrap piece of 1/4" aluminum plate to the first piece of aluminum and faced it. The workpiece isn't actually off centre. I was just using a different centre point, so as to avoid those two extraneous holes.
The first operation on the workpiece was to drill and countersink a hole in the centre, for mounting to the underside of the feeder.
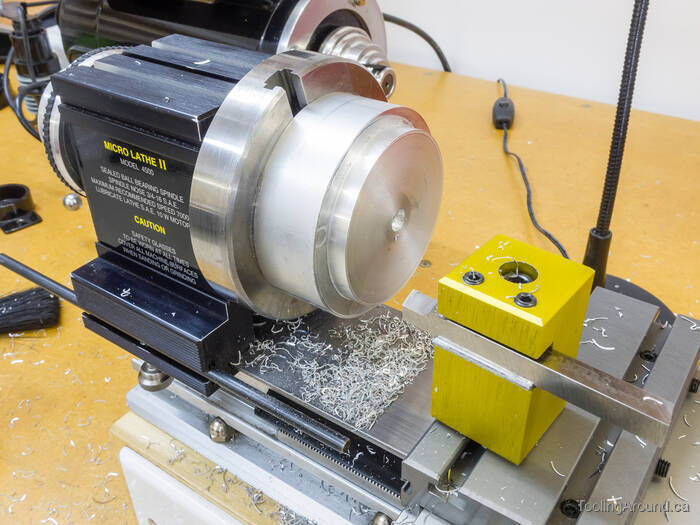
The next step was to turn the disk down to a suitable diameter, using the carriage stop to keep from cutting into the chuck. If you look closely, you can see the thin bit of the workpiece, against the chuck.
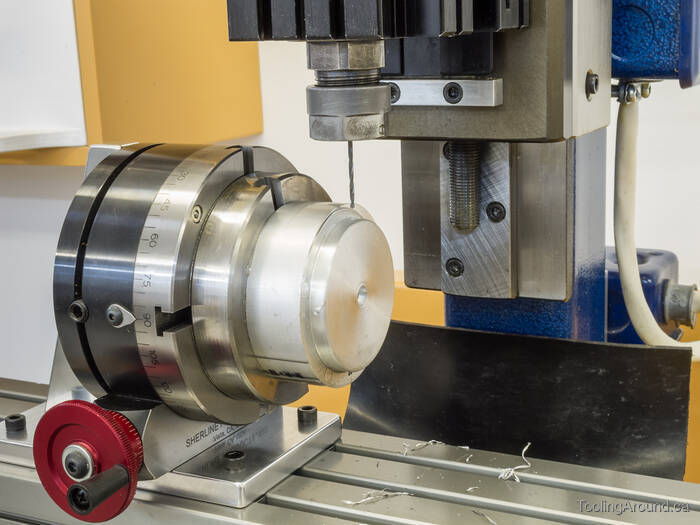
Next, it was off the the rotary table and the mill, where I drilled four holes radially in the edge of the workpiece.
Here's the hub, ready for some heat from a hot air blower, to persuade the CA to release it from the chuck. Following removal, I cleaned up the chuck-side edge.
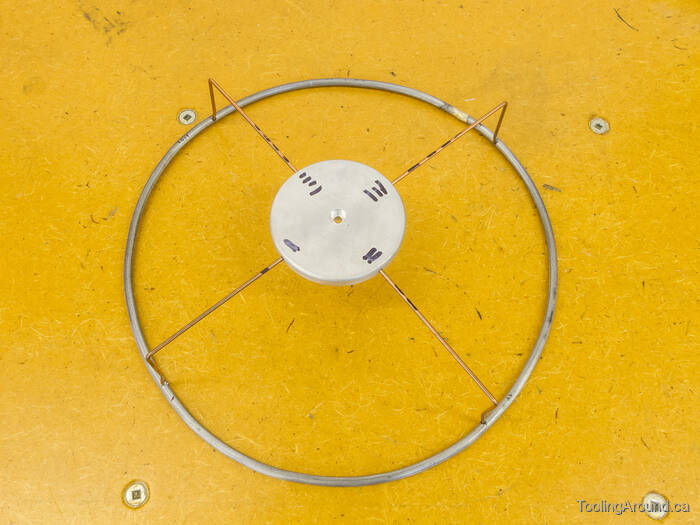
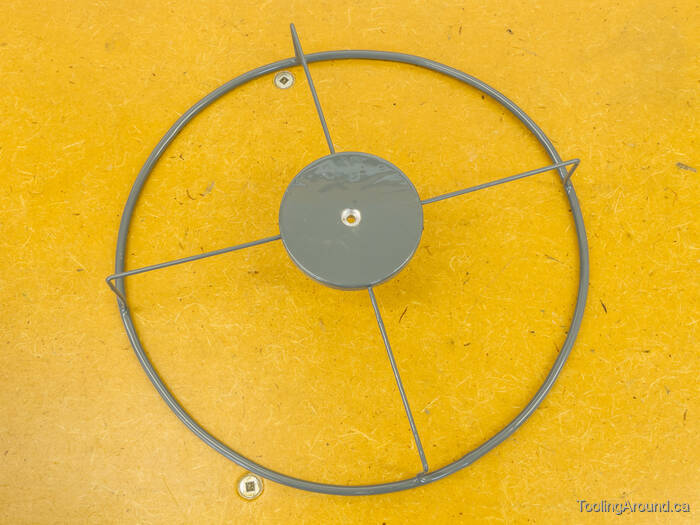
There's a bit going on here, so I'll provide a little explanation.
I bent some heavy wire into something approximating a circle and silver brazed the joint. Then I used a centre punch to make dimples in the wire at 90° intervals. The wire's diameter is about 1/8″, which seems like a suitable size for tiny bird feet.
The spokes are made of pieces of stiff wire. The wires and their corresponding holes in the hub are numbered by marking them with ink. This because the holes aren't all the same depth and I needed to match them up. I marked each spoke a suitable distance from the hub and and bent it at a 90° angle. Finally, I trimmed them a suitable distance from the bend.
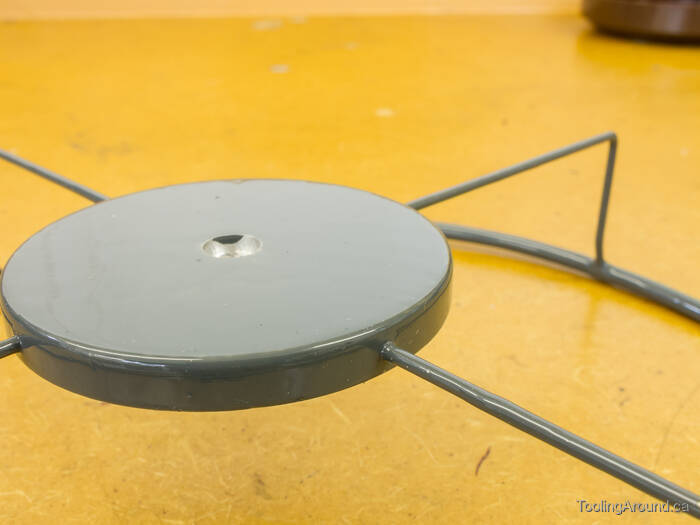
After bending the tips of the spokes outward a bit, I was able to insert them into the dimples in the ring, where they remained due to spring tension.
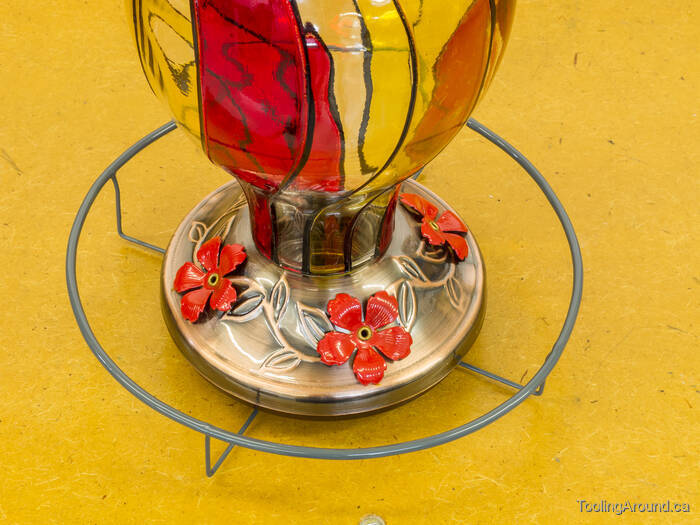
The plastic base for the feeder was clearly designed to have some king of perch attached, as it had a hole in it, ready to take a screw. I was able to use, I think it was, a 5-40 screw to attach the hub to the feeder's base.
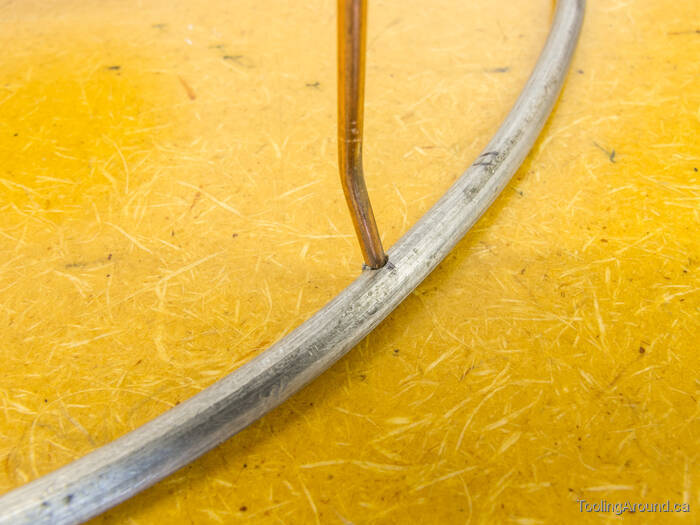
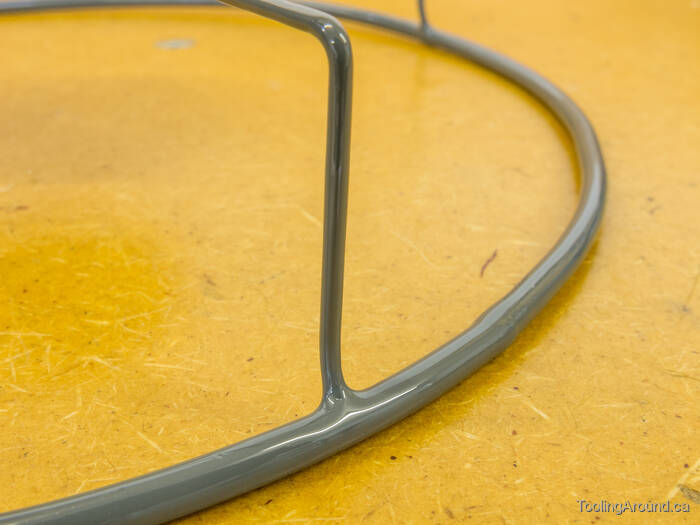
This should clarify how the spokes meet the rim. As you can see, the dimples are a bit to the inside of the circle.
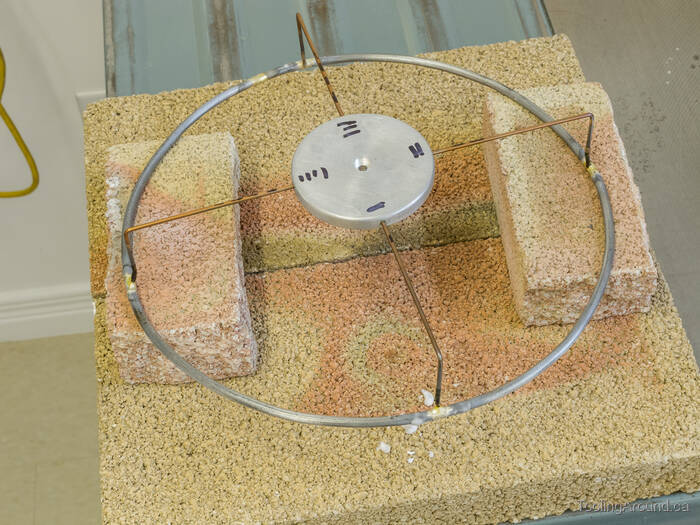
After a tiny bit of silver brazing, it was together and ready for pickling and painting.

The test fit looks pretty good.
Next, some Tremclad paint. There's something pleasing about the look of that joint.
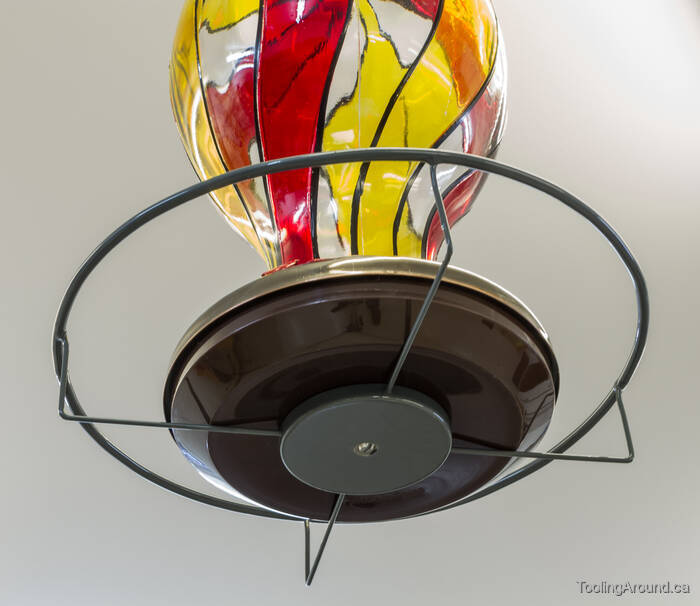
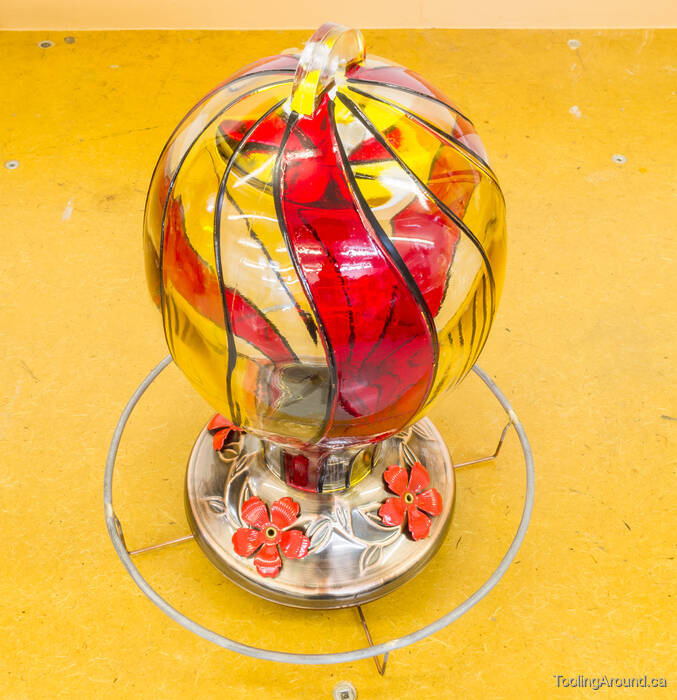
Ready for business.
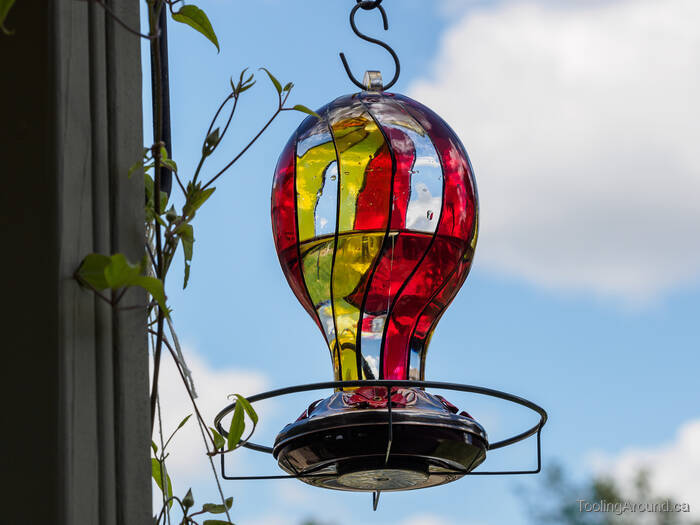
Waiting for a customer.
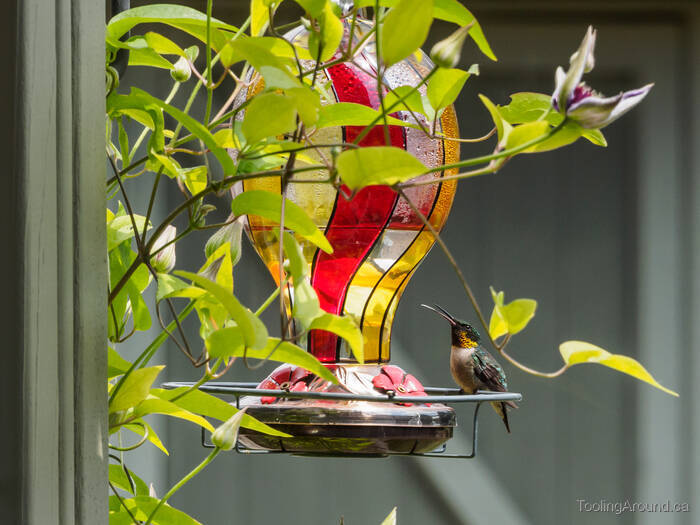
There's one now, with her tongue hanging out on a hot day. She seemed to be panting, with her head moving fore and aft almost as if she were in distress. She flew just fine, though, so I don't know what the problem was. I've not seen this behaviour, before.