Tooling Around
SD Card Extractor
This image makes me wonder why I didn't title this page “Getting A Grip”.
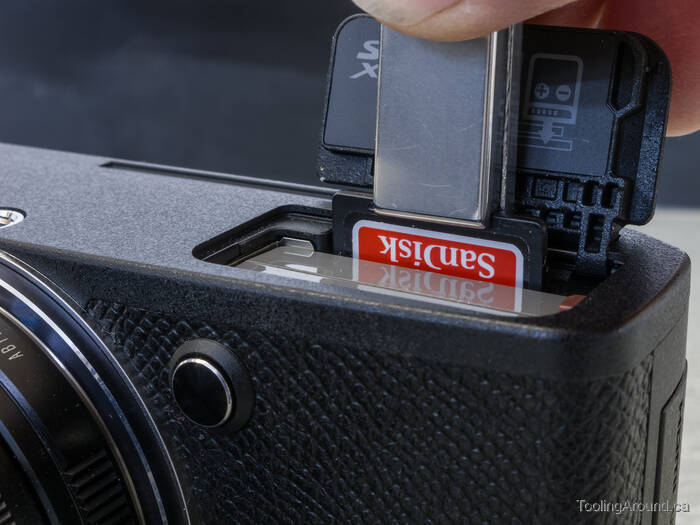
When I purchased my Olympus Pen-F camera, I knew that the SD memory card was inserted beside the battery, in the camera base. However, I didn't expect it to be quite so difficult to remove, at least with fingers the size of mine.
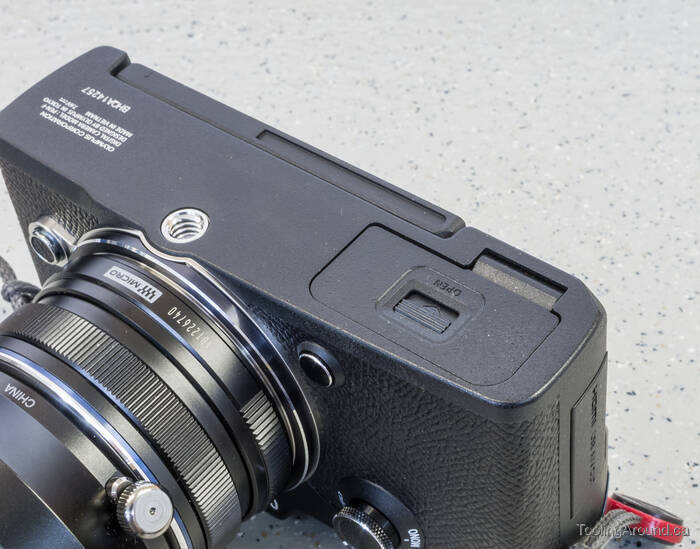

When the combination tripod plate and grip is attached, the SD card is even more difficult to remove. That's when I decided to built a simple tool to help.
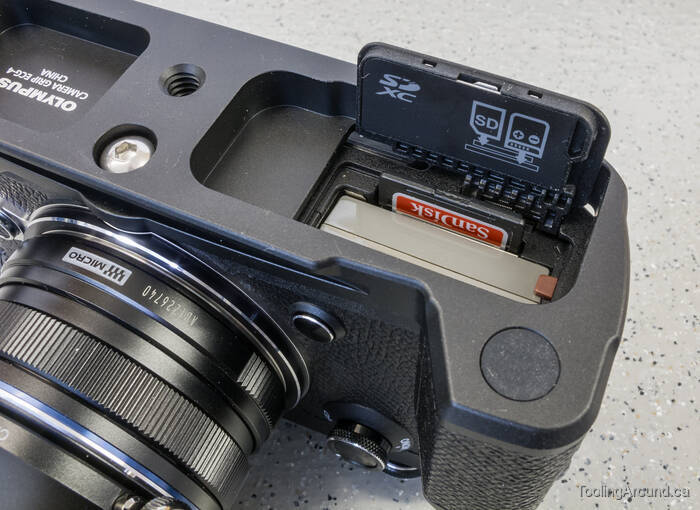
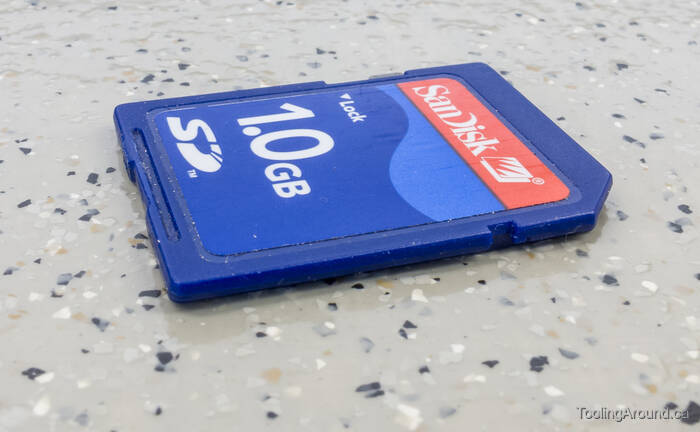
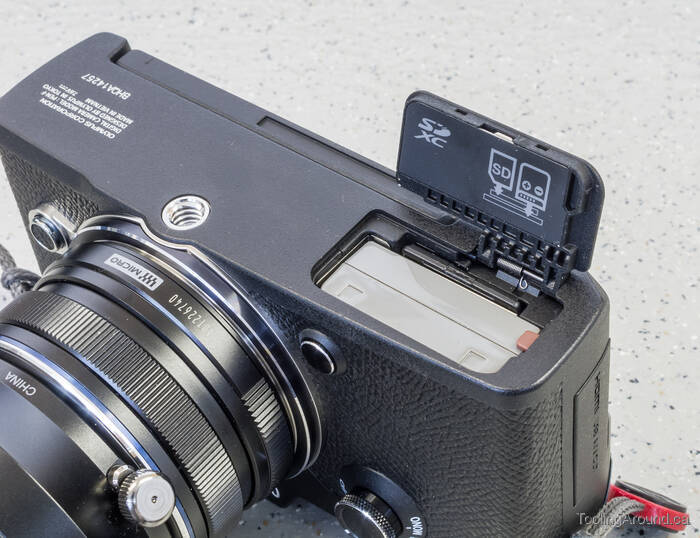
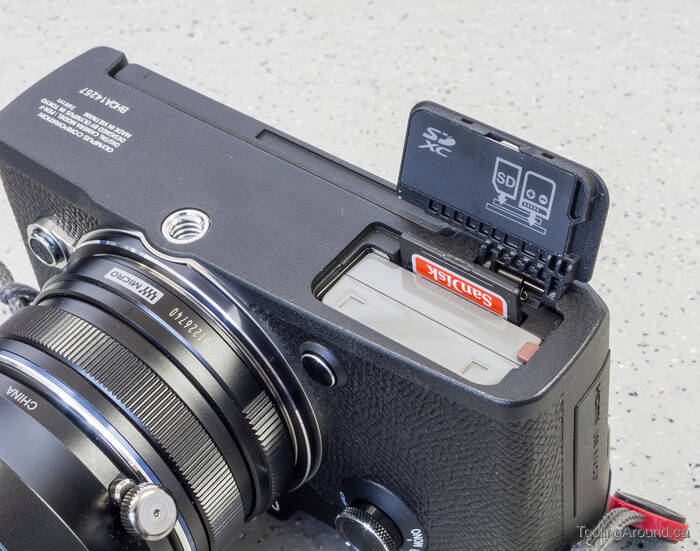
I noticed that there's a short, shallow groove close to the end of the SD card, probably intended for a fingernail. On this camera, at least, an attempted fingernail flip doesn't work, as there's still a bit too much drag on the card. However, it seemed to me that it would be a good place for something like a purpose-built pair of tweezers to grip the card.
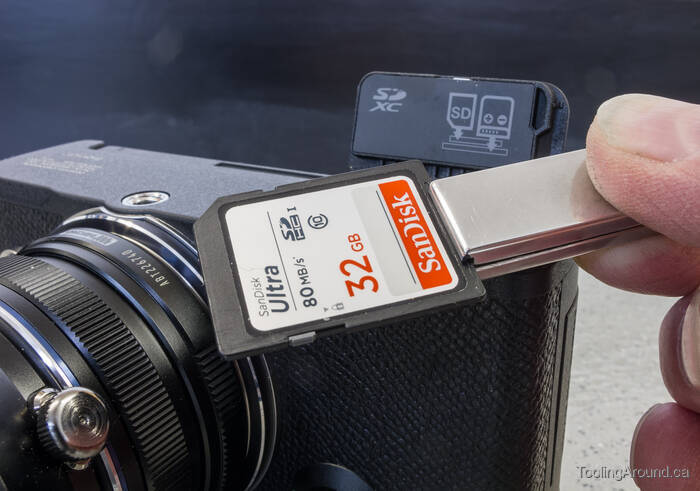
The sharp-eyed viewer will notice the small capacity of the card. Because of this, it's more or less obsolete and that makes it a suitable candidate for test fitting in the shop.
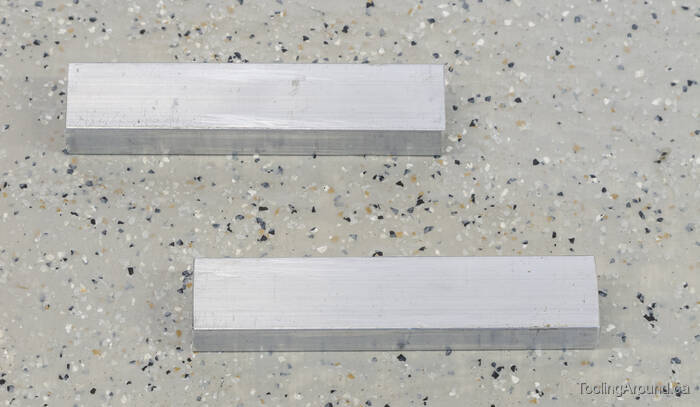
The only material required was two pieces of aluminum, 1/2″×3/8″ and a bit over 2″ long. I don't think it had to be so thick, but it's what I had on hand.
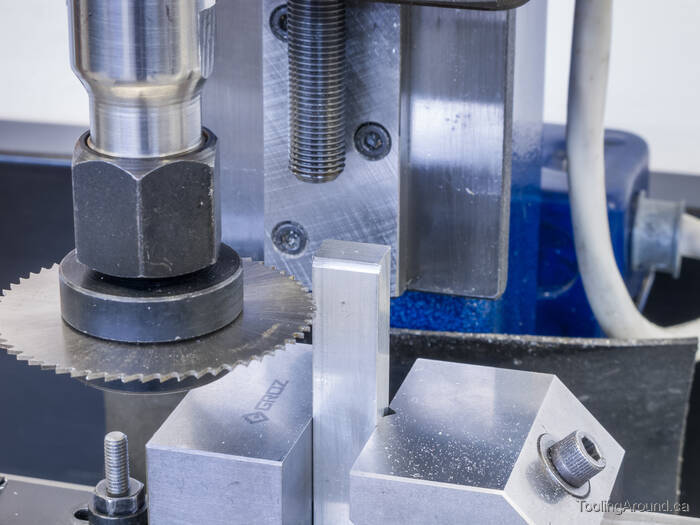
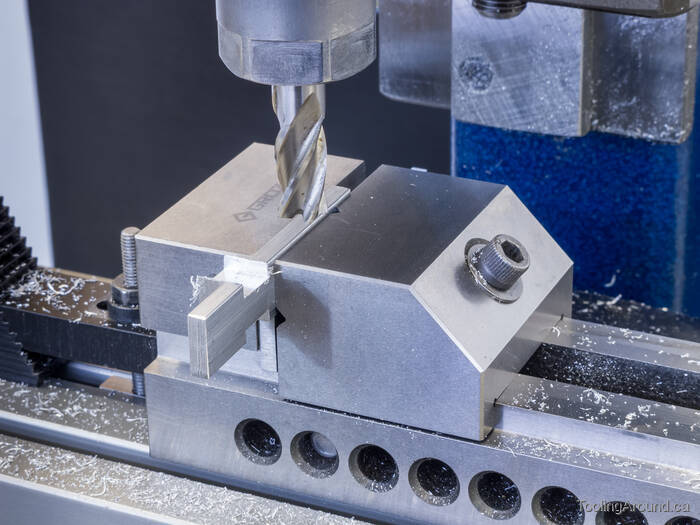
After facing off one end of one of the pieces, I cut a slot to leave a hook that would fit into the slot on a memory card.
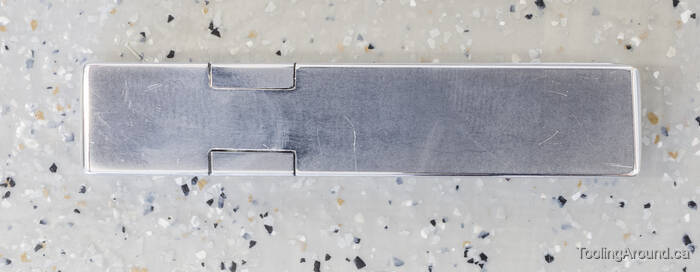
The next step was to start removing material until I was left with the makings of a hinge.

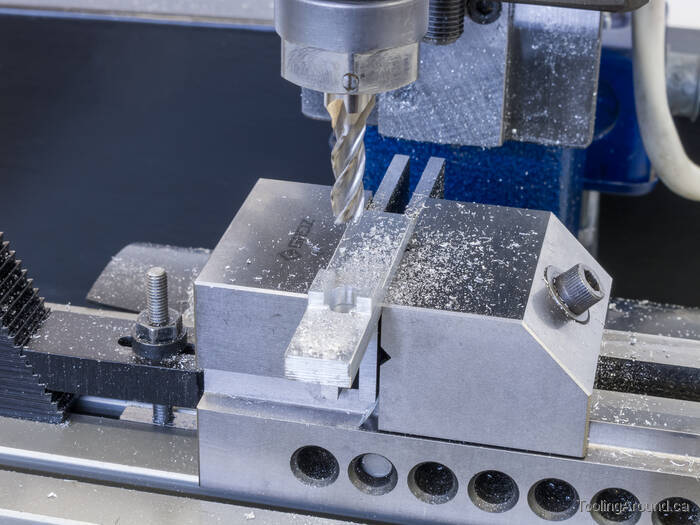
Both pieces looked like the lower one in this photograph, until I milled away the middle 1/4″ of the projection on the upper one, leaving two 1/8″ pieces. Then I milled straight down through and squared off the corners with small files.
It's not apparent in this photo, but I removed an extra 0.015″ of material from the short end of each piece. This was to provide just enough clearance for the completed extractor to open enough to grip a memory card.
This is the lower piece from the previous illustration, as I removed material so the two pieces could mate.
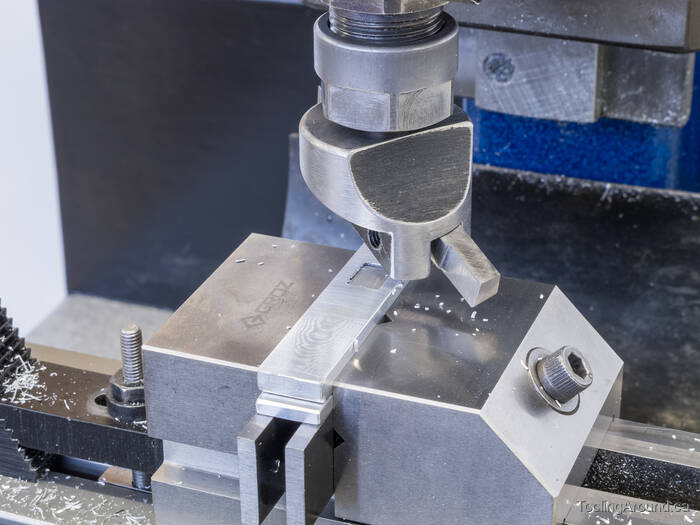
After drilling for a roll-pin (with the two pieces clamped together in a vise), I used a fly cutter to reduce the thickness of both arms of the extractor to something that looked about right. I squared off the ends in the mill, used a 1/4″ round-nosed cutter to make a “thumb dimple” in the side with the hook and it was finished, save for polishing.
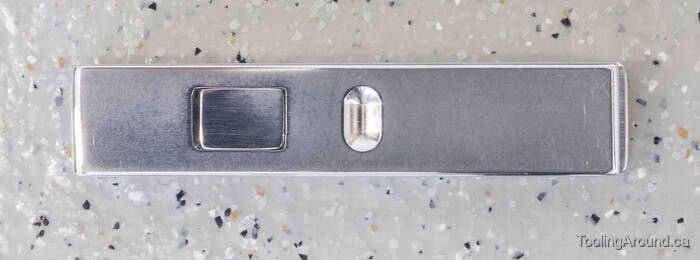
In the side view, you can see the gap on the short end of the extractor, resulting from thinning the short side that extra bit, as described, above.

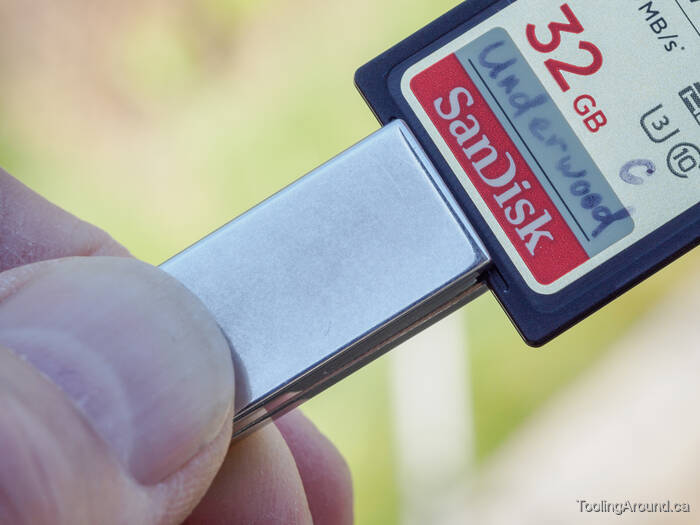
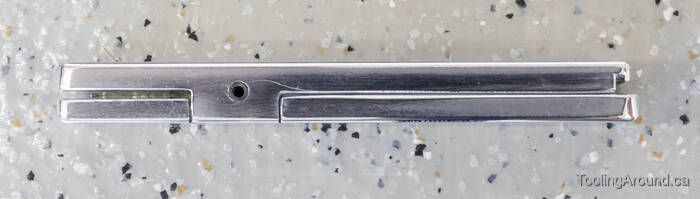
Here's how the hook fits into the groove. If you look closely, you'll see that there's room for the card to bottom out on the arm; this helps you (well, me) align the hook with the card. It isn't always easy to see the connection when using the extractor, so it needs to be able to work easily “by feel”.