Platform Bird Feeder
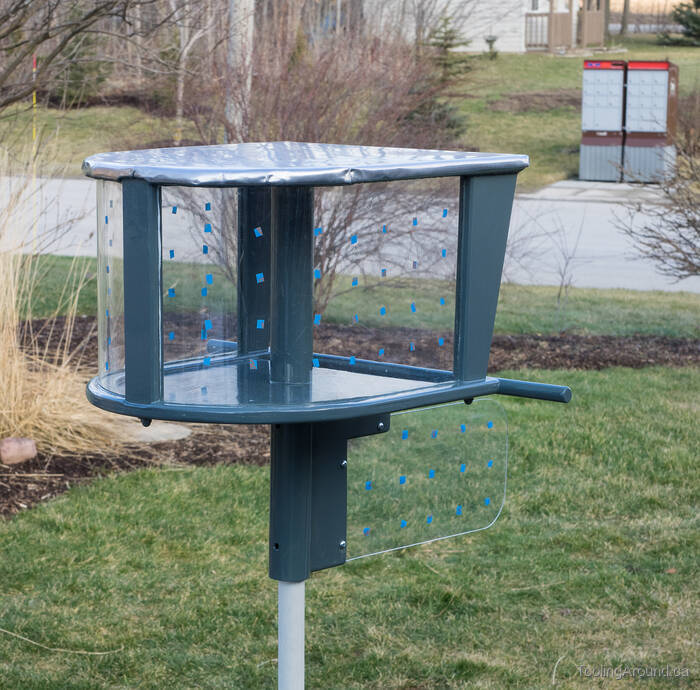
My wife lobbied for a platform bird feeder for longer than I'm prepared to admit. I let some ideas rattle around in my head until a design sort of started taking shape. I scrounged around the basement until I found pretty much everything I needed, including some plywood that's so old it produced a fine, powdery sawdust when being cut. Here's how it ended, on a typical Ontario icy winter day.
What I knew was that it needed to be open at only one end, as we get pretty strong winds in our yard from time to time and wind blowing through the feeder would quickly empty it of seed. On the other hand, birds mustn't feel trapped or cornered, so it needed to be light and airy. And I wanted it to be able to swivel so the open end could point away from the wind.
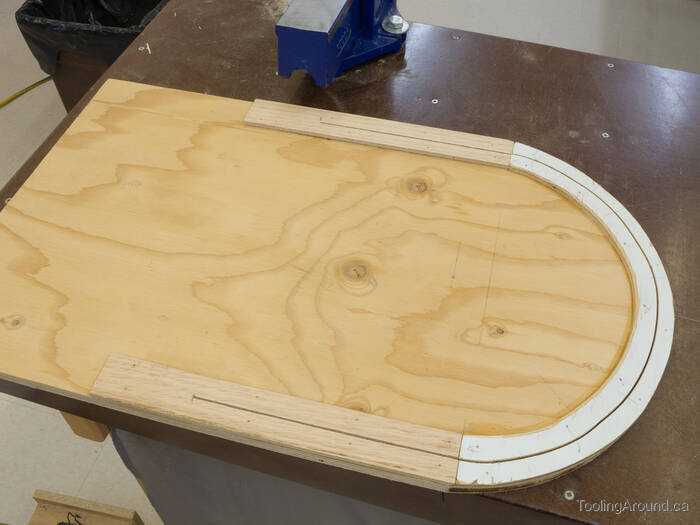
After cutting an arc on one end of a piece of plywood, I cut some strips of plywood to form a groove to accept a plastic sheet and glued them to the plywood base.
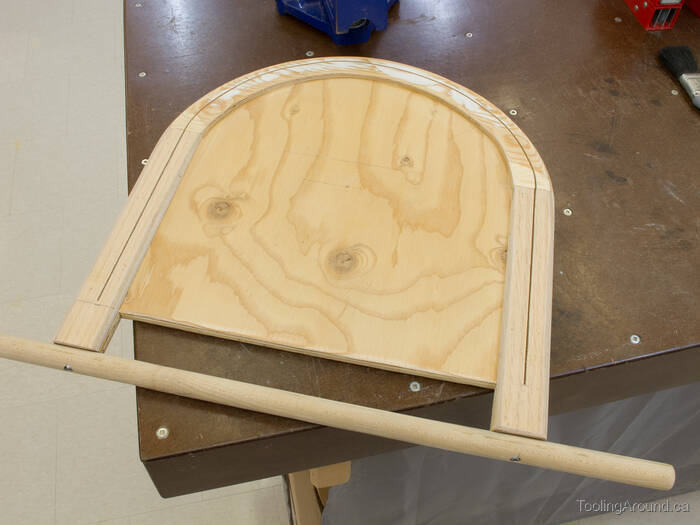
Next, I cut the base to length and then cut the inner part a bit shorter and attached a piece of dowel to serve as a perch.
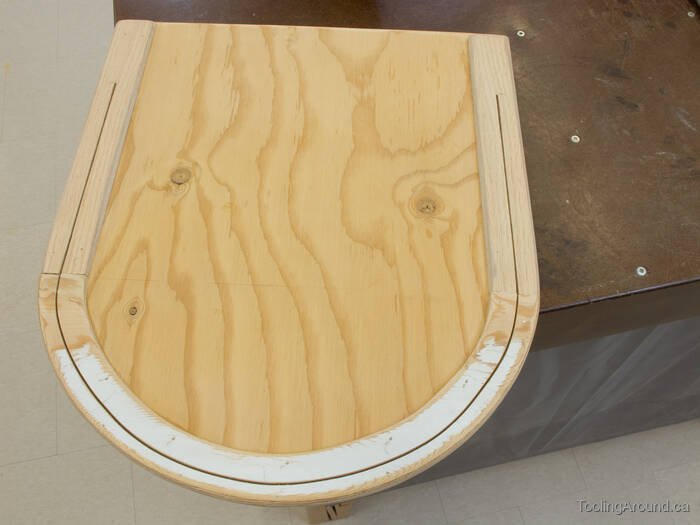
The top is a mirror image of the base, except that it's a bit longer, so as to overhang the open end a bit, to help keep rain out.
I used a thin sheet of plastic, salvaged years ago from a tacky picture that we discarded. It was one of those long, narrow pictures with a gold plastic edge that held the plastic cover, paper picture and cardboard back together. I pulled off the plastic edges and scrapped all but the plastic cover. It's a bit brittle, but bent well enough for this project.
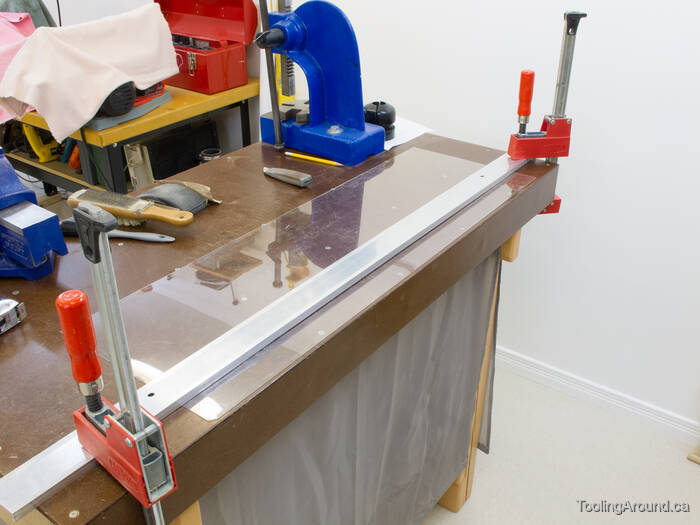
I used a straightedge so I could hopefully score the plastic on the same line on both sides of the sheet. Once scored, I carefully bent the plastic up until it snapped along the scored lines.
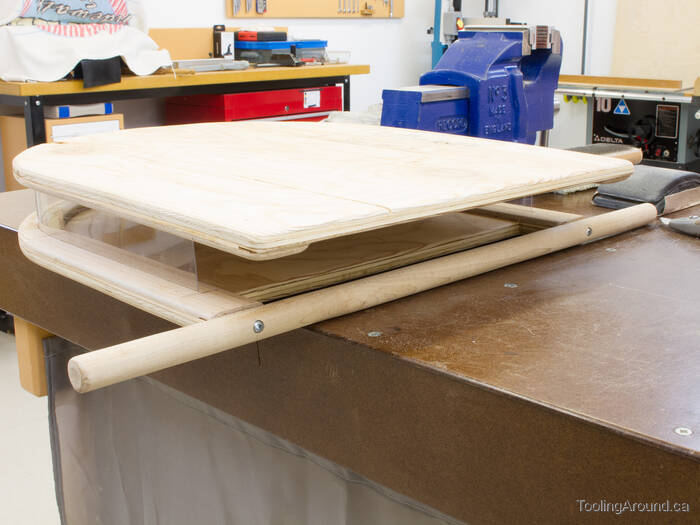
This is a test fit with the narrow scrap piece. This is a bird feeder for very short birds.
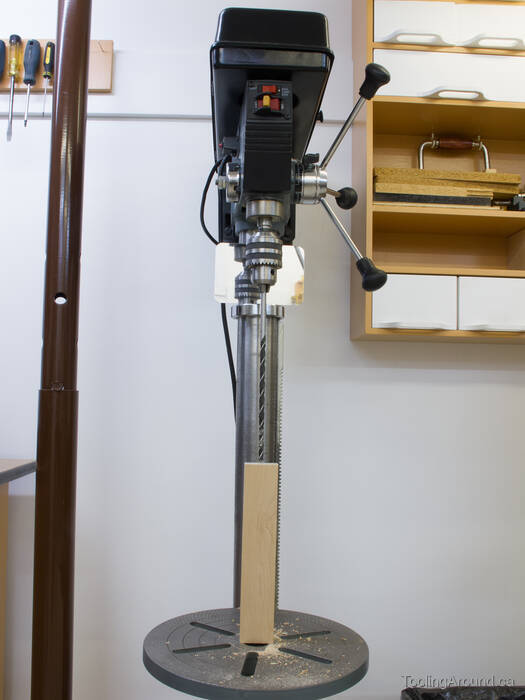
The uprights were interesting to drill. I had mixed, but serviceable results.
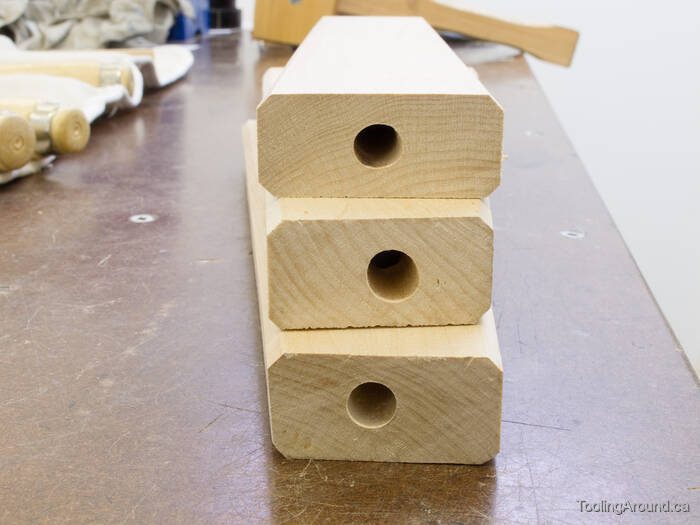
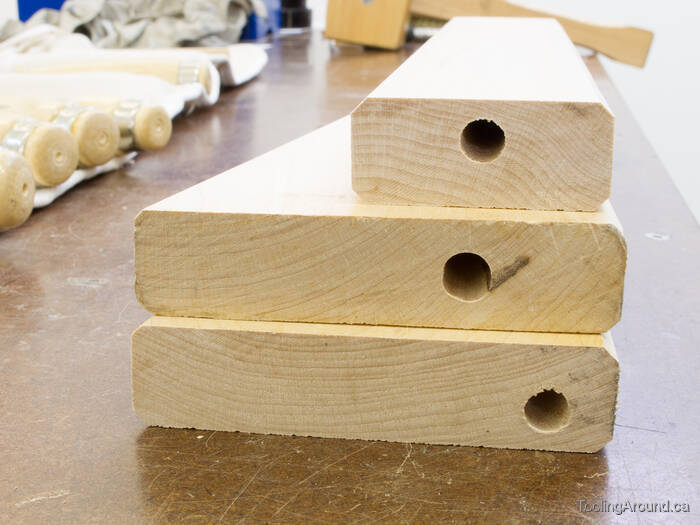
Here are the ends of the vertical frame pieces.
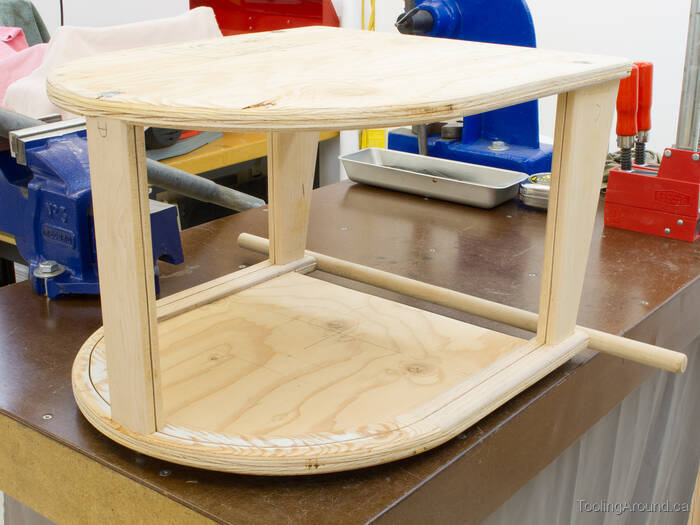
This is the first test assembly. There are 1/4″ threaded rods through the uprights, with T-nuts on top and acorn nuts on the bottom. So far, the rod and T-nuts are all I had to buy.
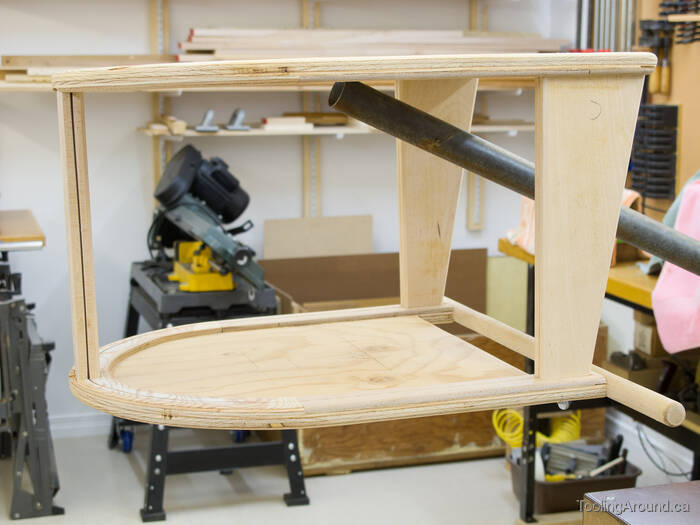
With a short length of pipe held in my bench vise, I was able to find the balance point. This point was then marked on both the top and bottom pieces of the bird feeder.
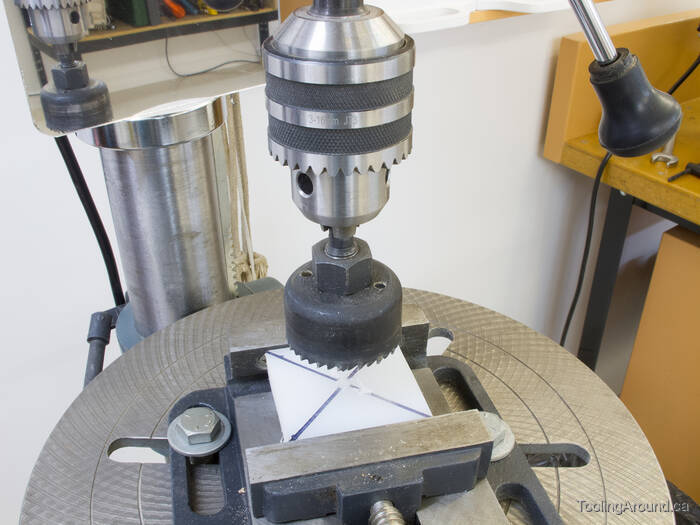
A hole saw was used to cut grooves in two pieces of UHMW polyethylene plastic. This stuff is dense, durable and very slippery, so it makes good bearings. It was also my second purchase for this project. What's left over is most likely a lifetime supply for me.
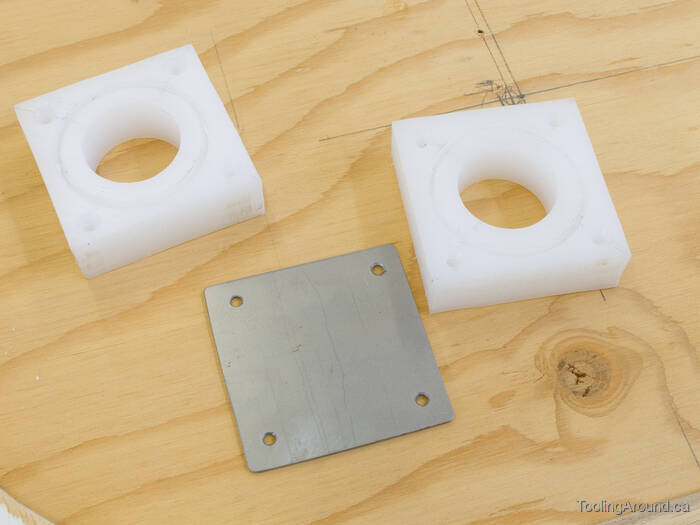
Here are the two UHMV bushings and a steel bearing surface. The holes were bored on the lathe.
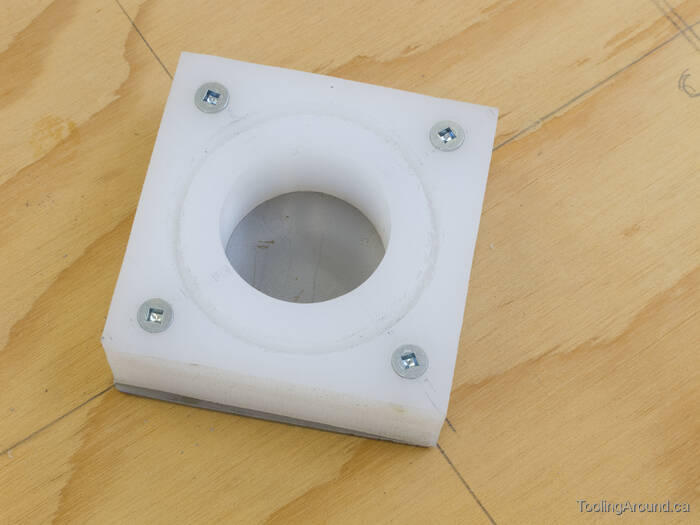
The upper bushing is installed on the underside of the top of the feeder. The steel plate is the bearing surface that will support the entire weight of the bird feeder. The plastic bushing will accept side forces and allow the feeder to turn on its mounting tube.
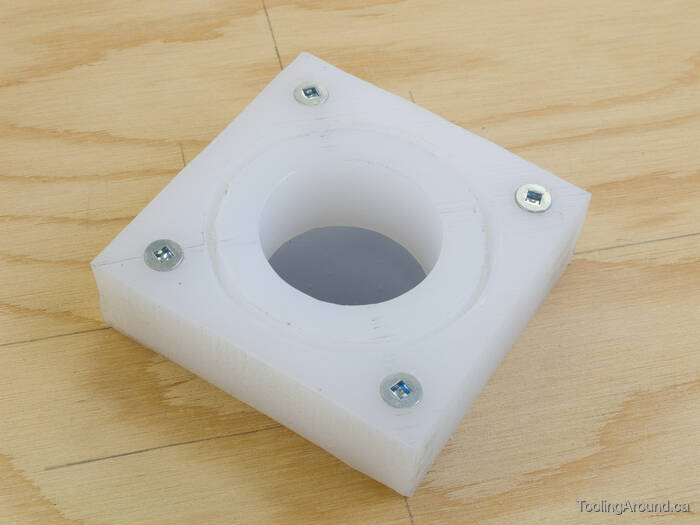
The lower bushing is installed on the underside of the feeder.
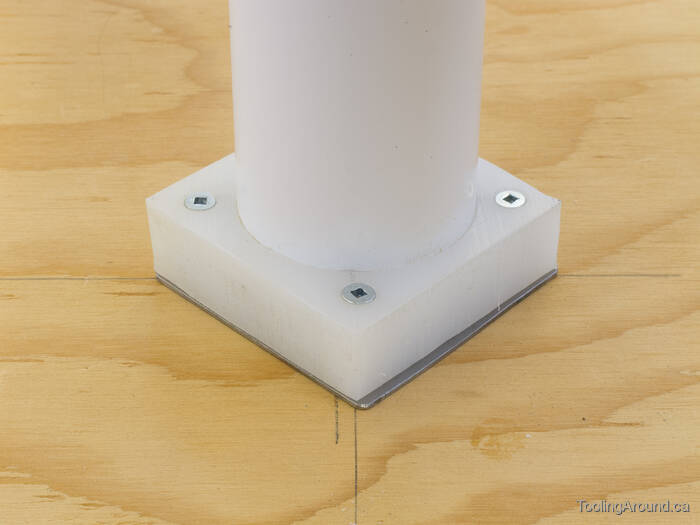
A short length of 2″ plastic tube was pressed into the groove in the upper bushing. It will cover the feeder's mounting tube.
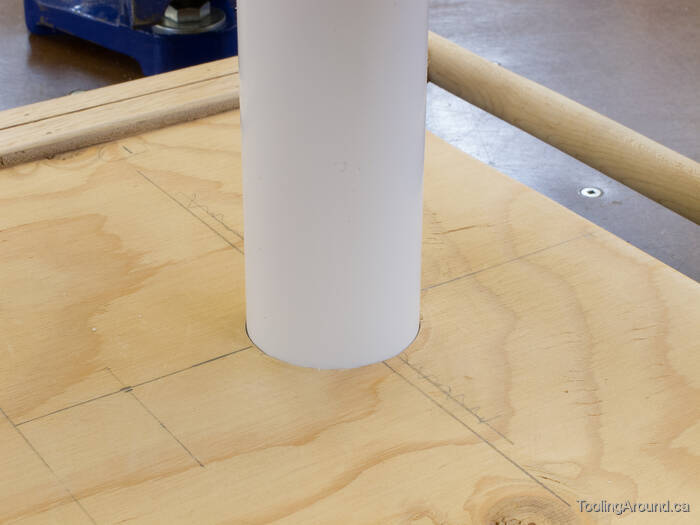
The other end of the plastic tube passes through a hole in the bottom of the feeder, to keep seed from falling through. The tube presses against the lower bushing, which is mounted just under the hole.
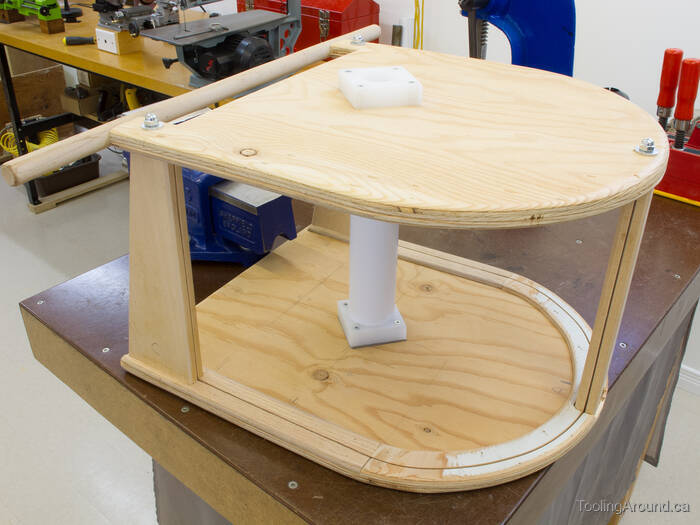
Here's the assembly, so far. Another short length of plastic tube will be pressed into the lower bushing, to help support the wind vane.
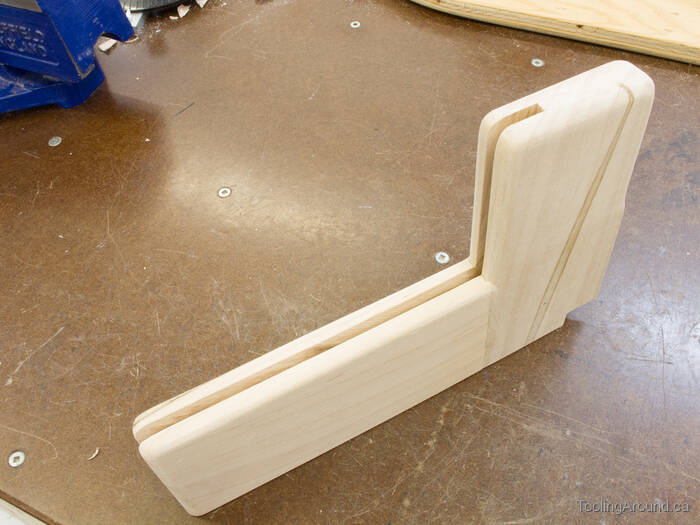
Some maple scraps were used to make a holder for the wind vane.
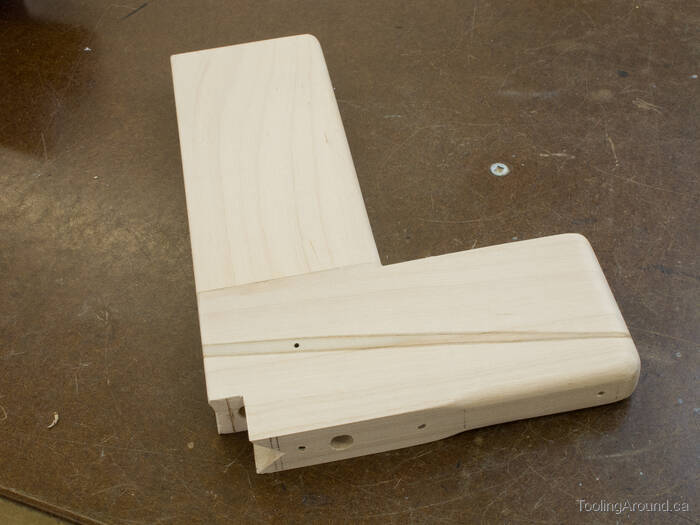
This edge is the top edge and will be screwed to the bottom of the feeder. The notch is clearance for the plastic bushing under the feeder's floor.
The two larger holes are counterbores for screws that hold the two pieces together. They're glued, too, of course. The tiny hole in the side is just a small flaw in the wood, probably a worm hole.
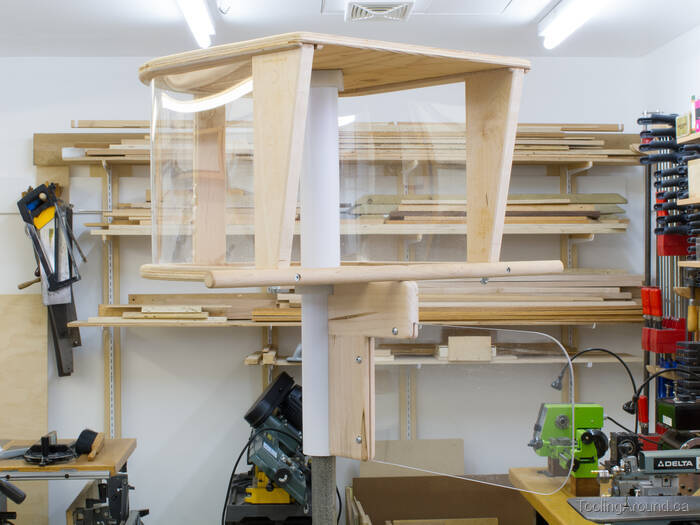
And it was looking pretty good. The holes in the acrylic plastic vane are large enough for a loose fit on the screws and the groove is just a bit wide, so as to avoid stress points on the vane.
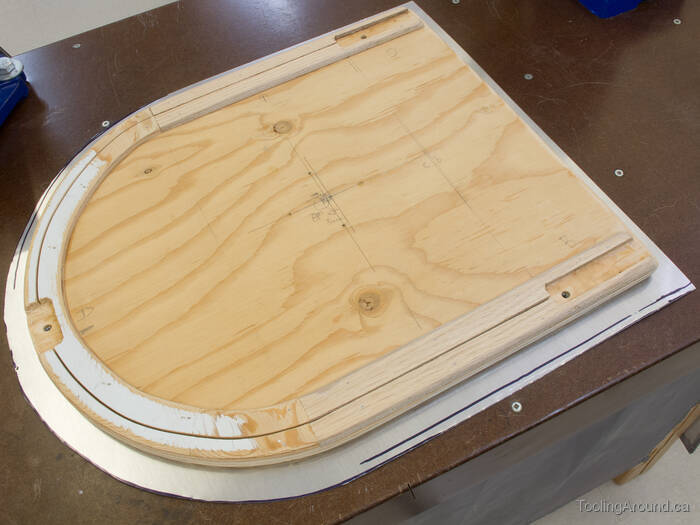
My other purchase was a sheet of aluminum. In this photo, you can see how it was cut to match the feeder's top.
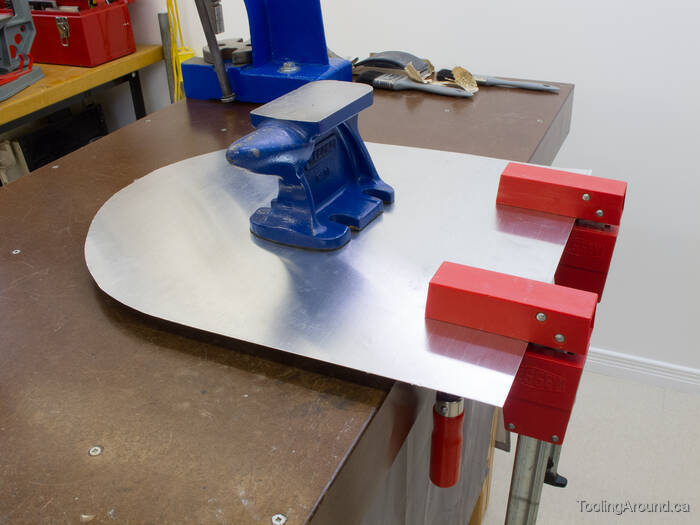
With clamps to prevent slippage, I used a rubber mallet to shape it over the edges of the top. In the process, I ably demonstrated my complete lack of skill at sheet metal work. (The little anvil was a pretty useless attempt to weight it down.)
After it was hammered into place around the edges of the plywood, I drilled a series of tack holes around the perimeter and fastened it in place with copper tacks. It isn't pretty, but it's seamless and durable.
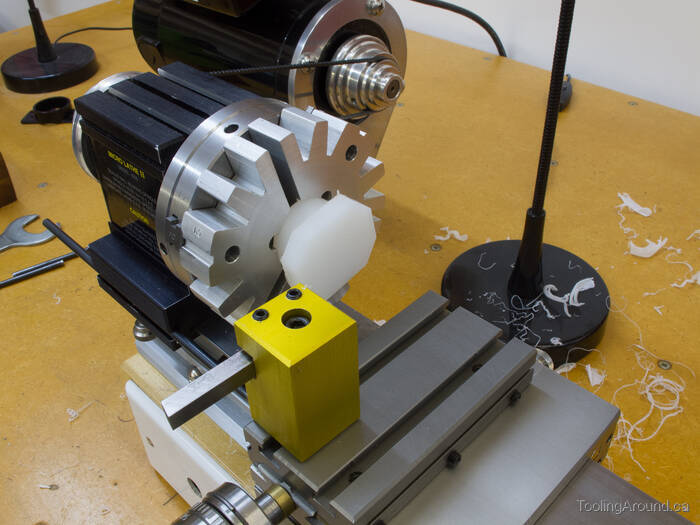
I turned a UHMW plastic plug to slip into the top of a length of chain link fence top rail, which I'm using as a mast. This bushing will bear the weight of the feeder.
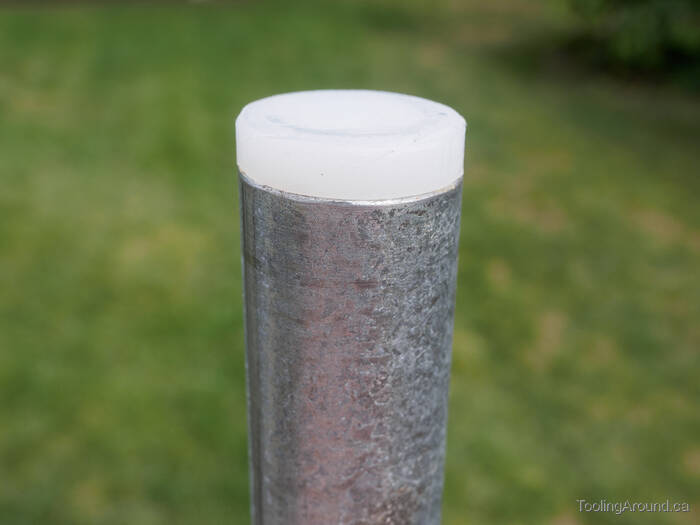
Here's the bushing in the mast, waiting for the bird feeder.
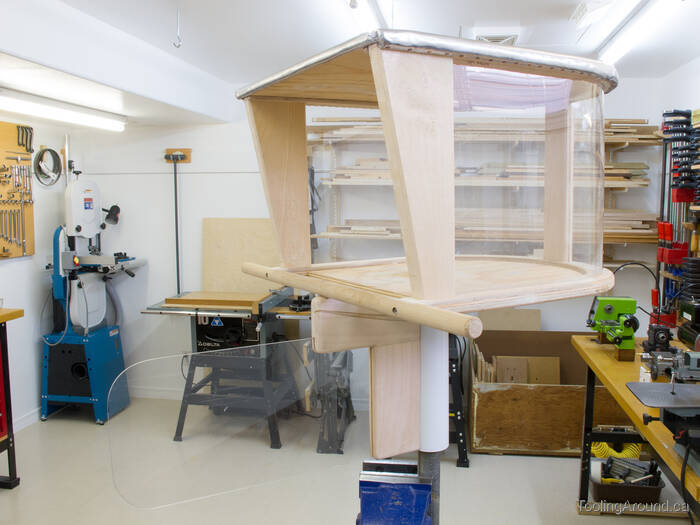
And there it is, ready for painting.
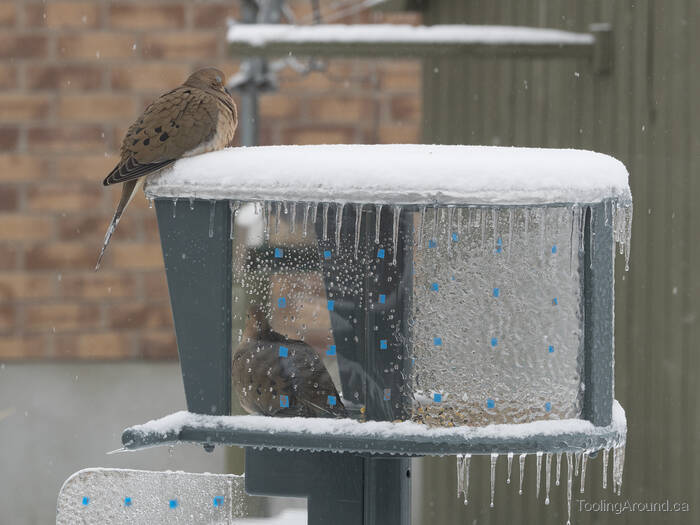
Two diners, one feeding and one fallen asleep waiting to be served.
The blue things are bits of masking tape that I used until the plastic discoloured, so birds wouldn't try to fly through the clear plastic. Of course, they're unnecessary when the whole thing's covered in ice.