 Tooling Around
Squirrel Baffle
After mounting a bird feeder on its mast, it seemed like a good idea to deter squirrels from feasting on bird seed. I decided to make something to, well, baffle their attempts to climb the mast. I liked the design of those baffles that are too big for a squirrel to grasp and too wobbly to inspire confidence. So, I checked my stash of bits and pieces and found what was needed.
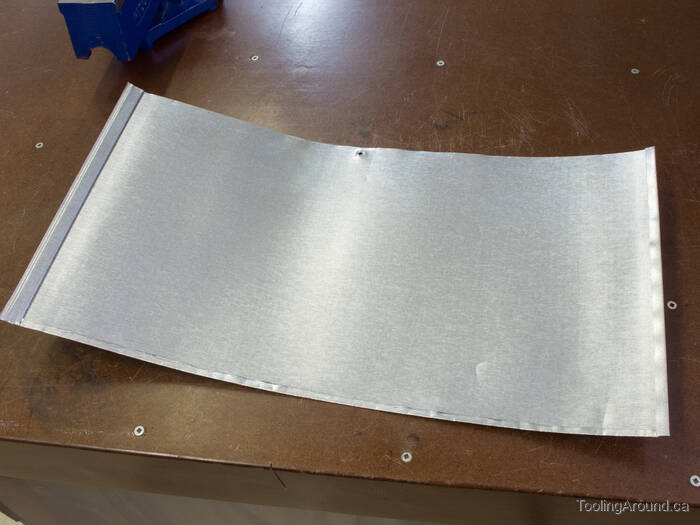
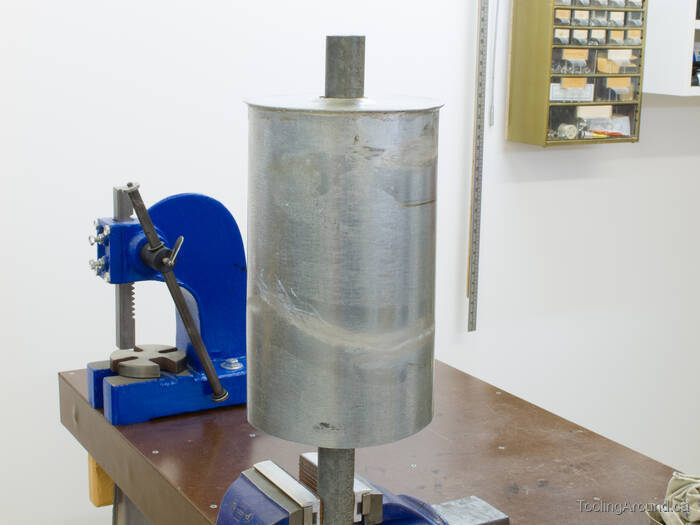
I had a scrap of 6″ sheet metal pipe exactly the right length for a squirrel deterrent. Before forming it into a pipe, I bent one edge over and tapped it flat, to make a safe edge that won't cut someone.
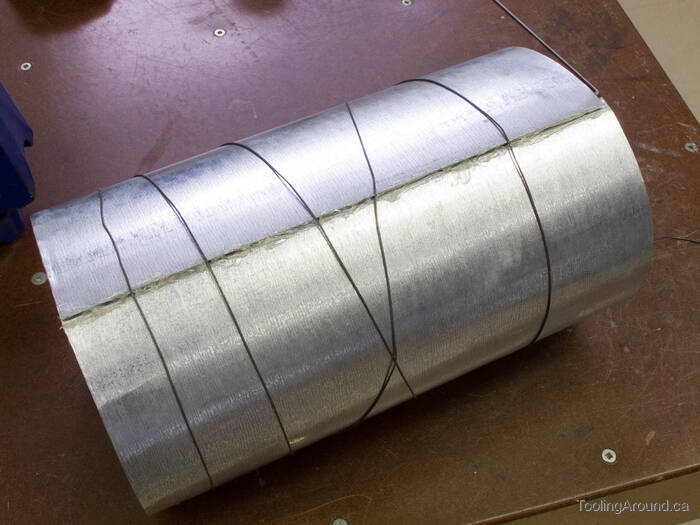
After rolling the pipe, I used some wire to hold the joint in alignment while I soldered it shut.
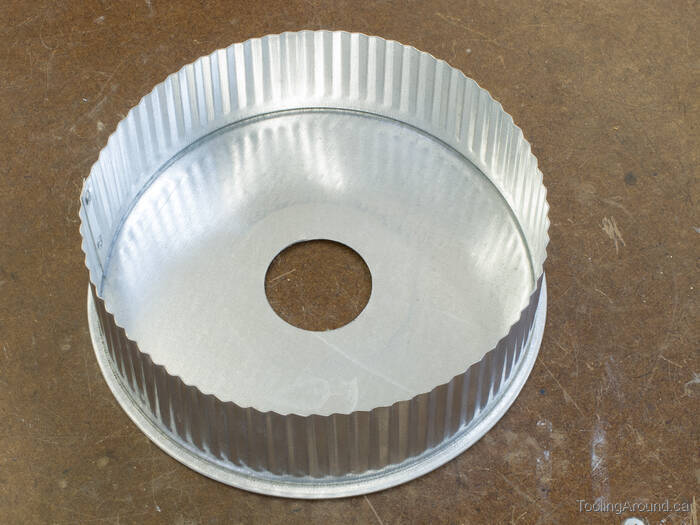
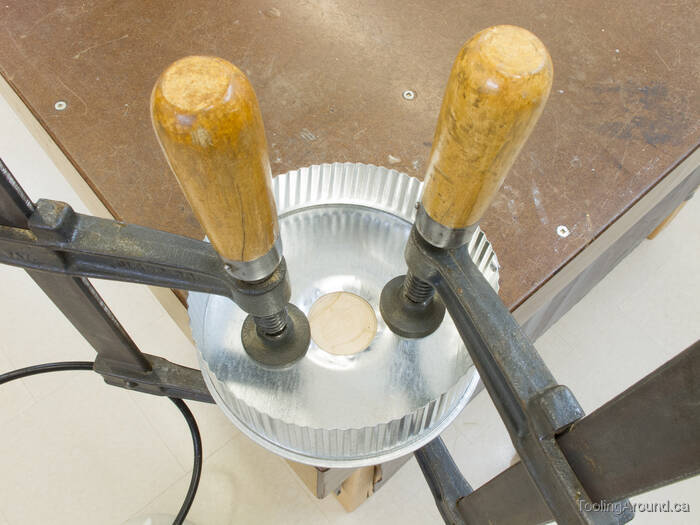
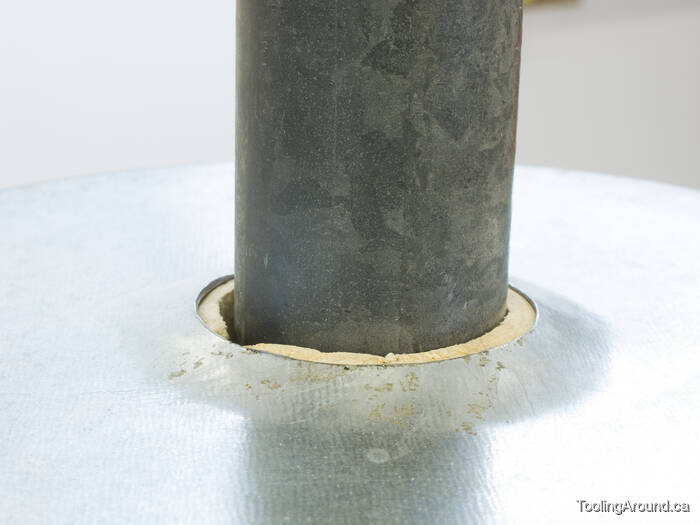
I had an end cap sitting around from a different project that never got off the ground. It needed a hole in the end, for the bird feeder's mast.
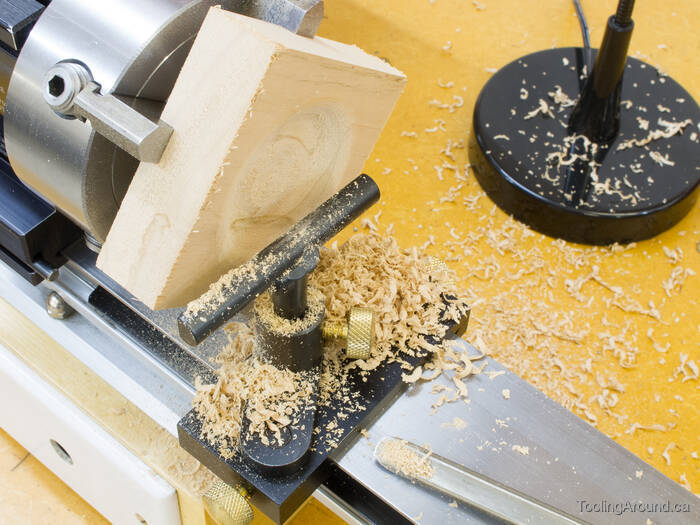
A little wood turning...
...produced a form to shape the edges of the hole.
Some tender mashing and battering...

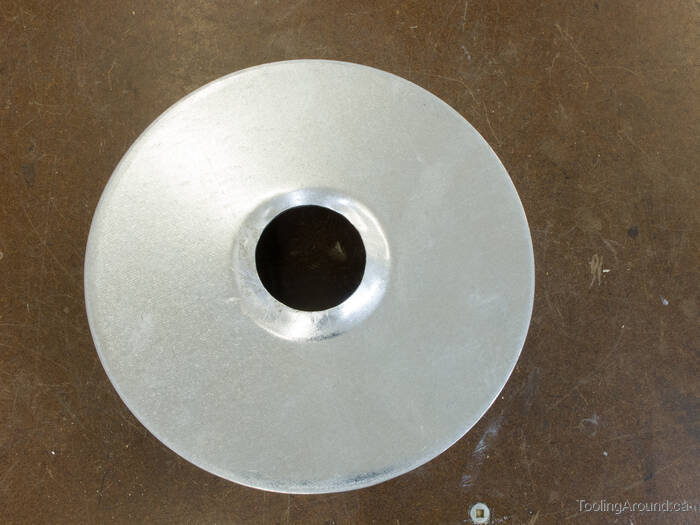
...produced a nice, rounded flange.
The next step was to press the end cap into the end of the pipe and solder it in place.
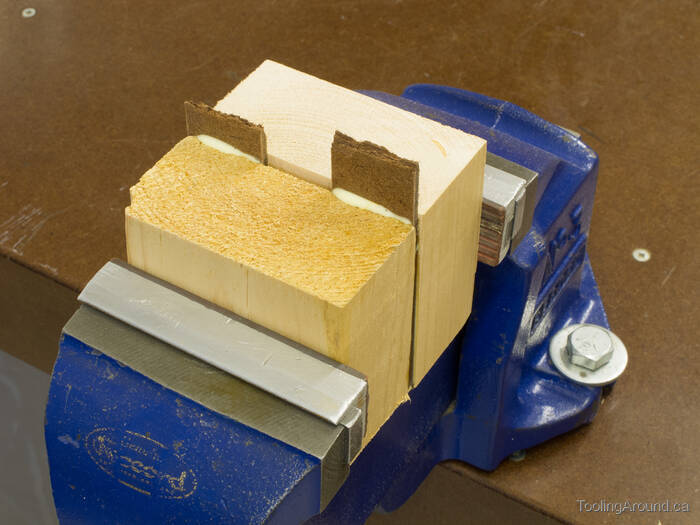
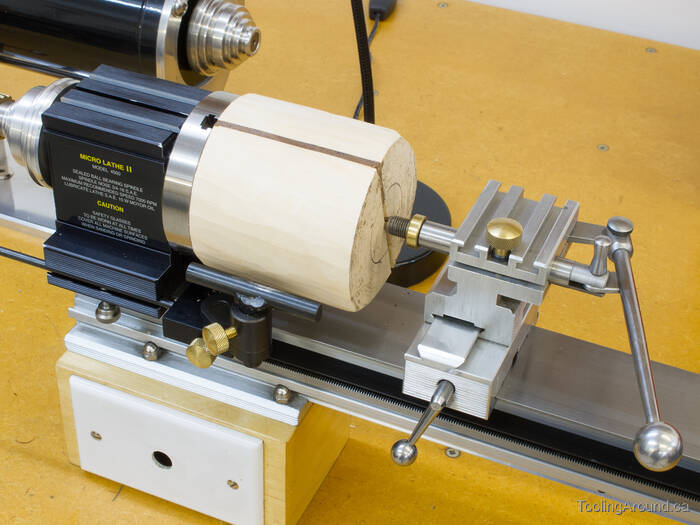
Meanwhile, back at the vise...
...I made this strange thing.
It will be the support that will be clamped to the mast, with the baffle resting on top of it. The two hardboard strips glued between the wooden blocks serve to keep the blocks in position relative to each other. The hardboard isn't very strong, so it will be easy to split the blocks apart later and remove the bits of hardboard, leaving a nice gap between them so they can be clamped to the mast.
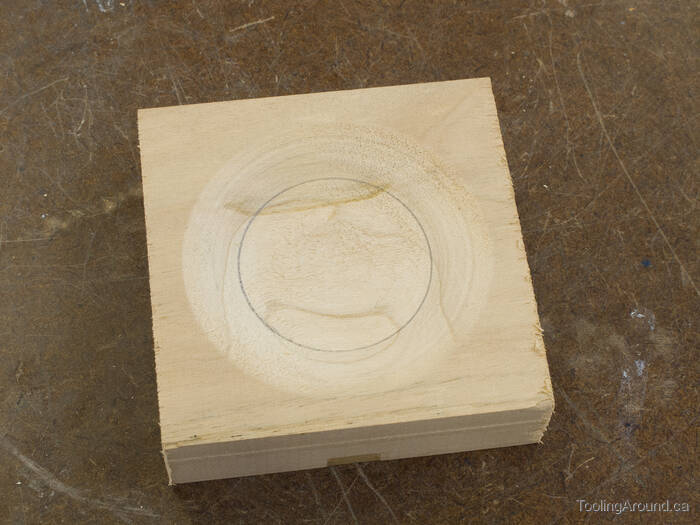
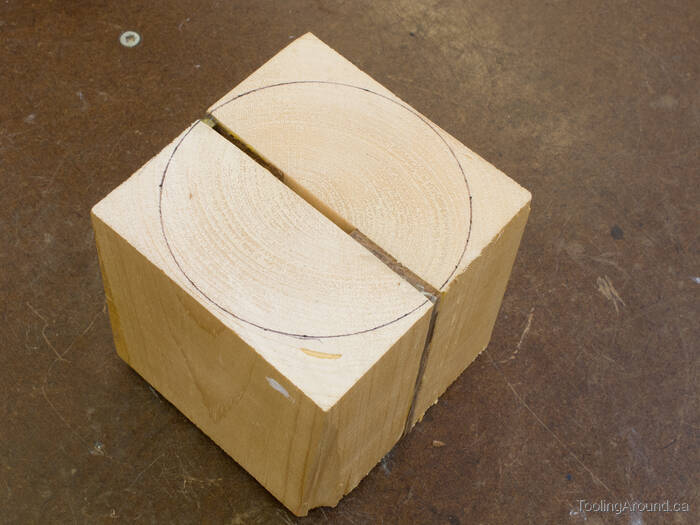
The next step was to draw as large a circle as would fit on one end of the workpiece.
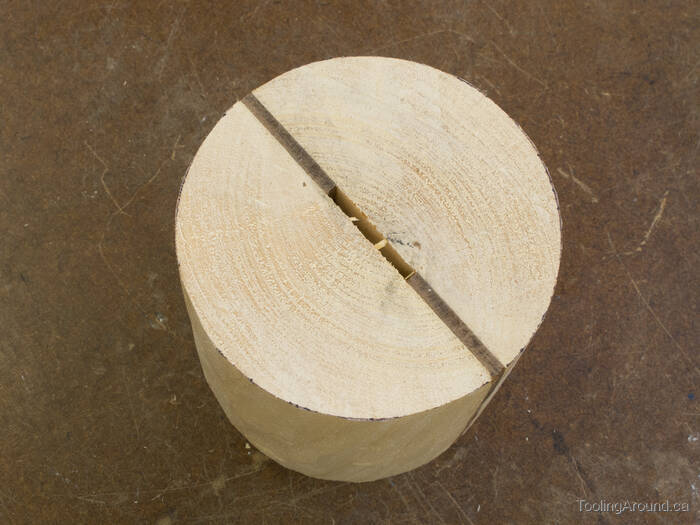
Now to make it round. Chisels and a hand plane got me this far.
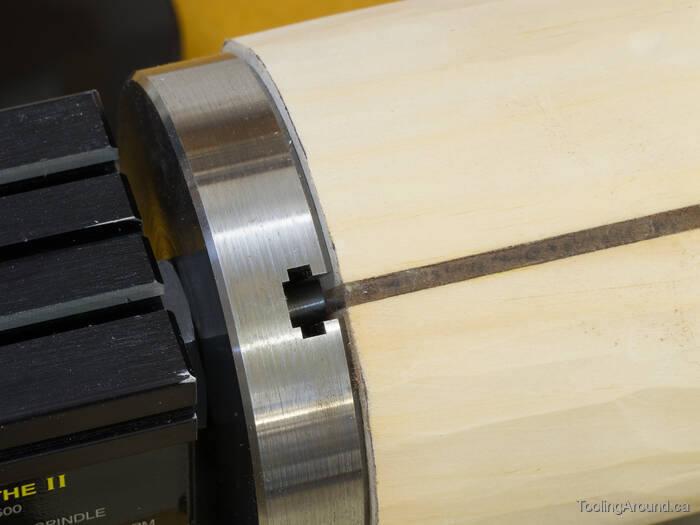
I used a centre in the headstock to position the workpiece, with the faceplate keeping it square to the spindle. If you look closely, you can see a small steel pin pressed into the gap in the workpiece, with the other end trapped in the T-slot, to keep the workpiece turning with the faceplate.
This is rather pushing the size limits of the Taig lathe. The next step would have been to use riser blocks, but I preferred not to because the tool rest would only raise just so high.
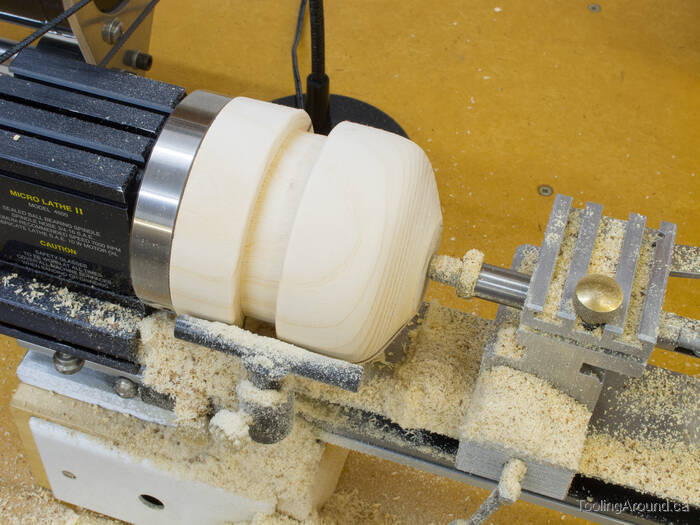
A little more sawdust and it was round. The end is rounded to more or less match the shape of the flange around the hole in the end cap. The groove is for a strap clamp.
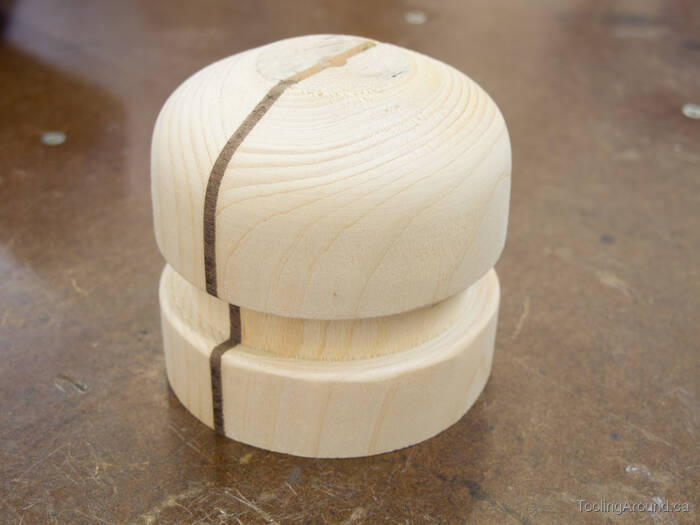
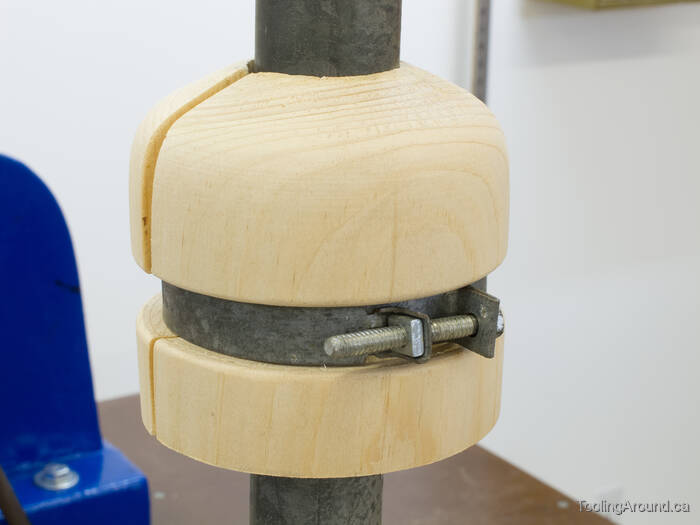
After splitting it at the hardboard spacers and scraping off the remaining hardboard, I had this...
...which mated with this.
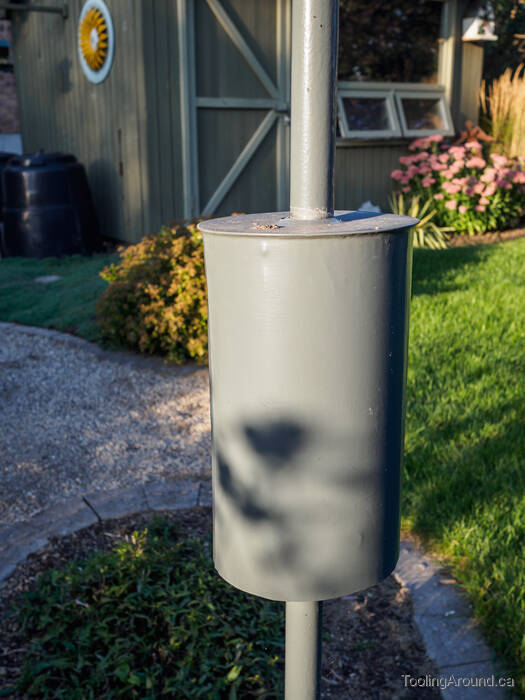
Take that, you nasty little tree rats!
A coat of paint and it was ready to use.