 Tooling Around
Taig Mill – Rotary Table Vertical Mount

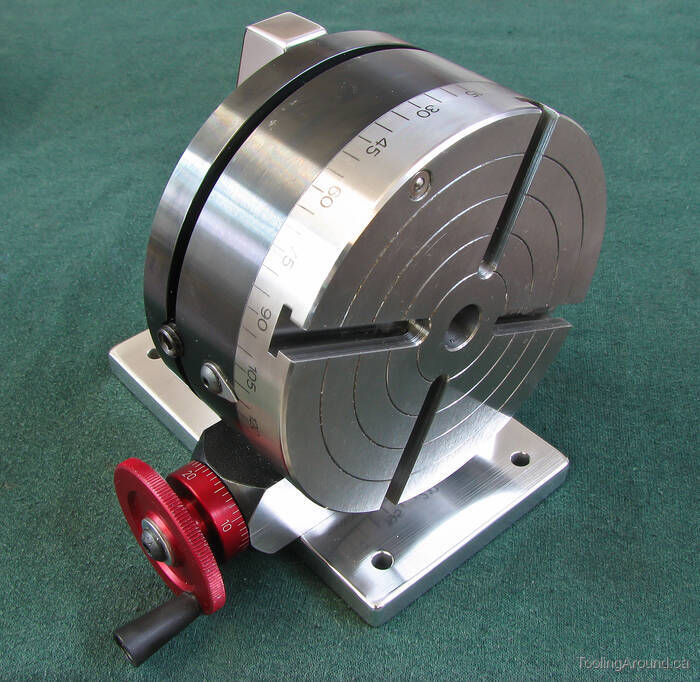
The Sherline 4″ rotary table is an excellent match for the Taig mill. It's beautifully finished and works like a charm.
This device is used to mount a Sherline rotary table vertically on a Taig mill table. It's modelled closely after the one sold by Sherline, but with mounting holes suited to the Taig table's T-slots. Probably, the Sherline right angle attachment would work, too, with additional mounting holes, but I didn't check. This was just a fun project.
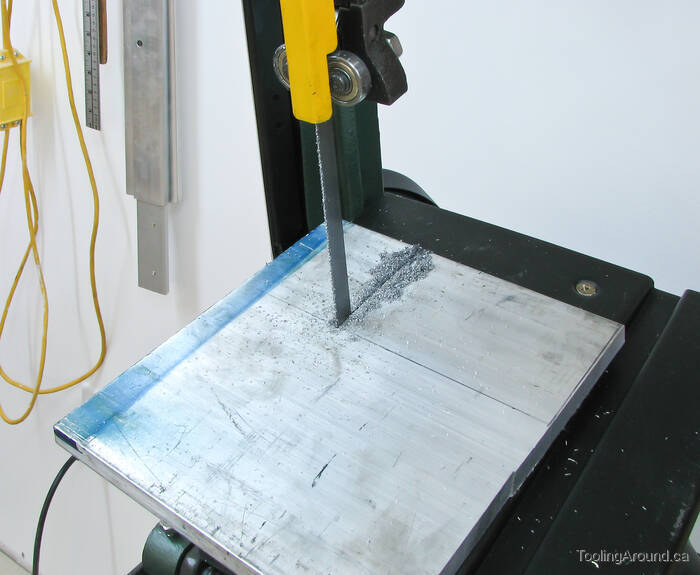
The two pieces were cut from 1/2″ 6061-T6511 aluminum plate.
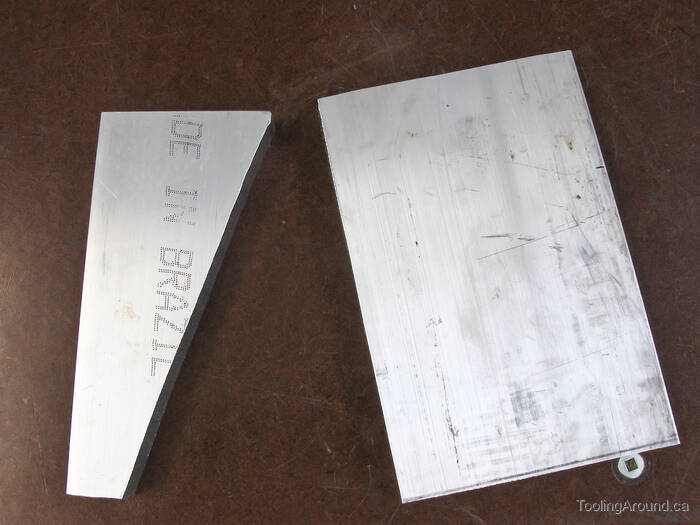
There are just two parts, a base and a vertical stabilizer.
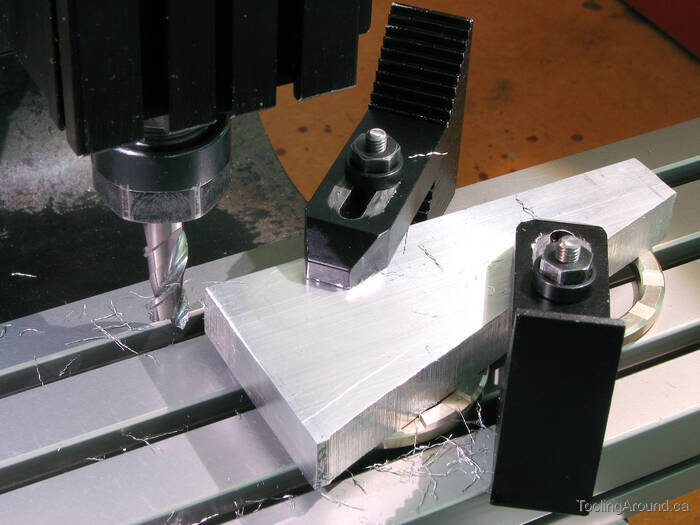
The bottom edge of the stabilizer was milled to make a nice fit to the base. The vertical front edge is the original edge as it came from the plate. That edge doesn't contact anything, so its surface finish isn't critical. I milled the bottom edge at 90° to the front edge, but that isn't critical, either.
The sloping back edge of the stabilizer was milled to a nice finish. Neither the angle nor the finish are critical, but why not make it look nice?
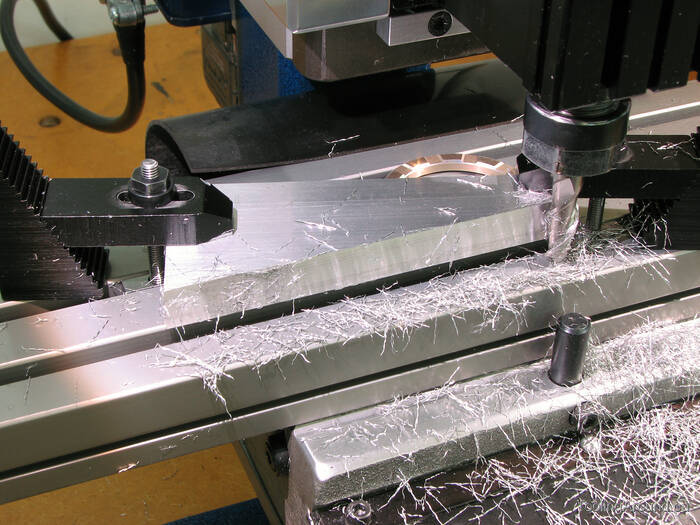
Holes were drilled in the bottom edge of the stabilizer and tapped 10-32 for SHCS's that will attach it to the base.
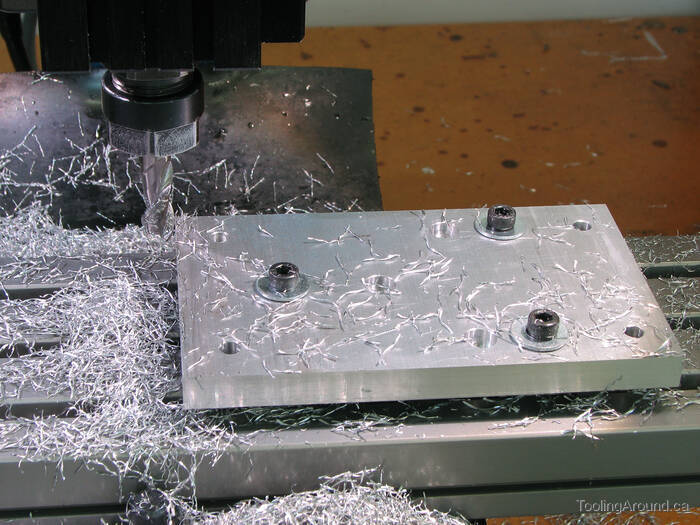
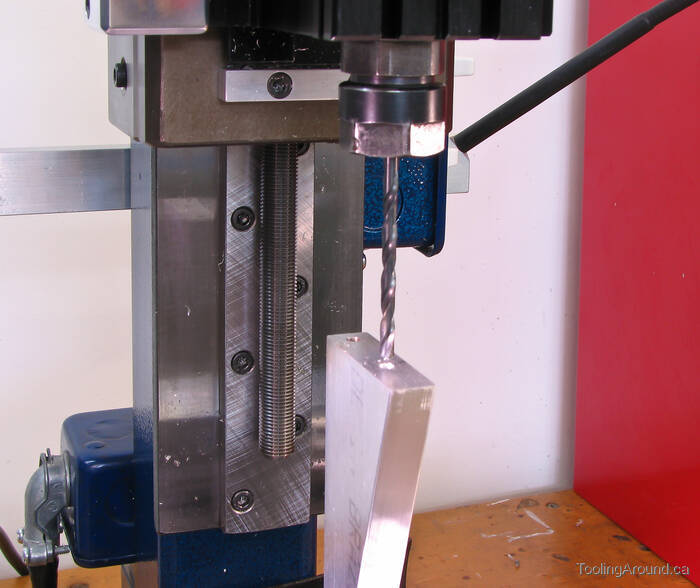
After drilling the required mounting holes in the base, some of them were used to hold the base to the mill table so the edges could be cleaned up. The base is held off the table by two circular spacers from a defunct 5-1/4″ computer disk drive.
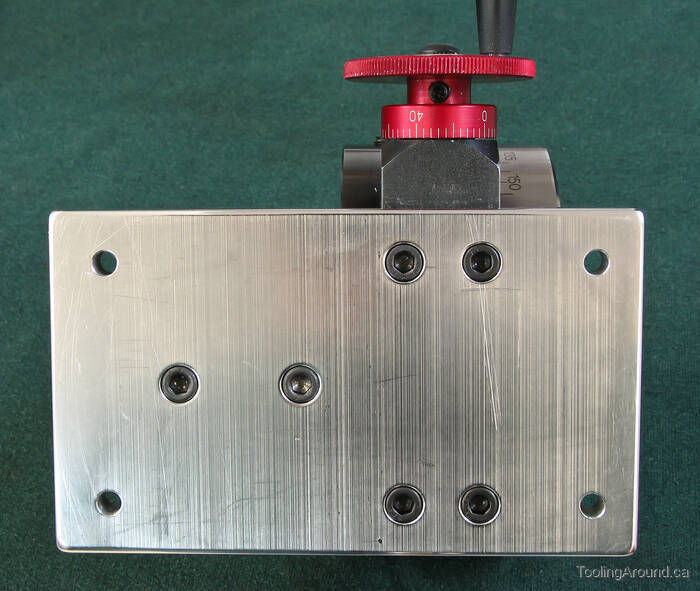
The stabilizer is mounted to the base, as is the rotary table.
The rotary table has four mounting holes in the side of the worm housing. These holes are filled with grub screws, to keep dirt out of the housing, and are removed when attaching the rotary table to the base. If you decide to make one of these, be sure to use SHCS's that are long enough to mount the table securely to the base, but not so long that they enter the worm housing and damage the parts inside. Always re-insert the grub screws, after removing the rotary table from the base.
Here's how the rotary table looks, mounted to the vertical holder.
By simply attaching the rotary table to the base, it will be securely held at right angles to the mill table, almost. The almost is because, machining tolerances being what they are, it probably won't be exactly vertical, as determined by indicating on the table's surface. Nor will it be quite secure, when subjected to milling forces. That's why a vertical stabilizer is used.
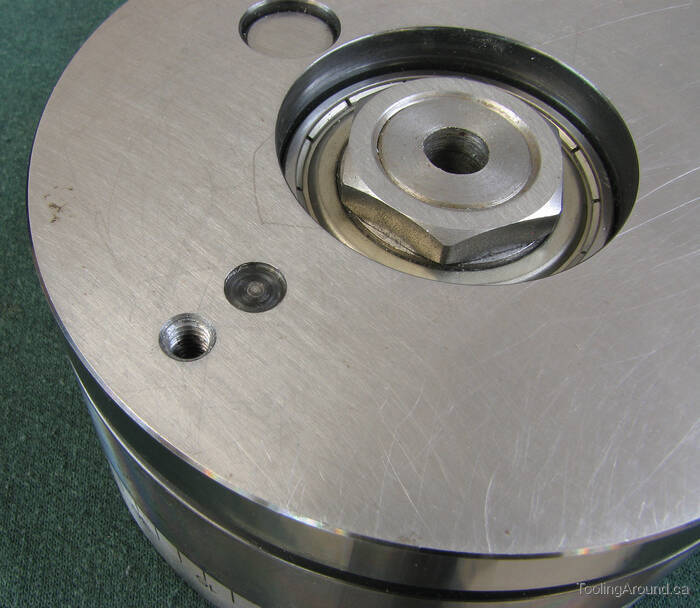
The attachment point for the top of the stabilizer is a SHCS that goes into a threaded hole in the back of the rotary table's base, shown in this photo. Next to this threaded hole is a shallow counterbore.

This photo shows the 10-32 SHCS that attaches the rotary table to the top of the vertical stabilizer. Below the SHCS, you can see the end of a grub screw. The end of the grub screw has been ground to a smooth curve, so it won't mar the bottom of the counterbore on the back of the rotary table.
To make such fine adjustments as may be required to make the table vertical, the grub screw is turned until it bears on the bottom of the counterbore. Then the SHCS is tightened, with the strain being taken by the grub screw. Adjustment is achieved by loosening the SHCS, adjusting the grub screw, and re-tightening the SHCS. This “push me, pull you” arrangement works well.
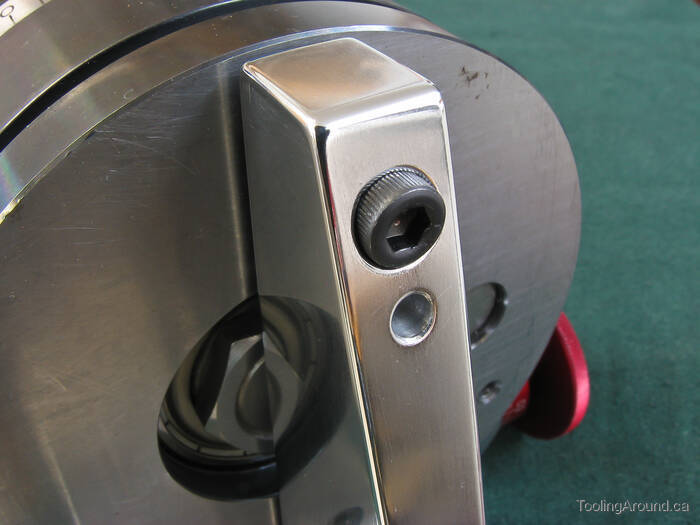
This photo shows the cap screw head and the access hole for the grub screw.

Here's a drawing of the device.