 Tooling Around
Taig Mill – Table Stops
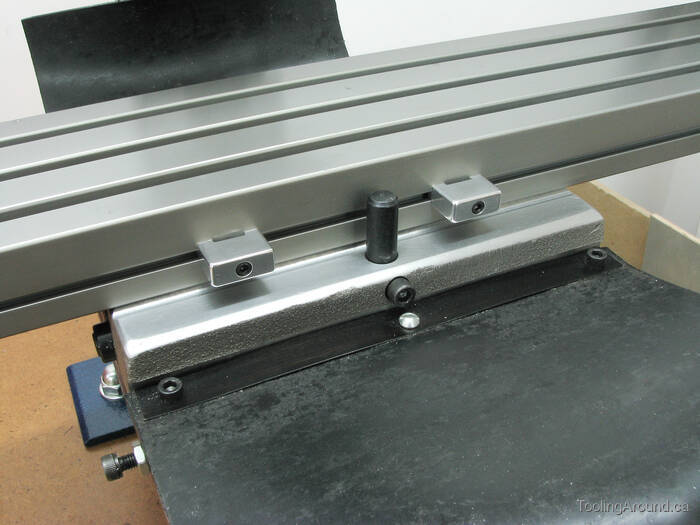
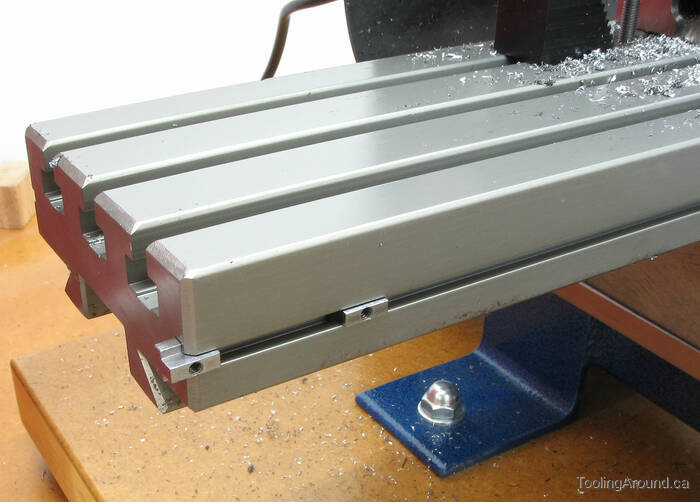
Every once in a while, a discussion forum member will ask about the little post in front of the mill table. What's it for? Here's an answer. By making these adjustable stops, you have the means to limit movement of the table's X axis.
An aside: the other thing to think about is the cap screw just below the post. The threads that it engages are partly cut in the embedded steel post and partly in the softer alloy casting. The post helps prevent wearing out the threads when tightening this frequently-used cap screw.
The first step was to make some T-nuts to fit the T-slot on the front of the table, using some 1/4″ by 1/4″ steel bar.
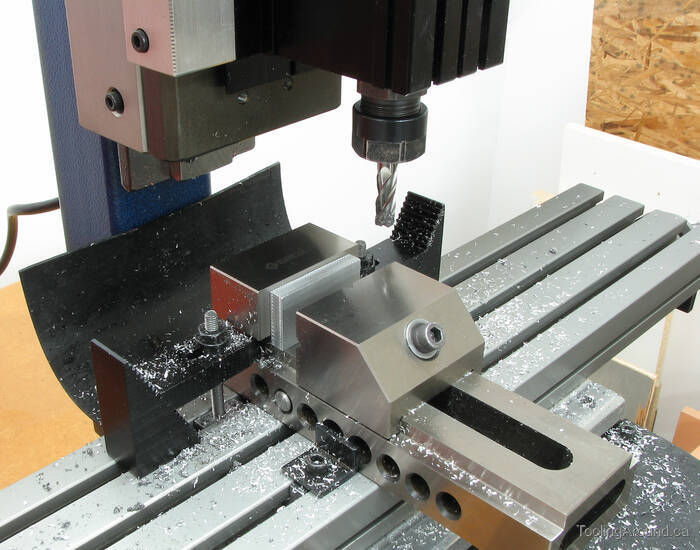
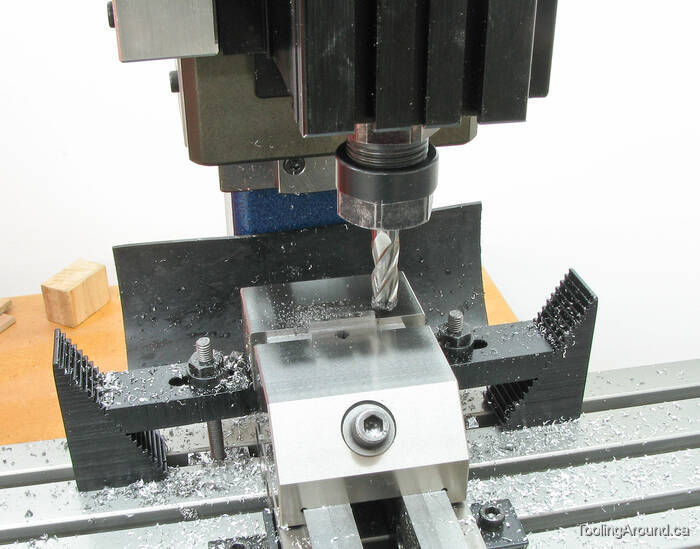
The T-nuts had to sit high enough in the vise to permit milling, but I didn't have a set of parallels, at the time. So, I milled a piece of aluminum flat to the correct height and fly cut it to just a bit under the 1/4″ width required to allow the vise to grip the T-nuts, not the make-shift parallel.
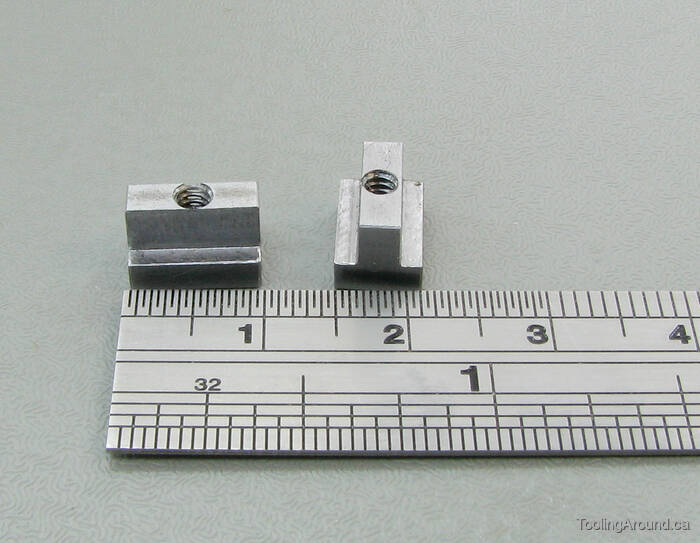
As you can see, the T-nuts are about 9mm long (or about 3/8″).
The T-nuts are a good fit in the T-slot. They are long enough to spread the clamping force of the stop body against the nut and there's a healthy amount of thread engagement. This is important because the stops need to be quite tightly attached.
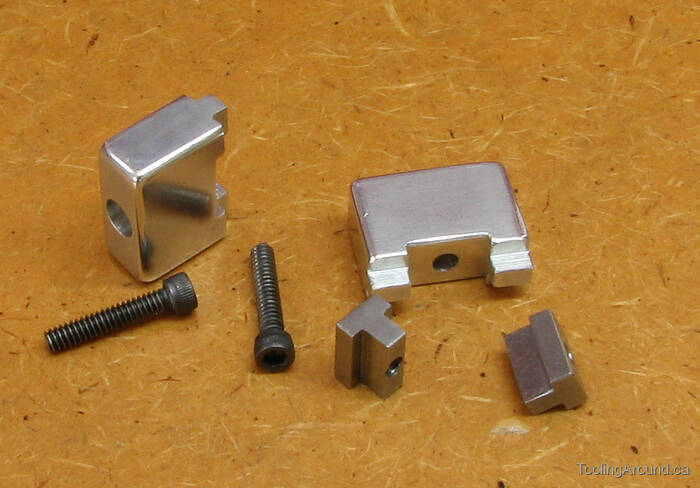
Here is the completed pair of stops. I used 4-40 SHCS's to attach the aluminum stops to the T-nuts. As you can see, the stops are self-aligning in the T-slot.

Here's a drawing of the table stop.