Tooling Around
Lathe And Mill Workbenches
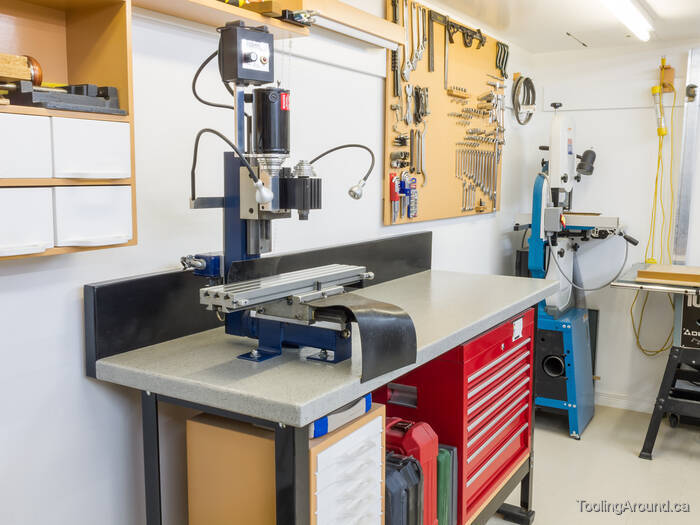
After purchasing my lathes and mill, I mounted them on small bases so that I could easily move them from place to place. Eventually, however, as my shop evolved, I decided on fixed locations for them and fixed them to some simple workbenches, tables, really. There's one for the mill and another for the lathes and a scroll saw.
Bench Modification (Skip to "Refinishing The Benchtops".)
The benches began life as work tables, purchased as kits consisting of particle board tops and metal frames that needed to be bolted together. The tops are double thickness around the edges, accomplished by gluing strips of the same particle board around the perimeter of the table tops. The tables measure approximately 166 cm × 74 cm and the particle board is 19 mm thick.
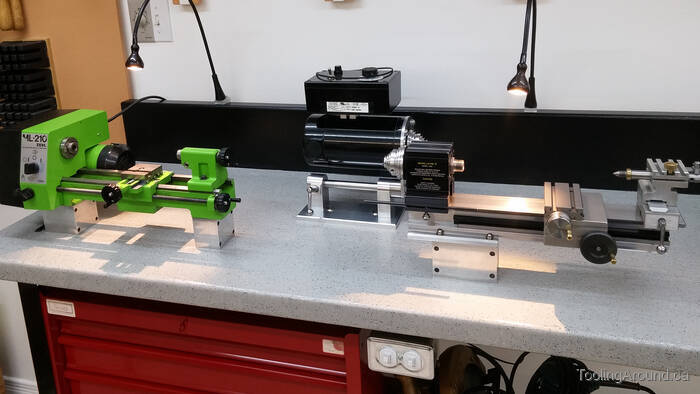
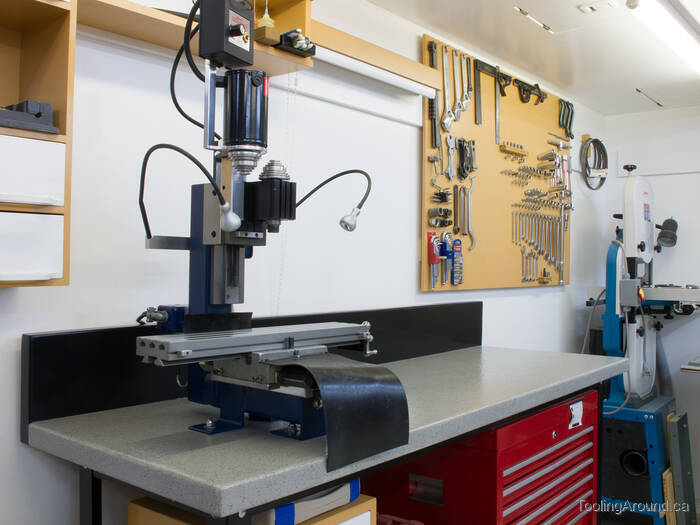
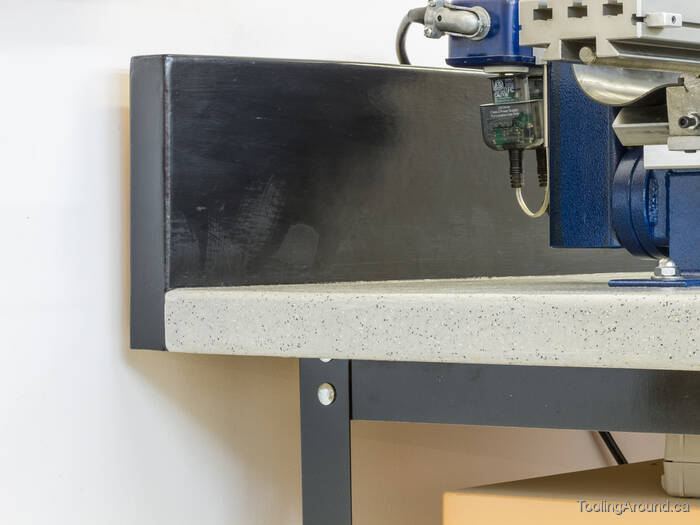
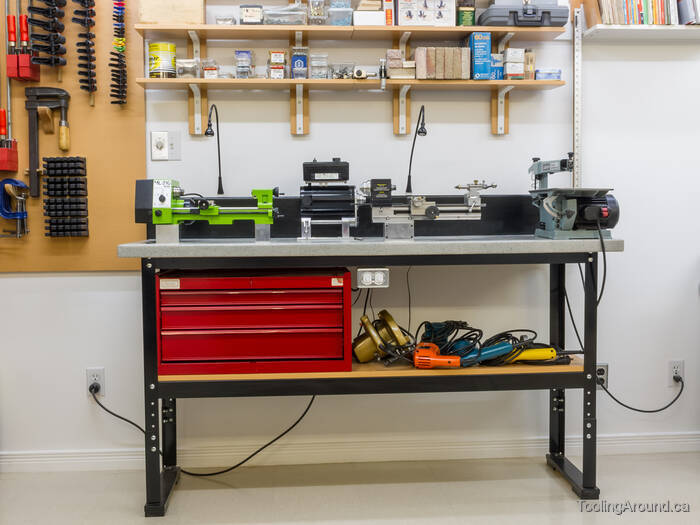
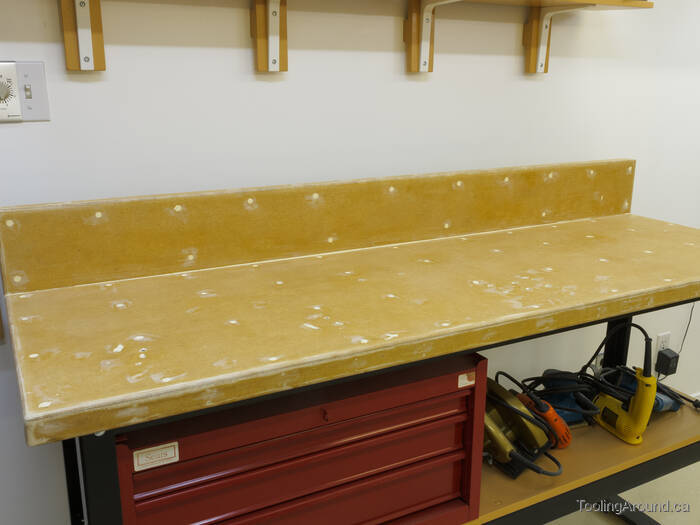
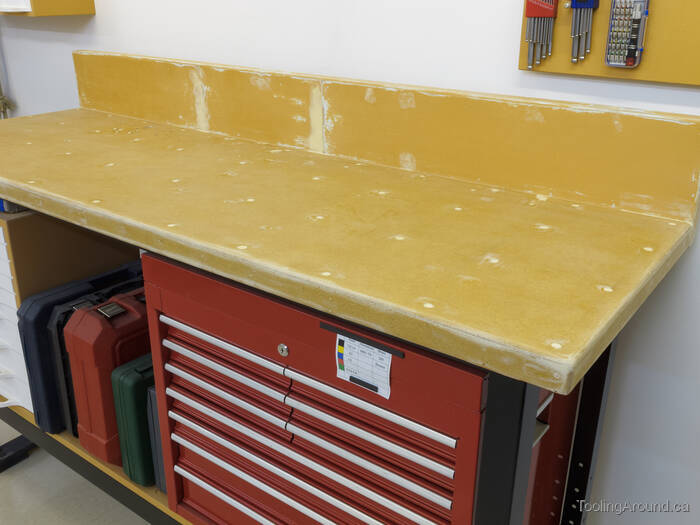
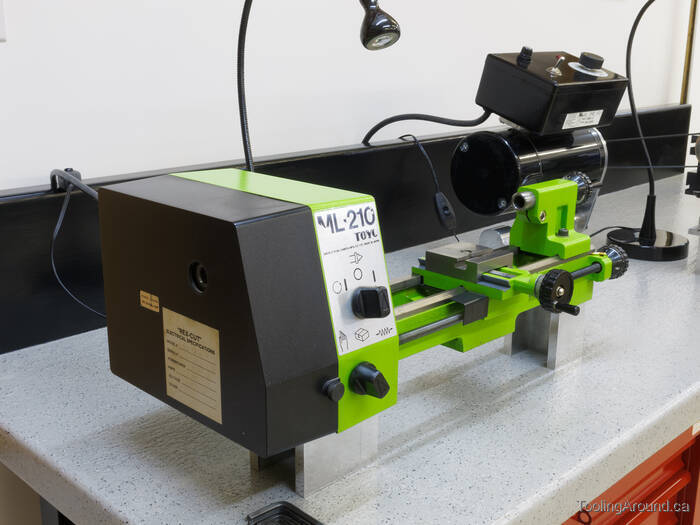
This is how one of the benches looks, now. It's oddly narrow, from front to back. With experience, I had realized that I didn't need much bench top width, but it would be good to have something to keep swarf from falling off the back of the bench. The backsplash behind the bench top was once part of the top. I cut off a strip 21 cm wide and fastened it together again as you see in this photo.
The adjustable legs are set to their maximum height, resulting in a bench top that's just under 95 cm above the floor.
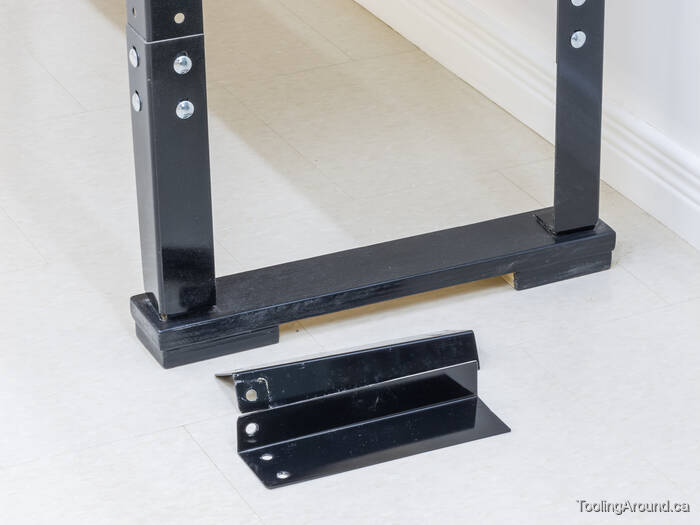
Of course, I also cut 21 cm lengths off the frame cross members.
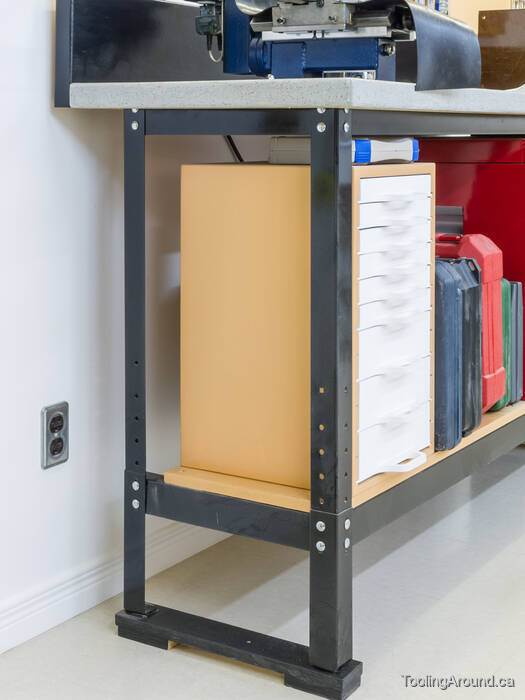
To help support the seemingly precarious, fully-extended legs, I made a plywood base to tie the front and back legs together. They have plywood “feet” to allow the base to settle against the floor. This had the added advantage of raising the bench top a bit.
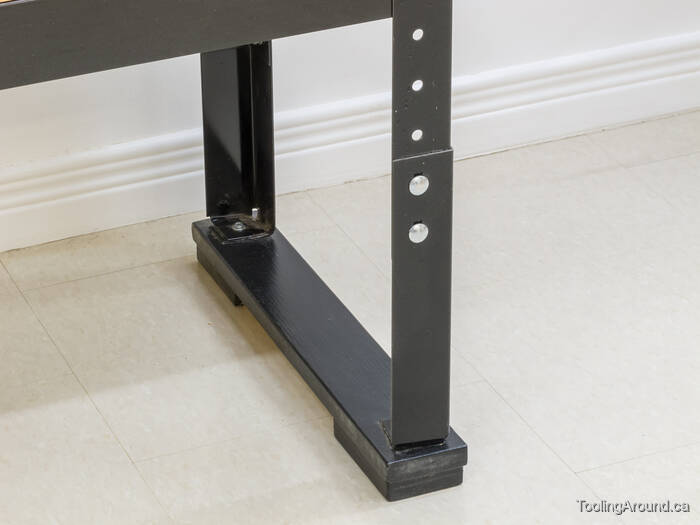
A screw and washer holds each leg to the plywood base.
The backsplash is held to the bench top in the time-honoured fashion, using screws and glue.
Refinishing The Benchtops (Skip to "Lights For The Lathes".)
For years, I used urethane-coated hardboard as a wear surface, the idea being that it would be easy to replace if it was too badly beaten up. The beating up part worked out okay, but I never bothered to replace it. Inspired by arrival of my new shop cabinets, I decided to modify these workbenches by making them narrower and refinishing the tops. Because the new cabinets only required about half of the countertop refinishing kit, I used the rest of it on the benchtops.
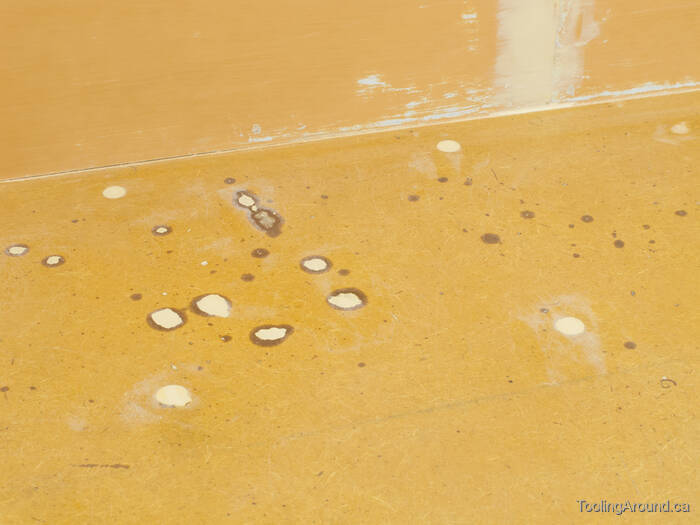
All holes and other blemishes were filled with wood filler and sanded smooth.
After a coat of primer, they were ready for final finishing. Look closely and you can see dull spots where wood filler was used.

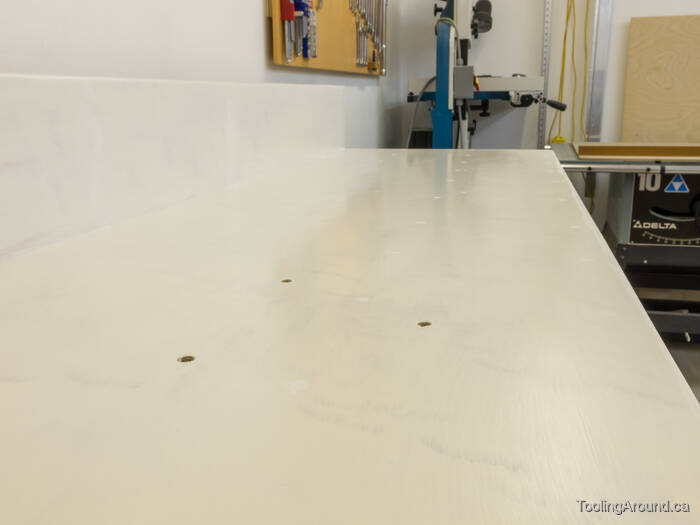
This is how the top looked after the coat of gritty sand was applied, but before it was sanded.

Sanding exposed the colours of the sand particles, following which I applied a couple of coats of clear top coat.
Lights For The Lathes
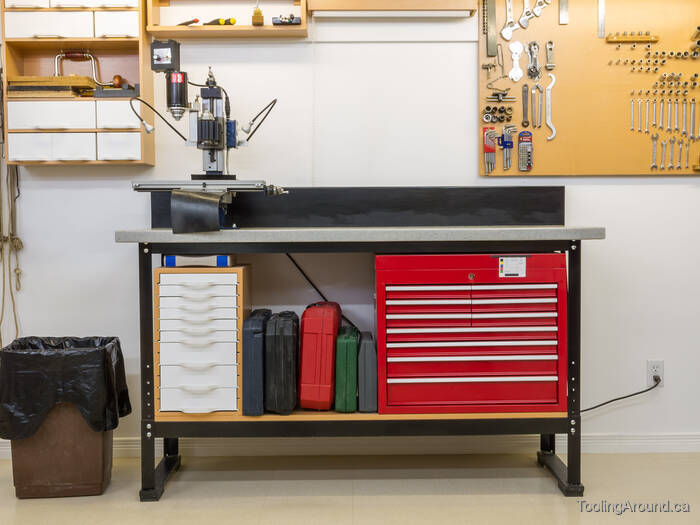
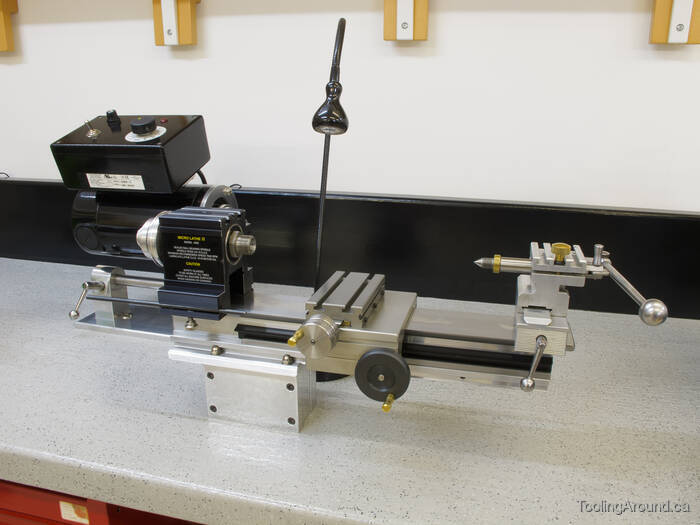
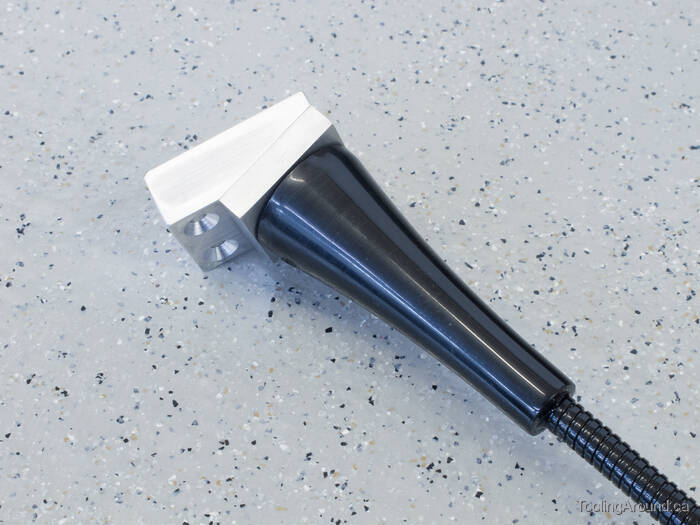
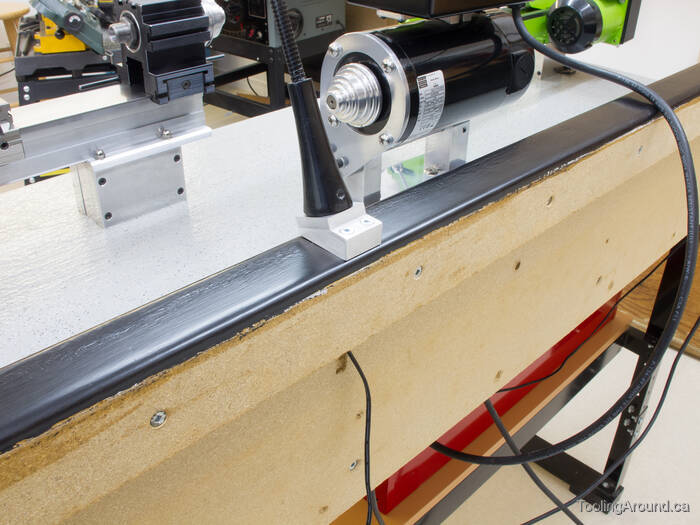
For some time, I had used one of Ikea's Jansjö LED lamps for each of the lathes. They worked well enough, but the bases were always in the way of cleaning up swarf and the lamps were just a bit lower than I preferred. So, after supplying the lathe workbench with a backsplash, it seemed like an obvious place to mount the lamps. All I needed to do was make some simple fittings to attach them.
To start, I prepared some short lengths of 1″ × 1/2″ aluminum to serve as bases.
Yes, some swarf from the mill still manages to find its way over the backsplash.
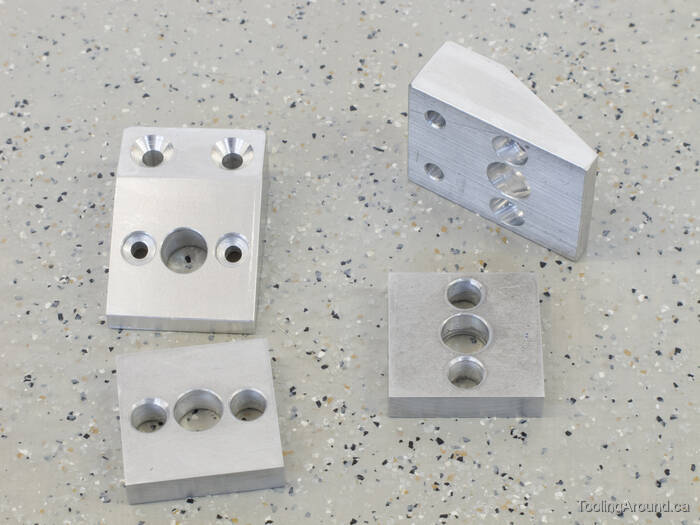
Here are the bases, with spacers to accommodate the metal pegs on the lamps. It was easier to make spacers rather than complicating the machining of the bases to a more complex shape.
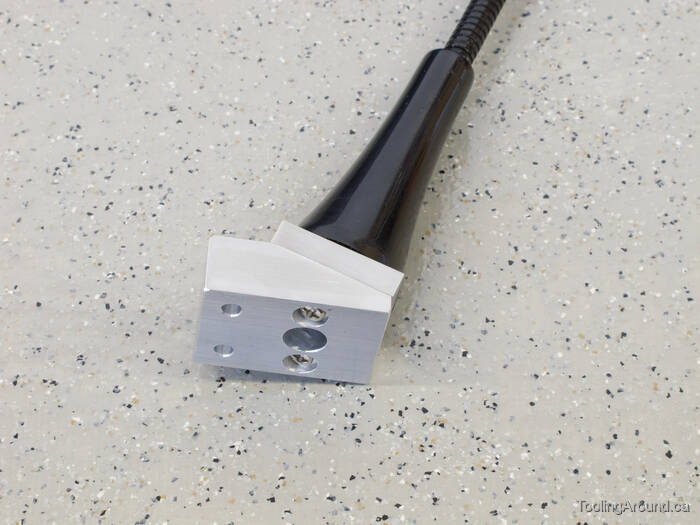
The screws that held the lamps to the original bases were used again, here.
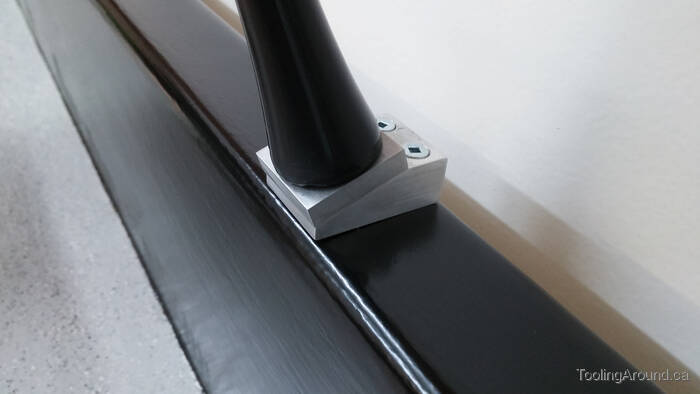
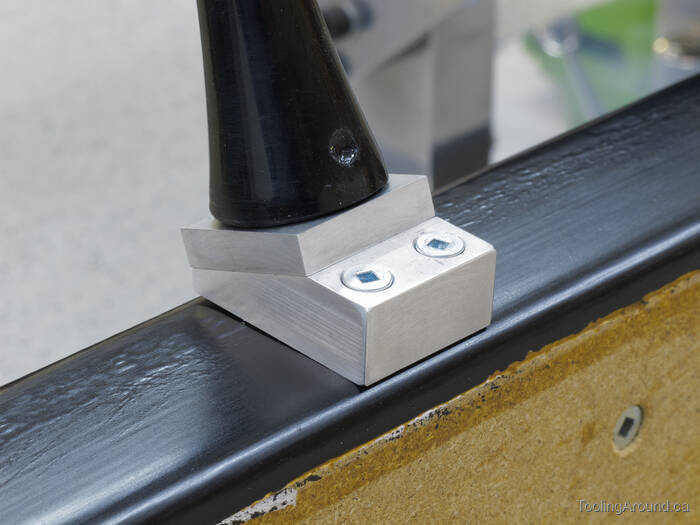
The backsplash looks thicker than it really is because a strip of 19 mm particle board is attached to the edge. The power cord is fed through a hole drilled in this strip.
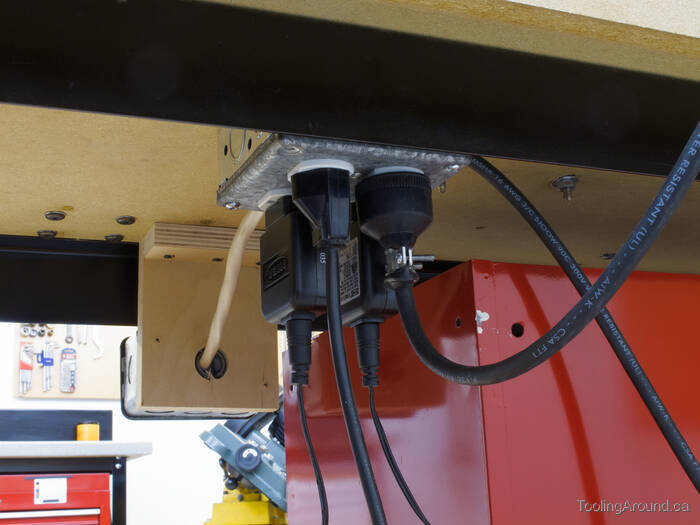
Under the bench top, I installed an electrical box with receptacles for the two lathes and the power supplies for the lamps. A single power cable connects this box to the wall receptacle, making for a much neater arrangement of cords. A length of 14/3 cable connects the electrical box to another one hung below the front of the benchtop.
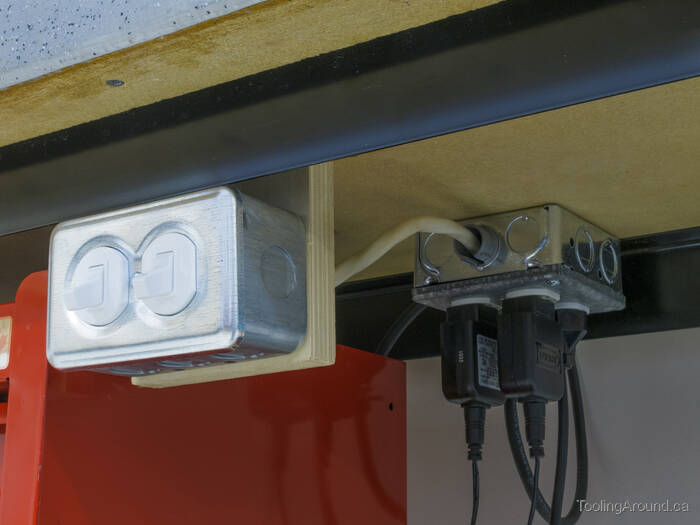
There's a pair of switches here to turn the power on and off for each of the lamps.